DIY ELFA WALK IN CLOSET MAKEOVER
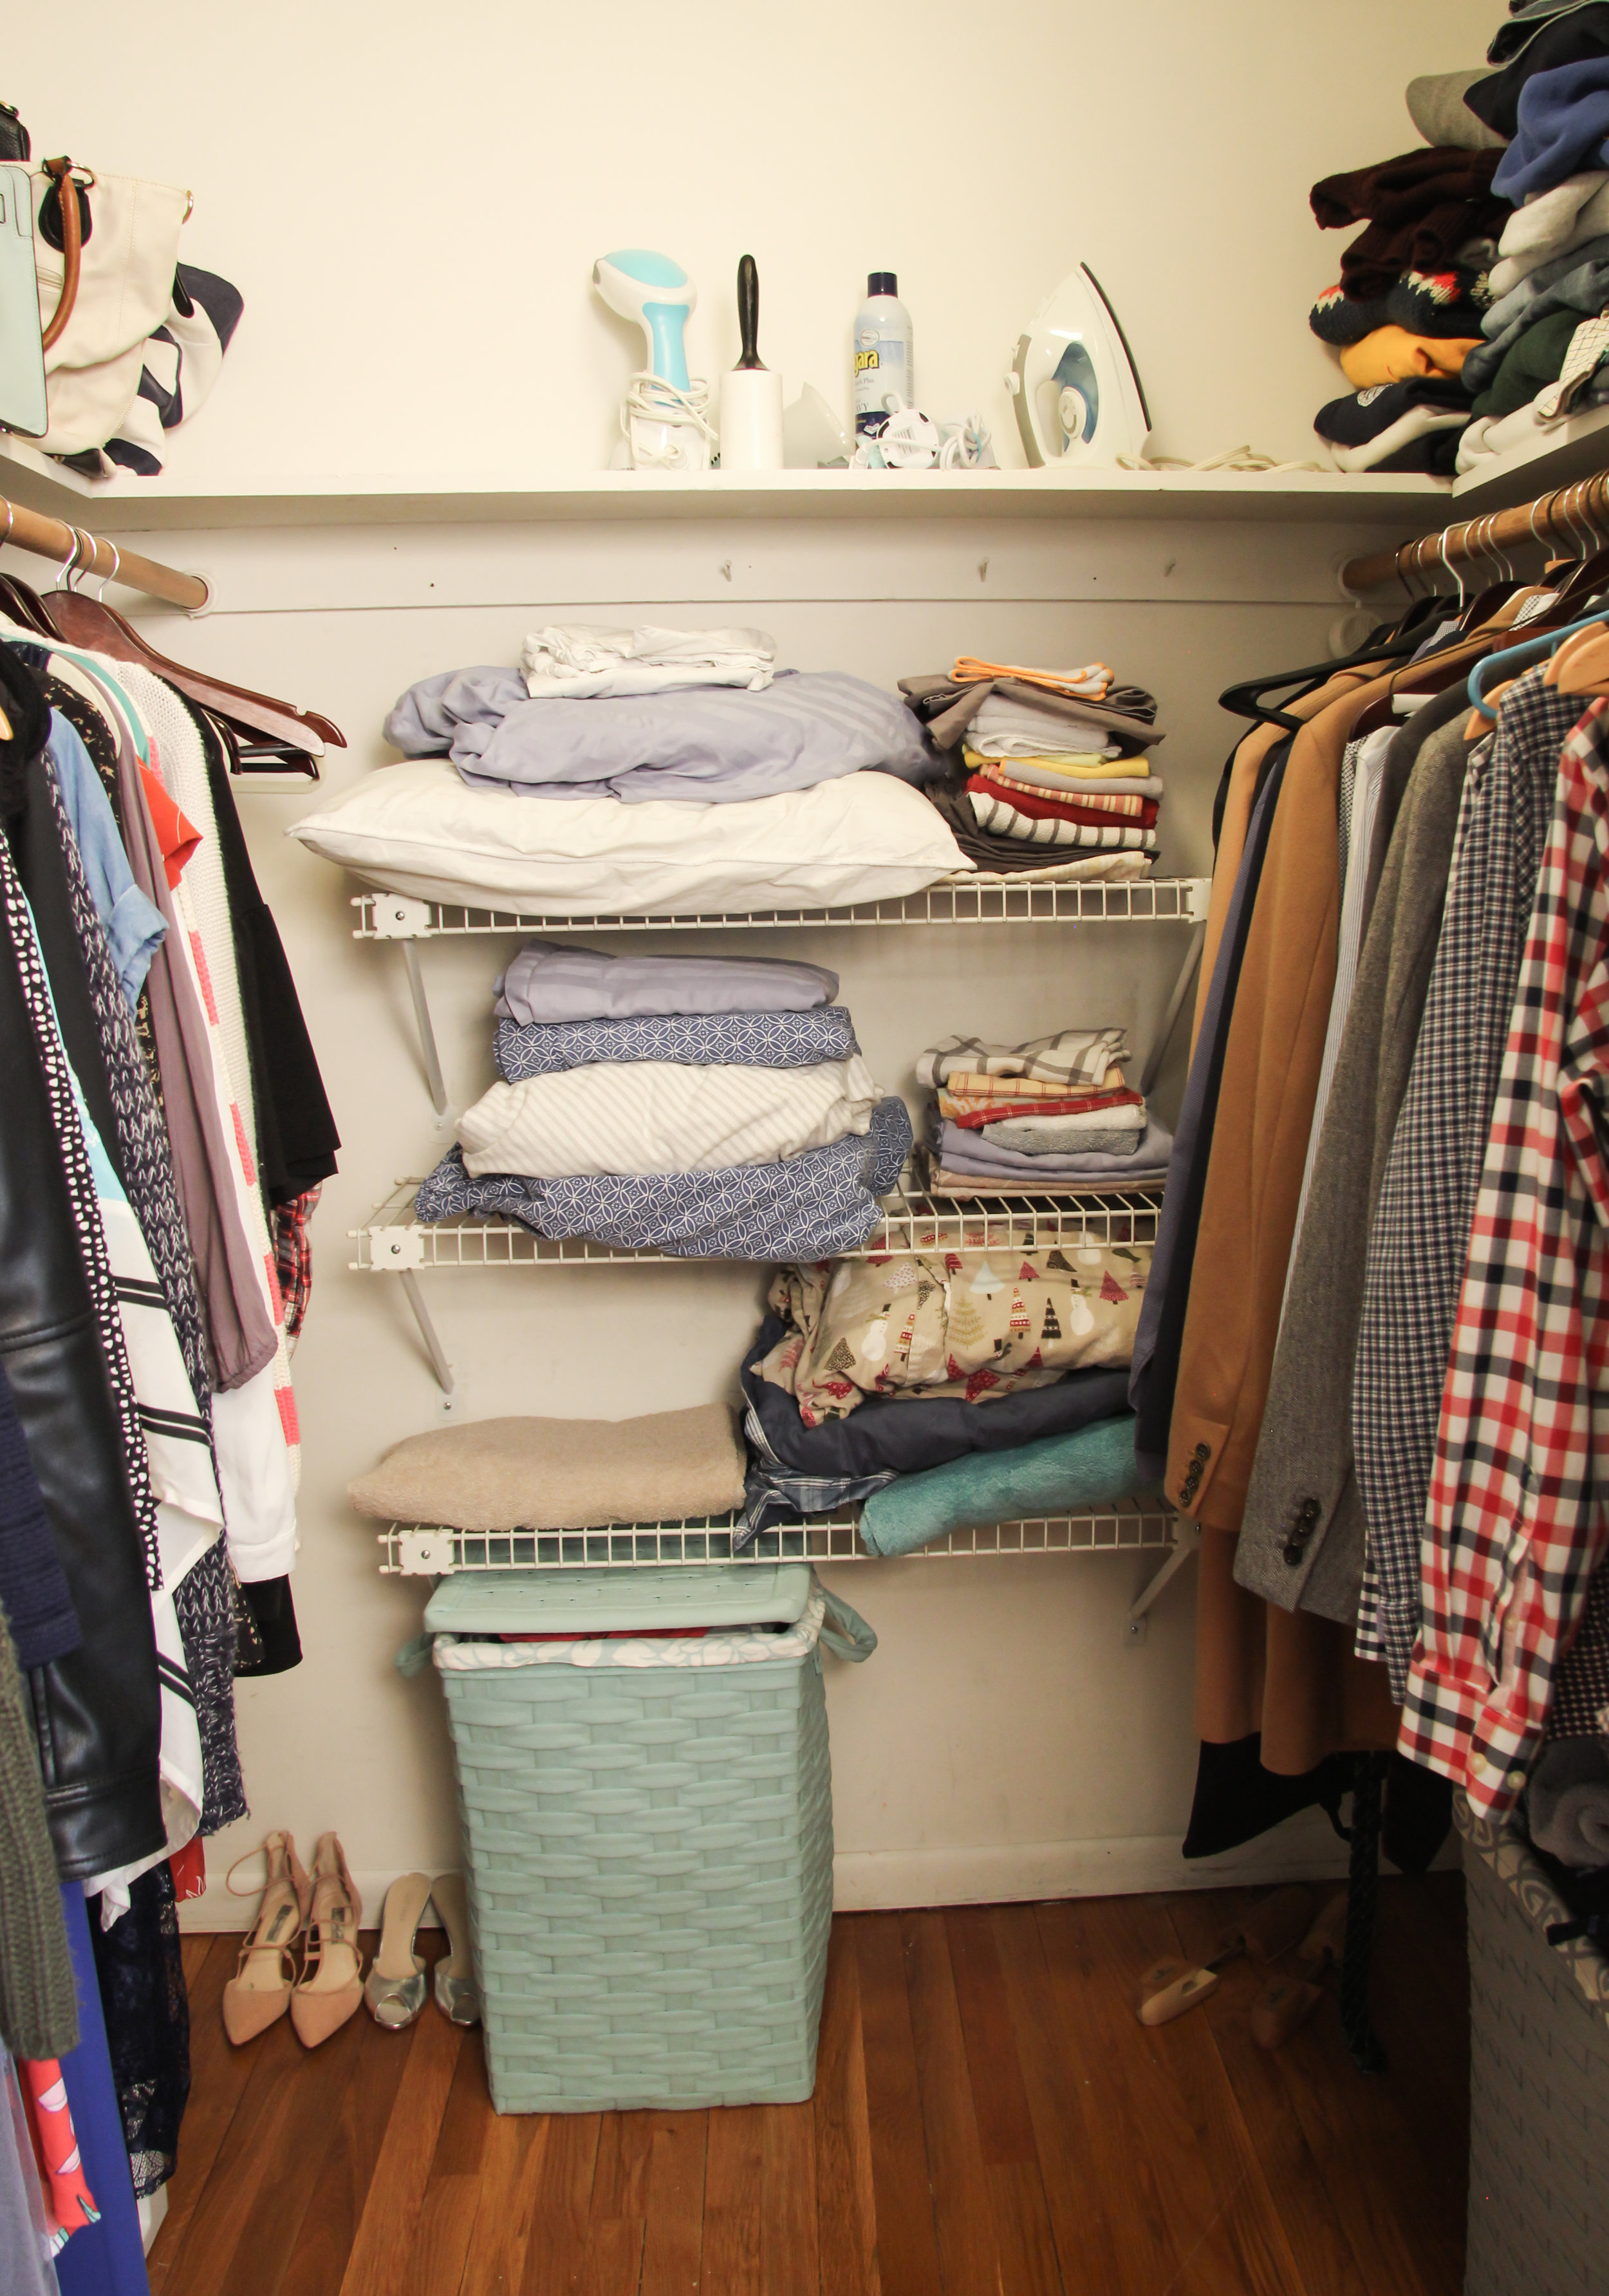
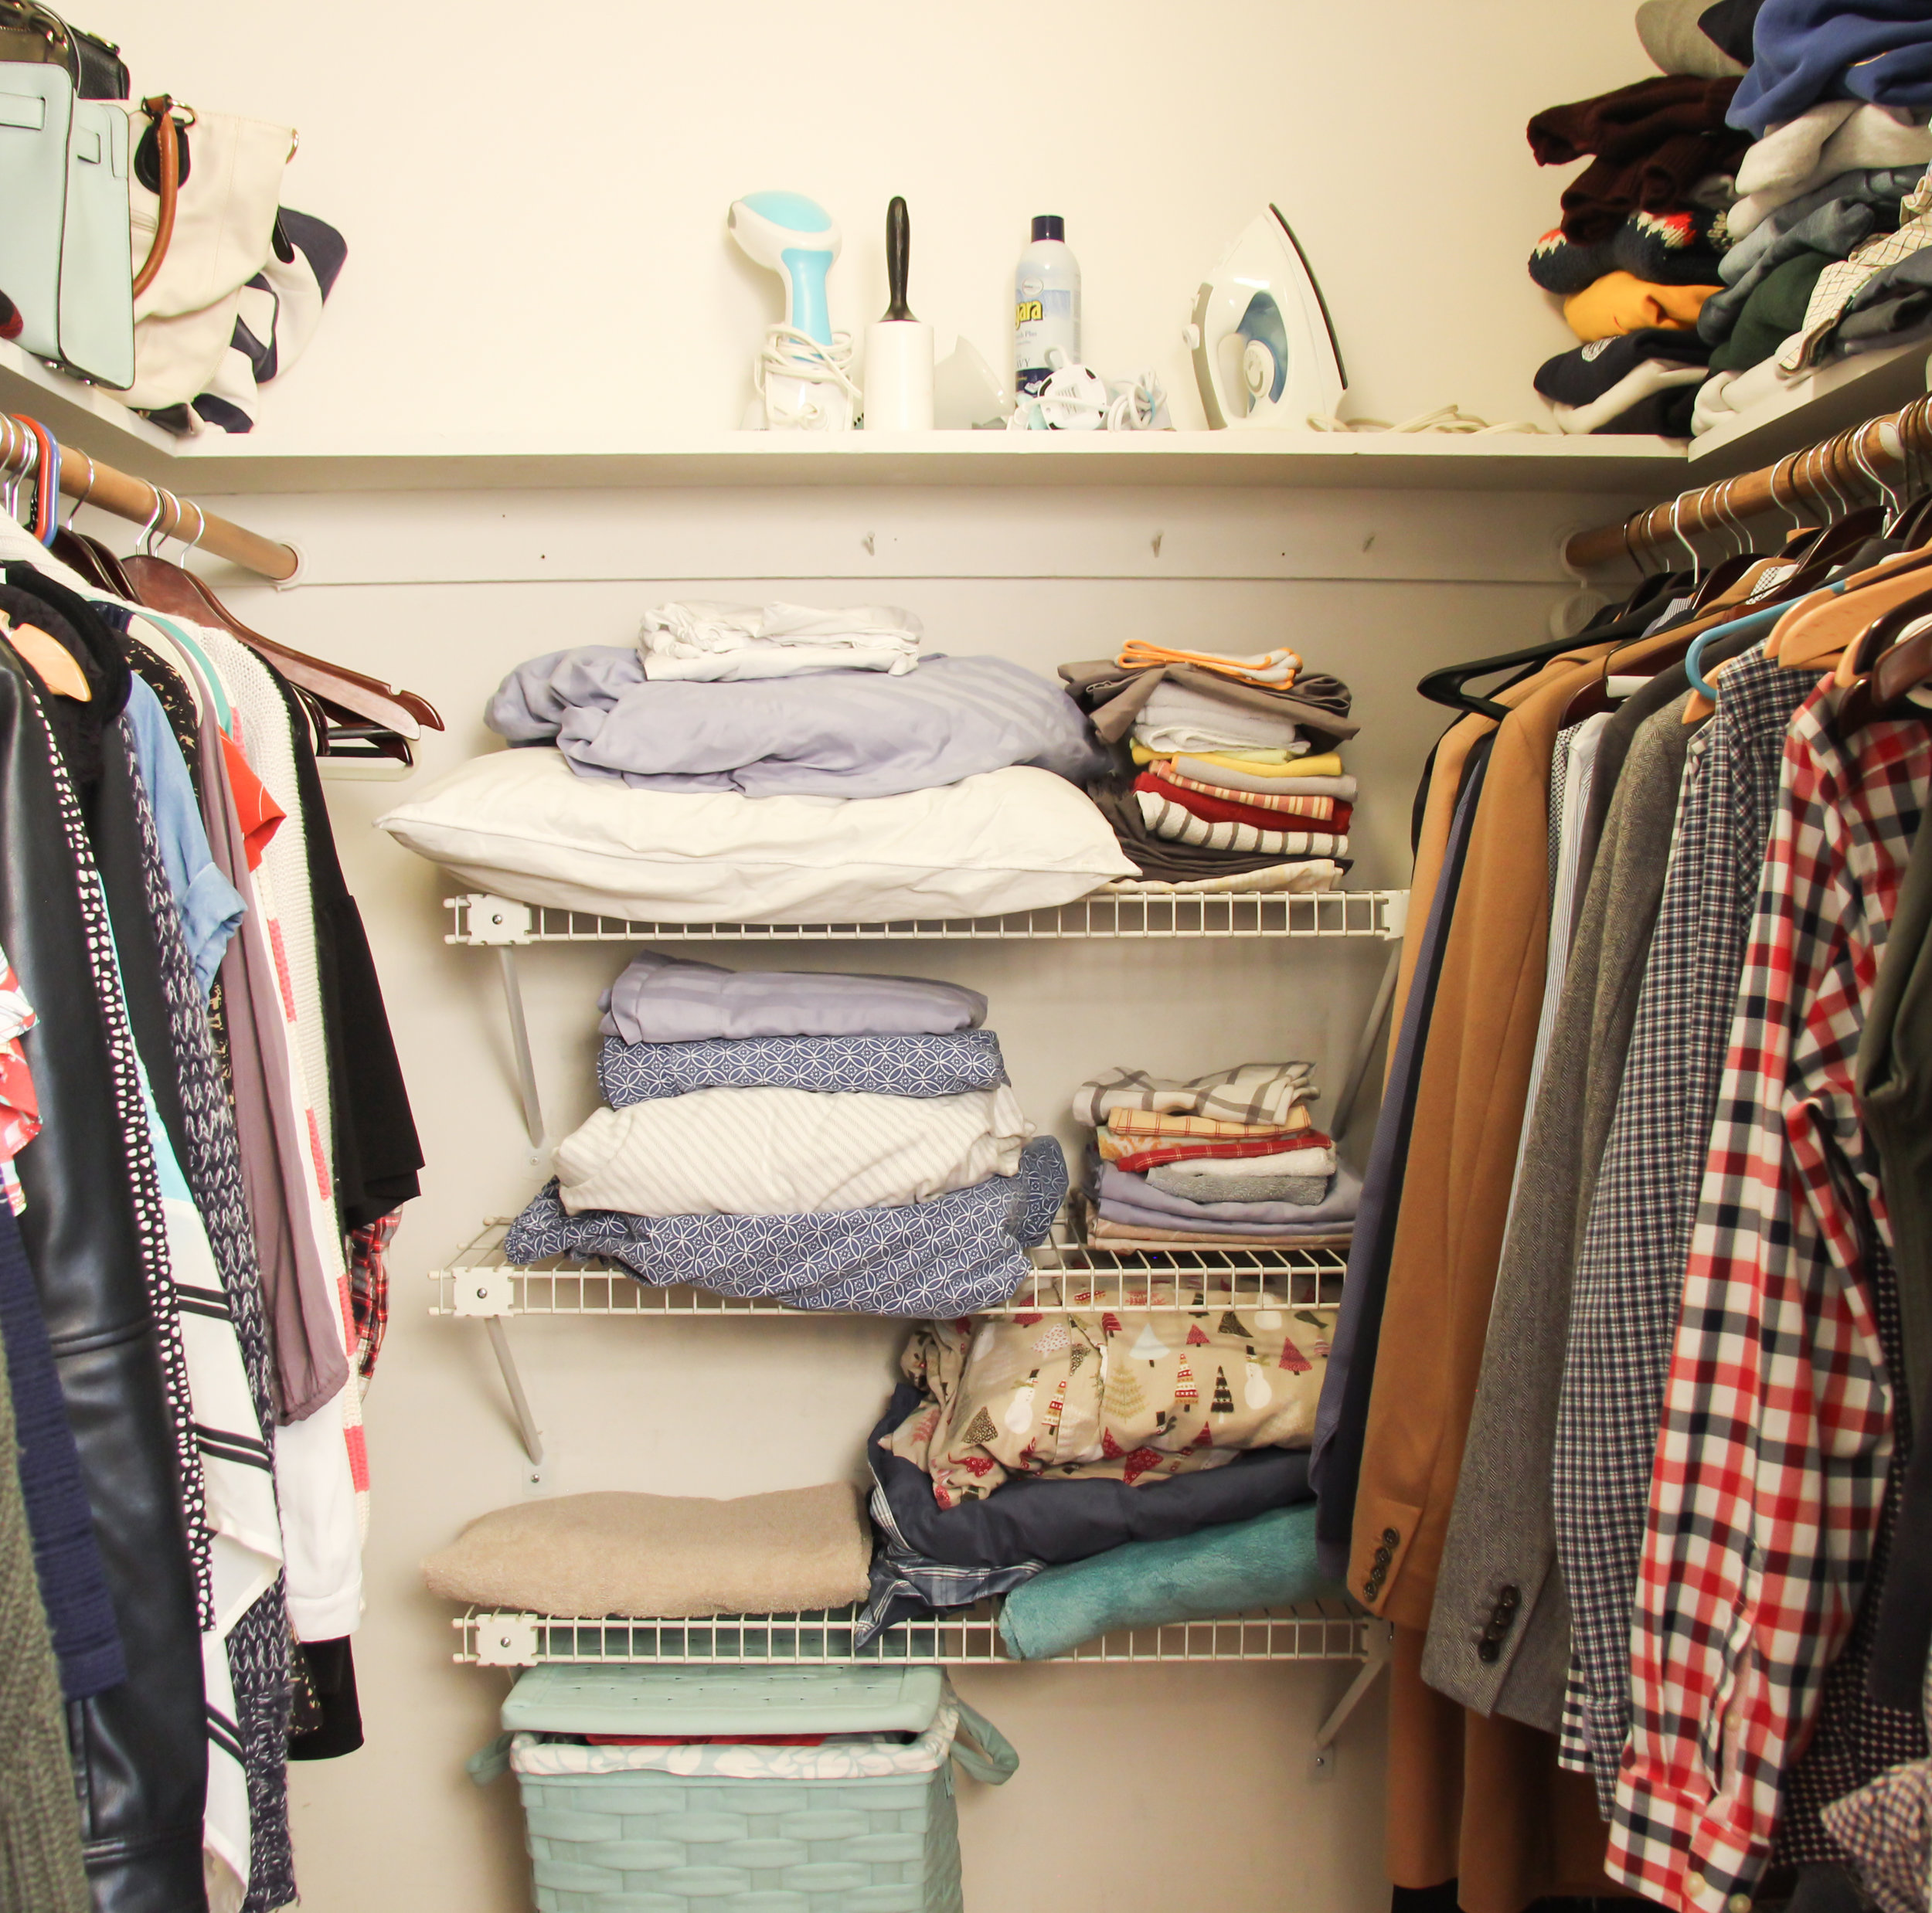
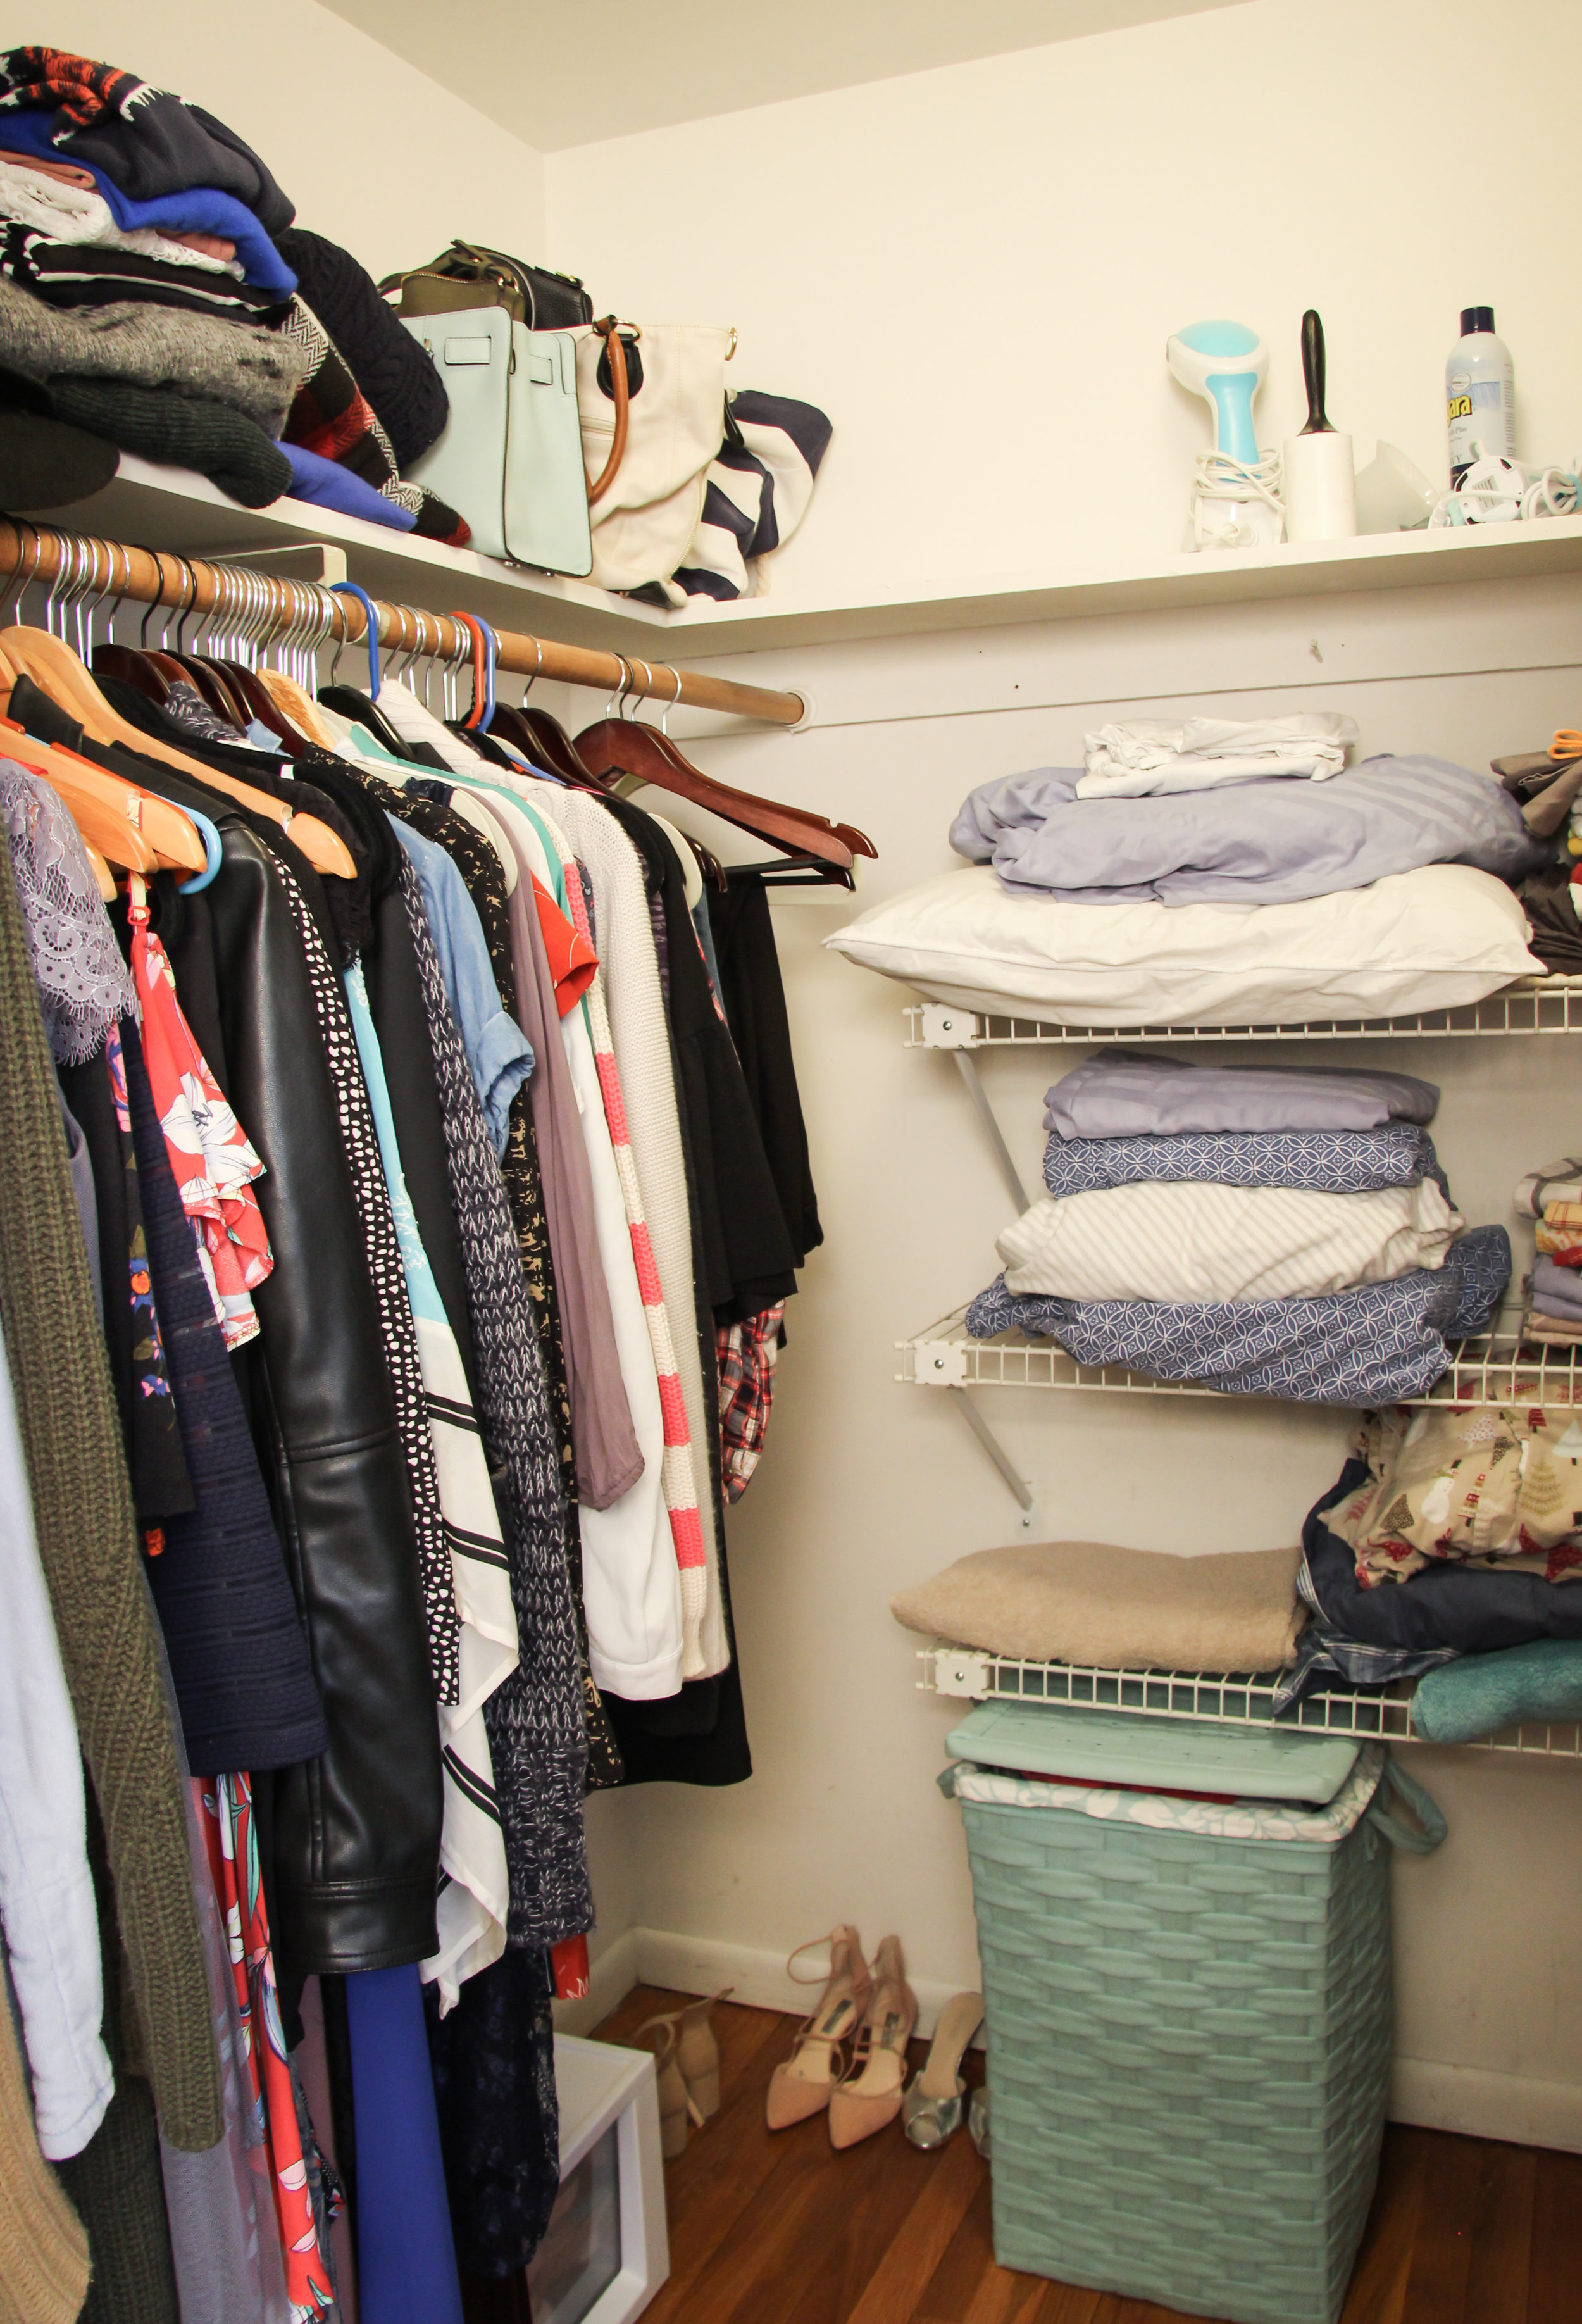
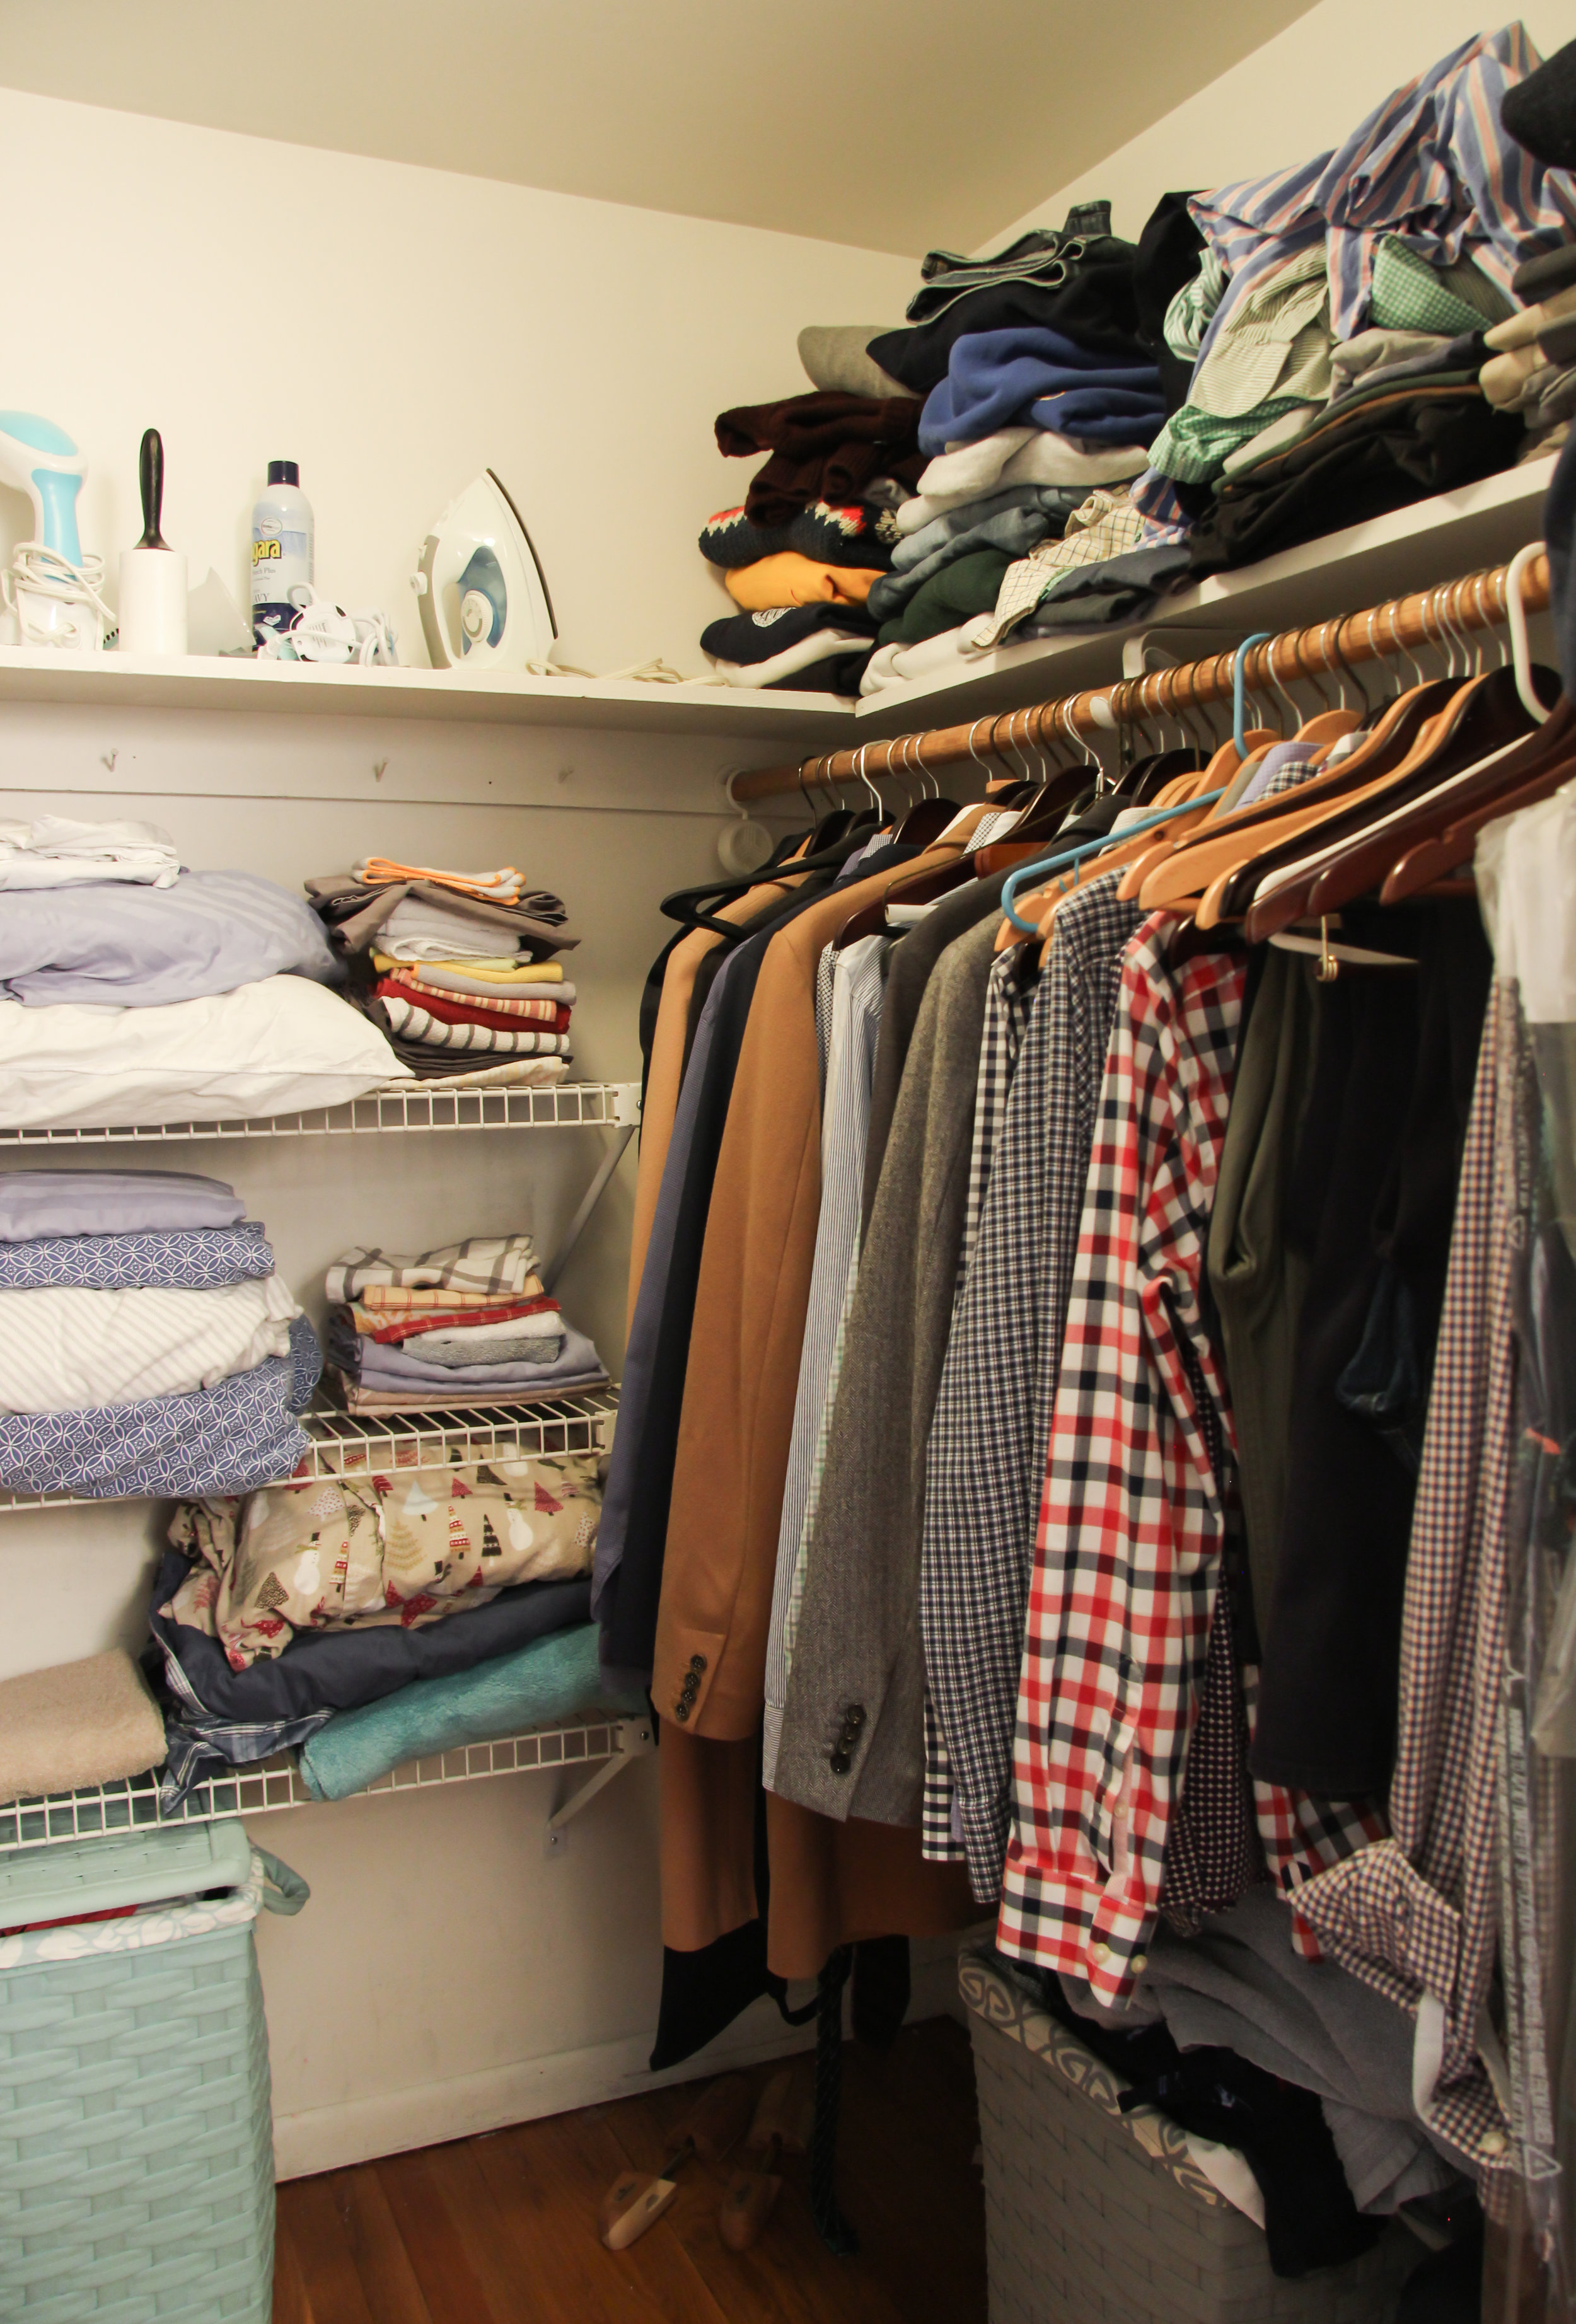
Hi everyone! If you’ve been around my blog or my YouTube channel recently, you know that we moved into a new house this past year. In that time, we’ve tackled a TON of projects, specifically in the main areas that guests or visitors would see the most. We decided that it was finally time to work on our own master bedroom, and we wanted to start with our closet. We have a pretty decent sized walk in closet, but the current setup wasn’t really using the space to it’s full potential. Both of us had clothing and shoes piled in different areas, and we had no place to store things like t-shirts, workout clothing, socks, and pajamas.
After some research, I fell in love with the Elfa Closet System from The Container Store. It is completely customizable and interchangeable which is exactly what I was looking for. I am so excited to share all of the details on how I was able to custom design our closet, and to give you the full transformation reveal!
Before we get into the installation, we have to start with the demo. Our closet had a few shelves on the back wall, a shelf that ran around the perimeter, as well as a rod on each side for hanging clothing. We had so many things like pillows, extra sheets and other items that really don’t belong in there. So the first phase was to empty everything out.


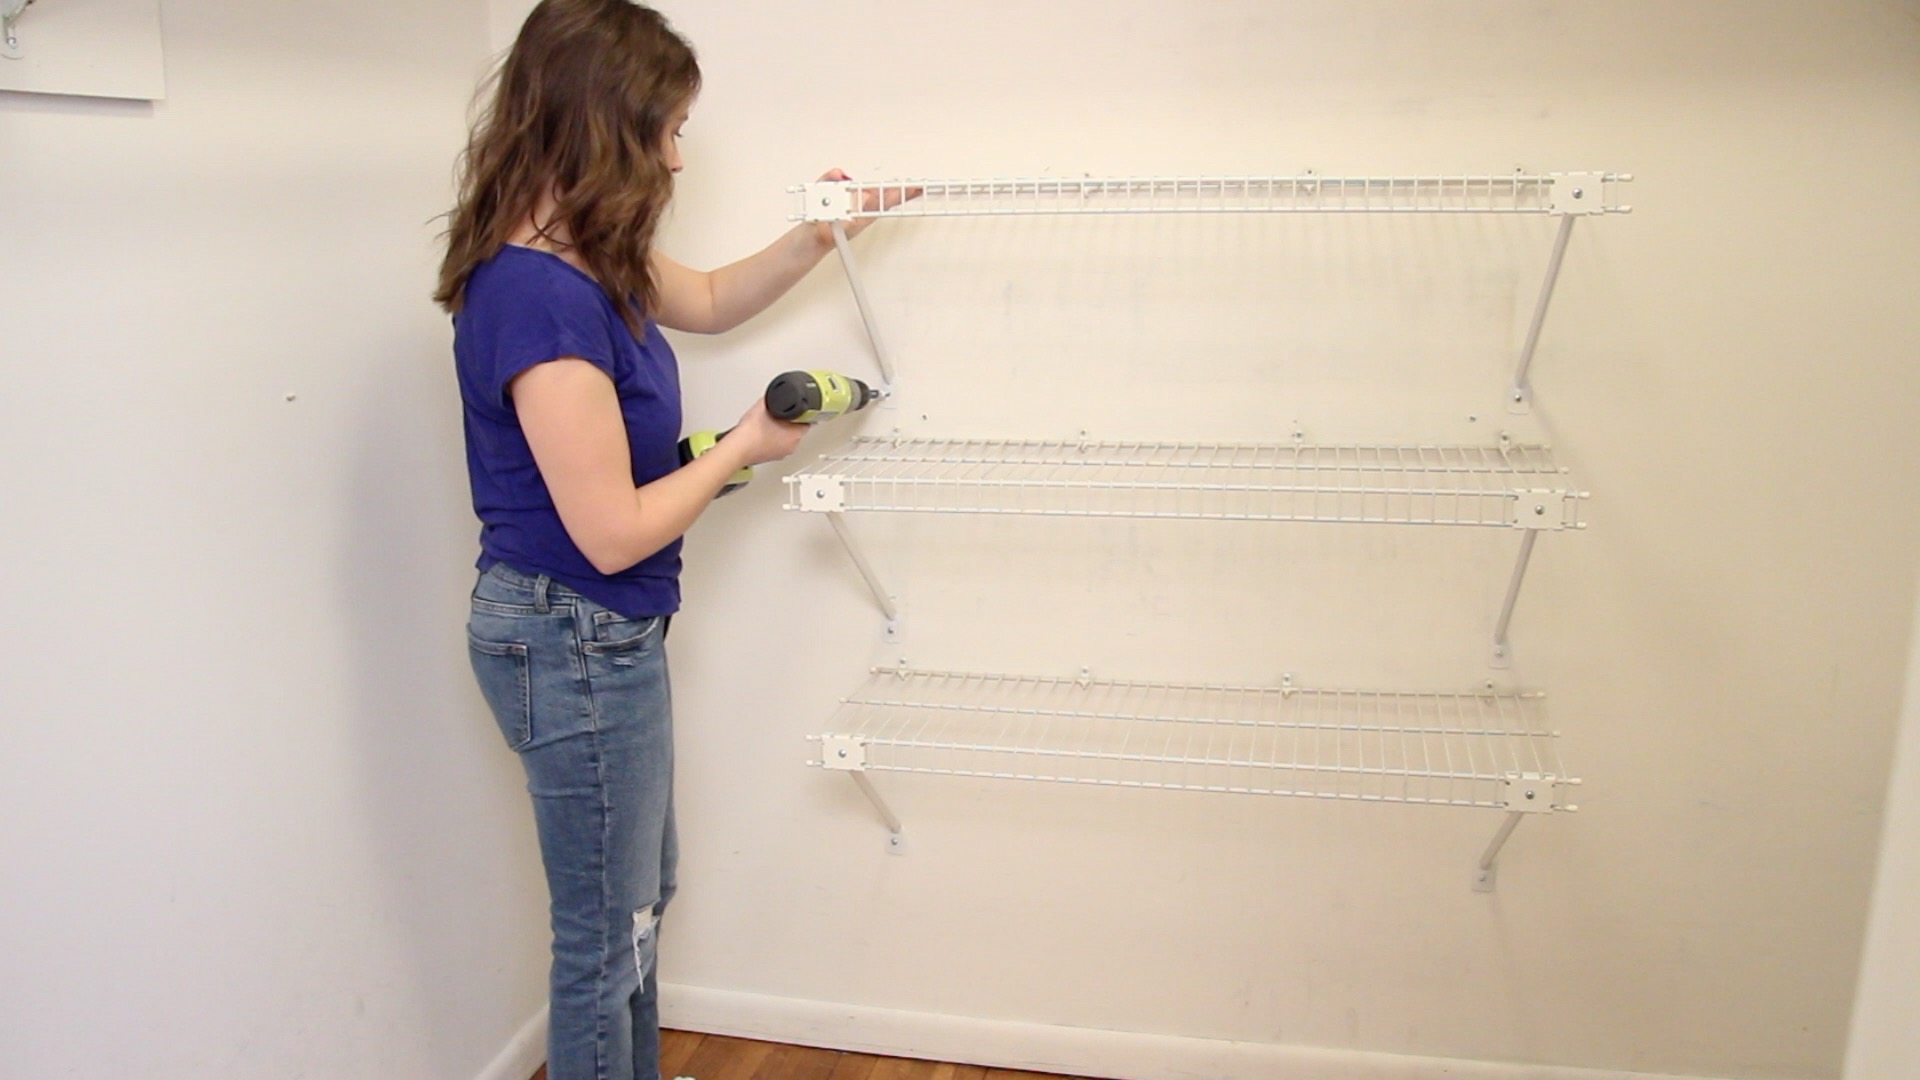
Once it was totally empty (what a difference!) I took a look at how I could remove all of the shelves. The shelves on the back just needed to have the screws removed. The larger shelf was a little more tricky, but a few hard hits with my rubber mallet and it came out easily.


I took some time to patch all of the holes left behind, and then wiped the walls down with a wet cloth before moving on to priming. It took about 2-3 coats of primer to cover all of the scuff marks and other areas. I chose a neutral cream color for the final paint color, so that it wouldn’t clash with any of our clothing or other items. We also installed a new light fixture for a more updated look.


With the closet freshly painted and ready, I headed to The Container Store where I met with an amazing designer. I gave him the measurements and some pictures of the closet, explained to him what my husband and I each wanted for our sides, and he brought my vision to life. The designers are able to show you a mock-up of exactly how your closet will look, as well as make suggestions on what they think will work best for you. It was so great to be able to play around with the design until we got it just right.


At the store, they have an entire area with Elfa setups so that you can see how it looks in real life. You can see all of the different color and material choices that they offer, as well as the hardware and accessories that are available as add-ons.


I decided to do the DIY installation, of course! They do also offer an installation service, so if you prefer that option, they will send someone to your house to put everything together for you. After going through the installation instructions, I was feeling confident and excited to get started!

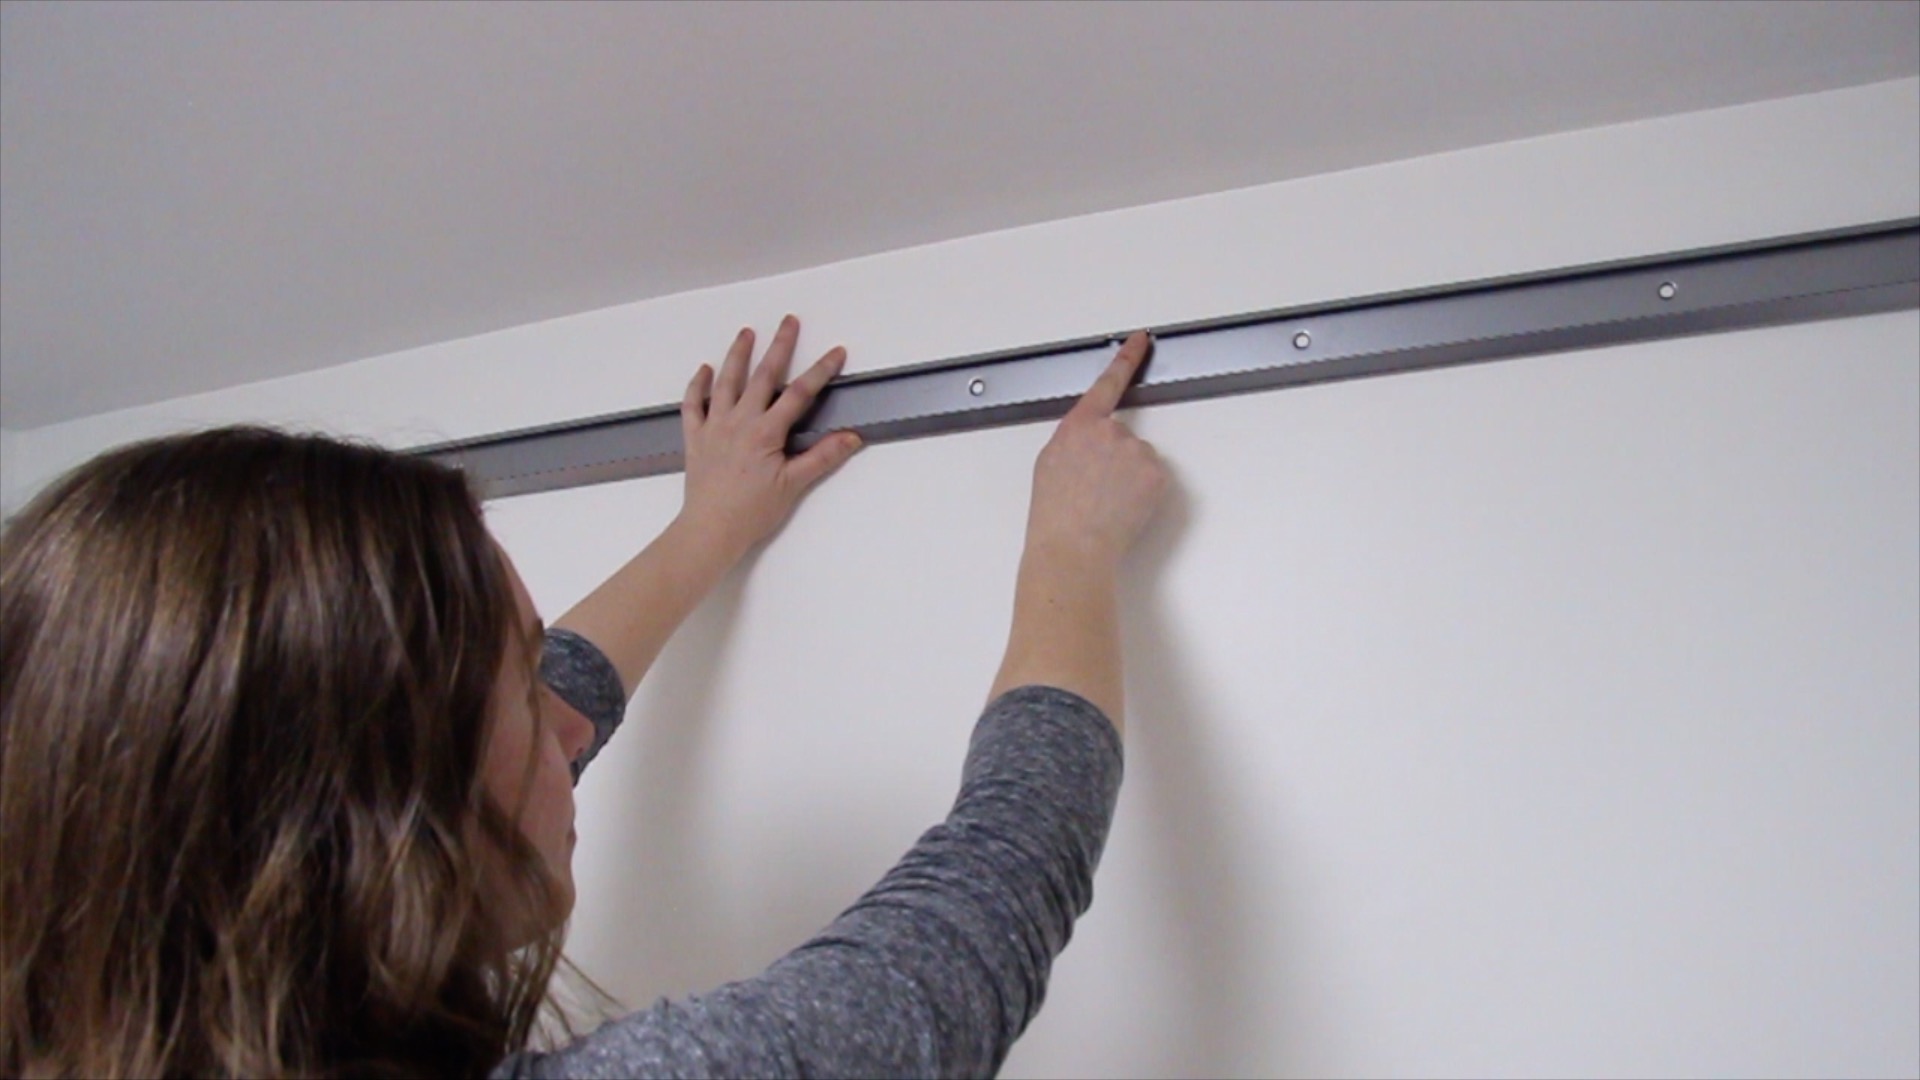
The big day finally came when all of my boxes arrived. Each box was clearly labeled so that I would know which parts were inside. The great part about this installation is that the only part that is physically installed into the wall is the top track. Everything else hangs from this track. In order to hang the track, you simply line it up on the wall, making sure the notches are at the top and that it is level, and mark each hole with a pencil.

Once you’ve marked where the screws will go, drill a hole at each point. If you don’t find a stud, it’s no big deal, they provide you with a few different types of screws just in case this happens!


And now for the fun part! The biggest help was taping the printout of my design to the wall. Then I used it as a guide to hang the standards, brackets, and all other components. The directions explain how to install each piece, but mostly they just click right into place. Be sure to read all of the directions thoroughly before you get started so that you know the order in which to install each piece.


The last step is to install covers on the standards and brackets that are still visible. This just takes a few minutes and it gives it a nice, polished look.


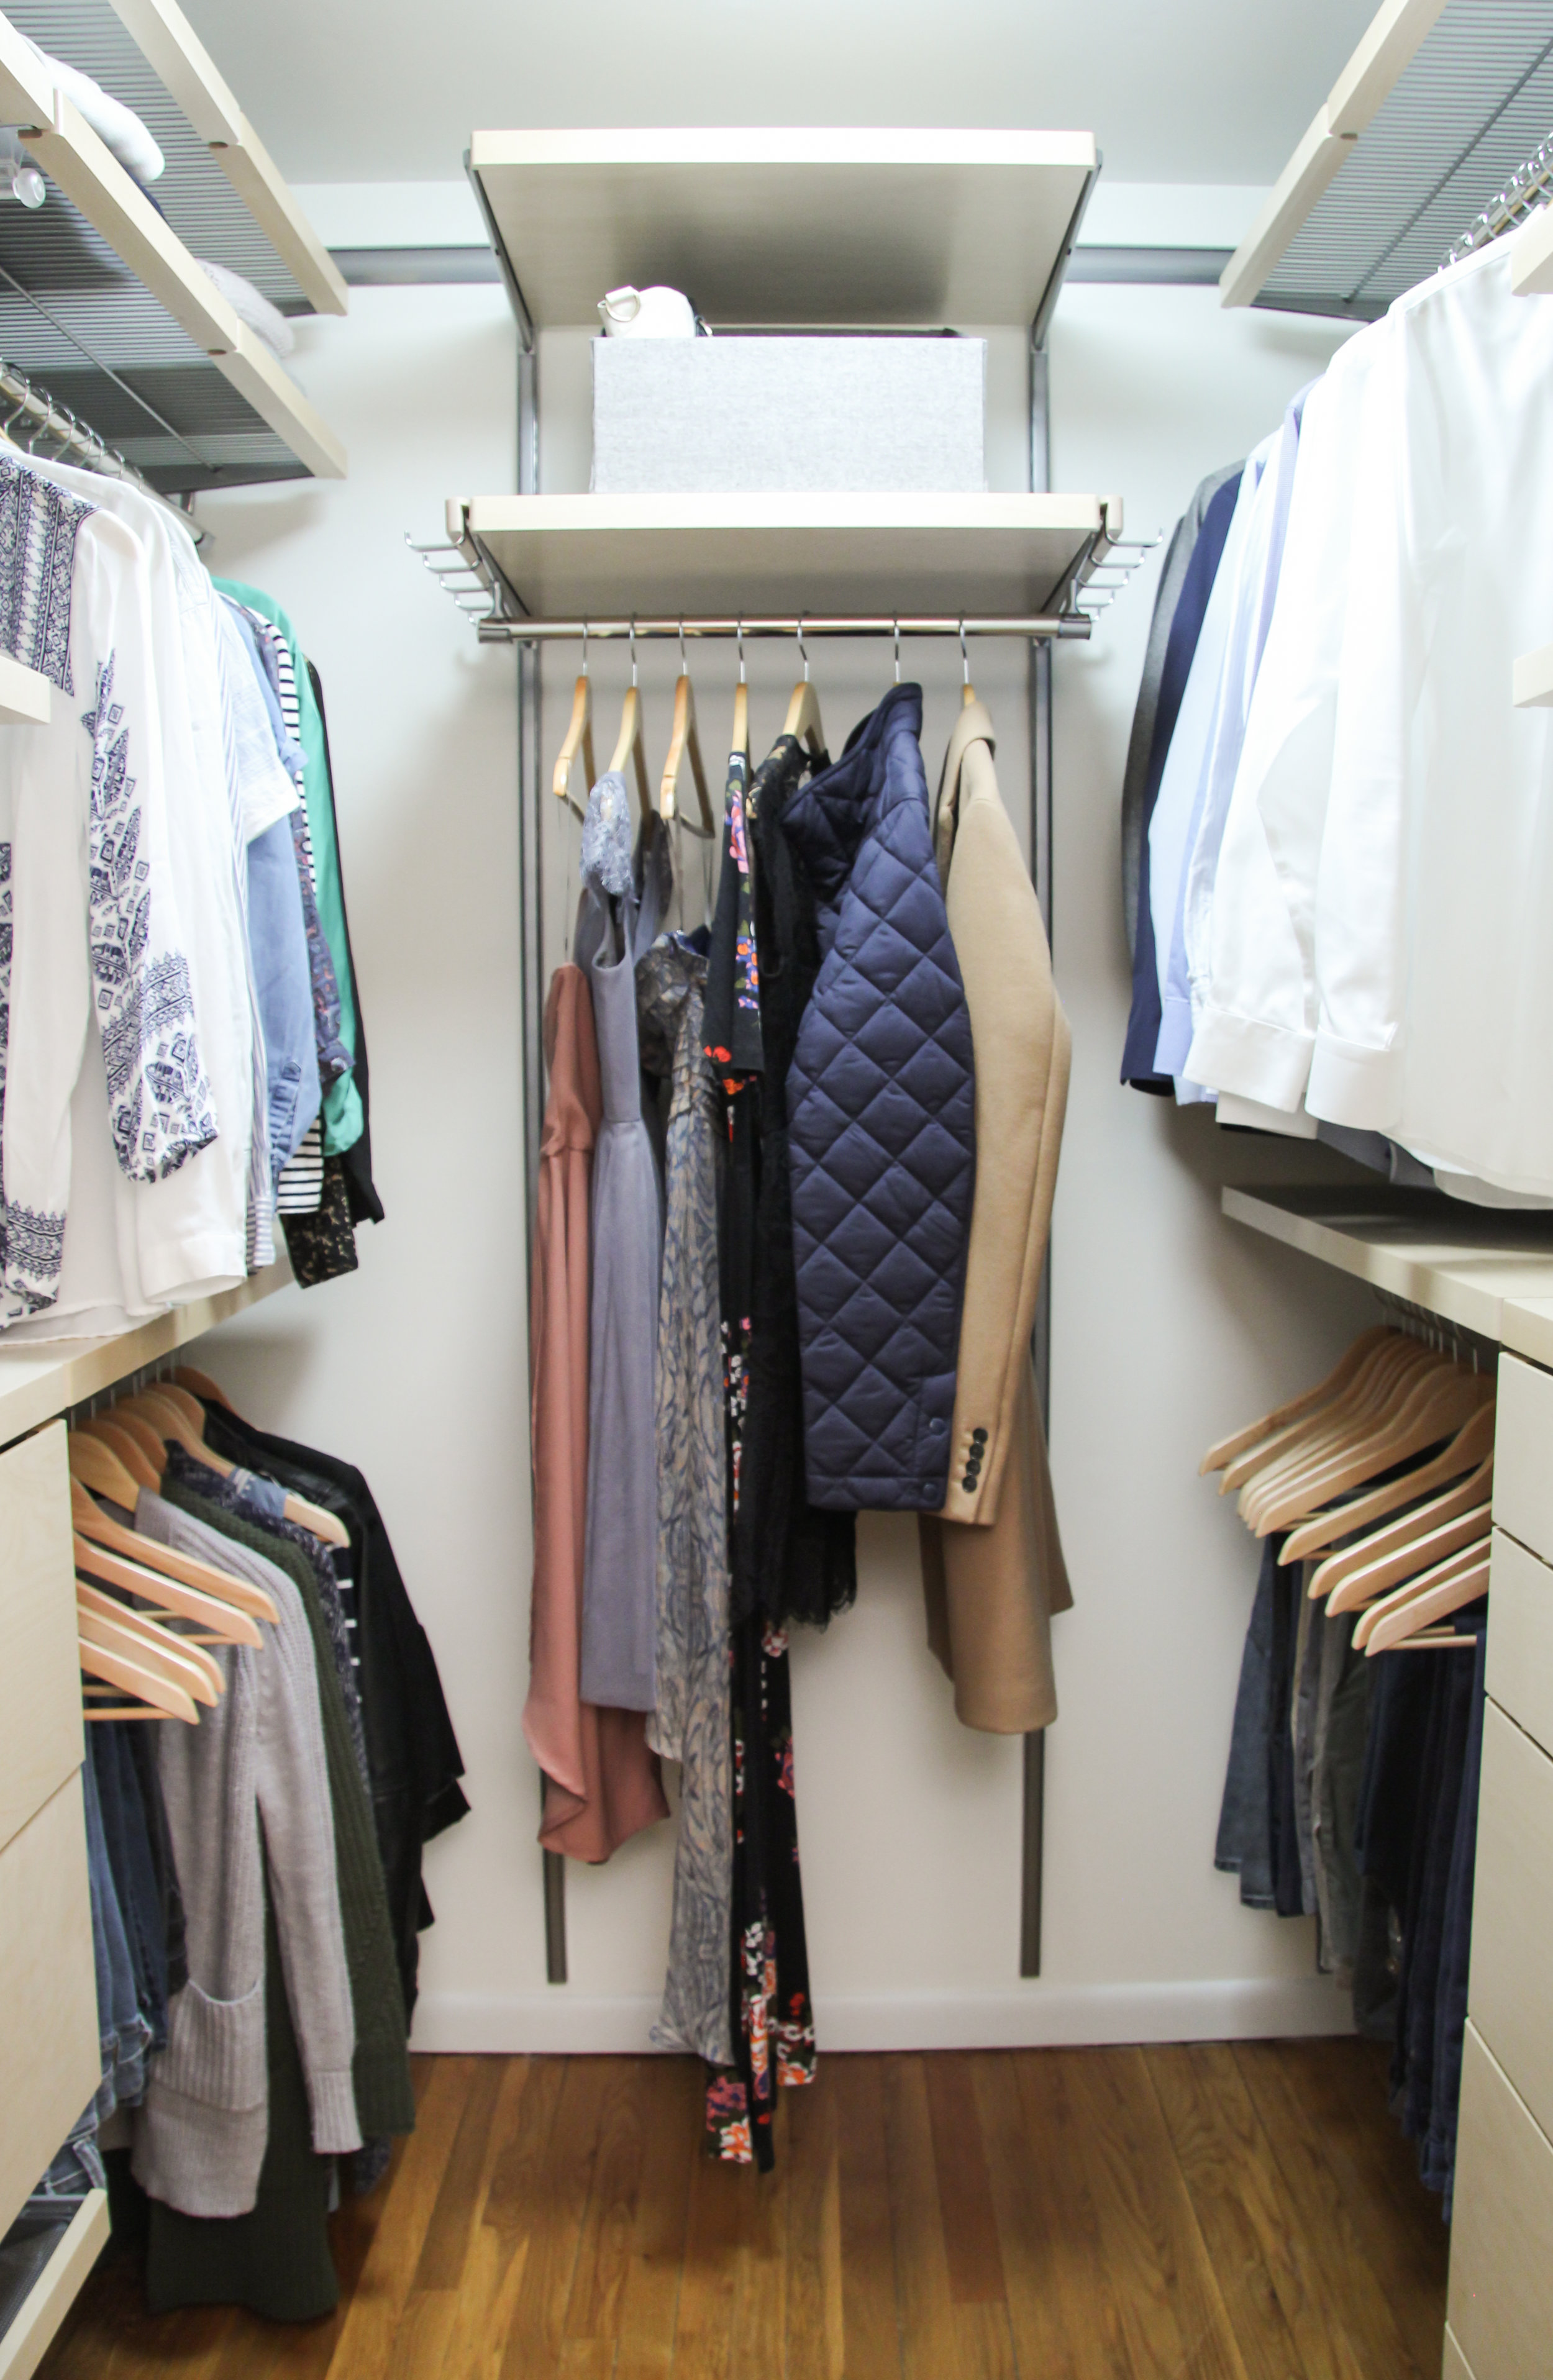
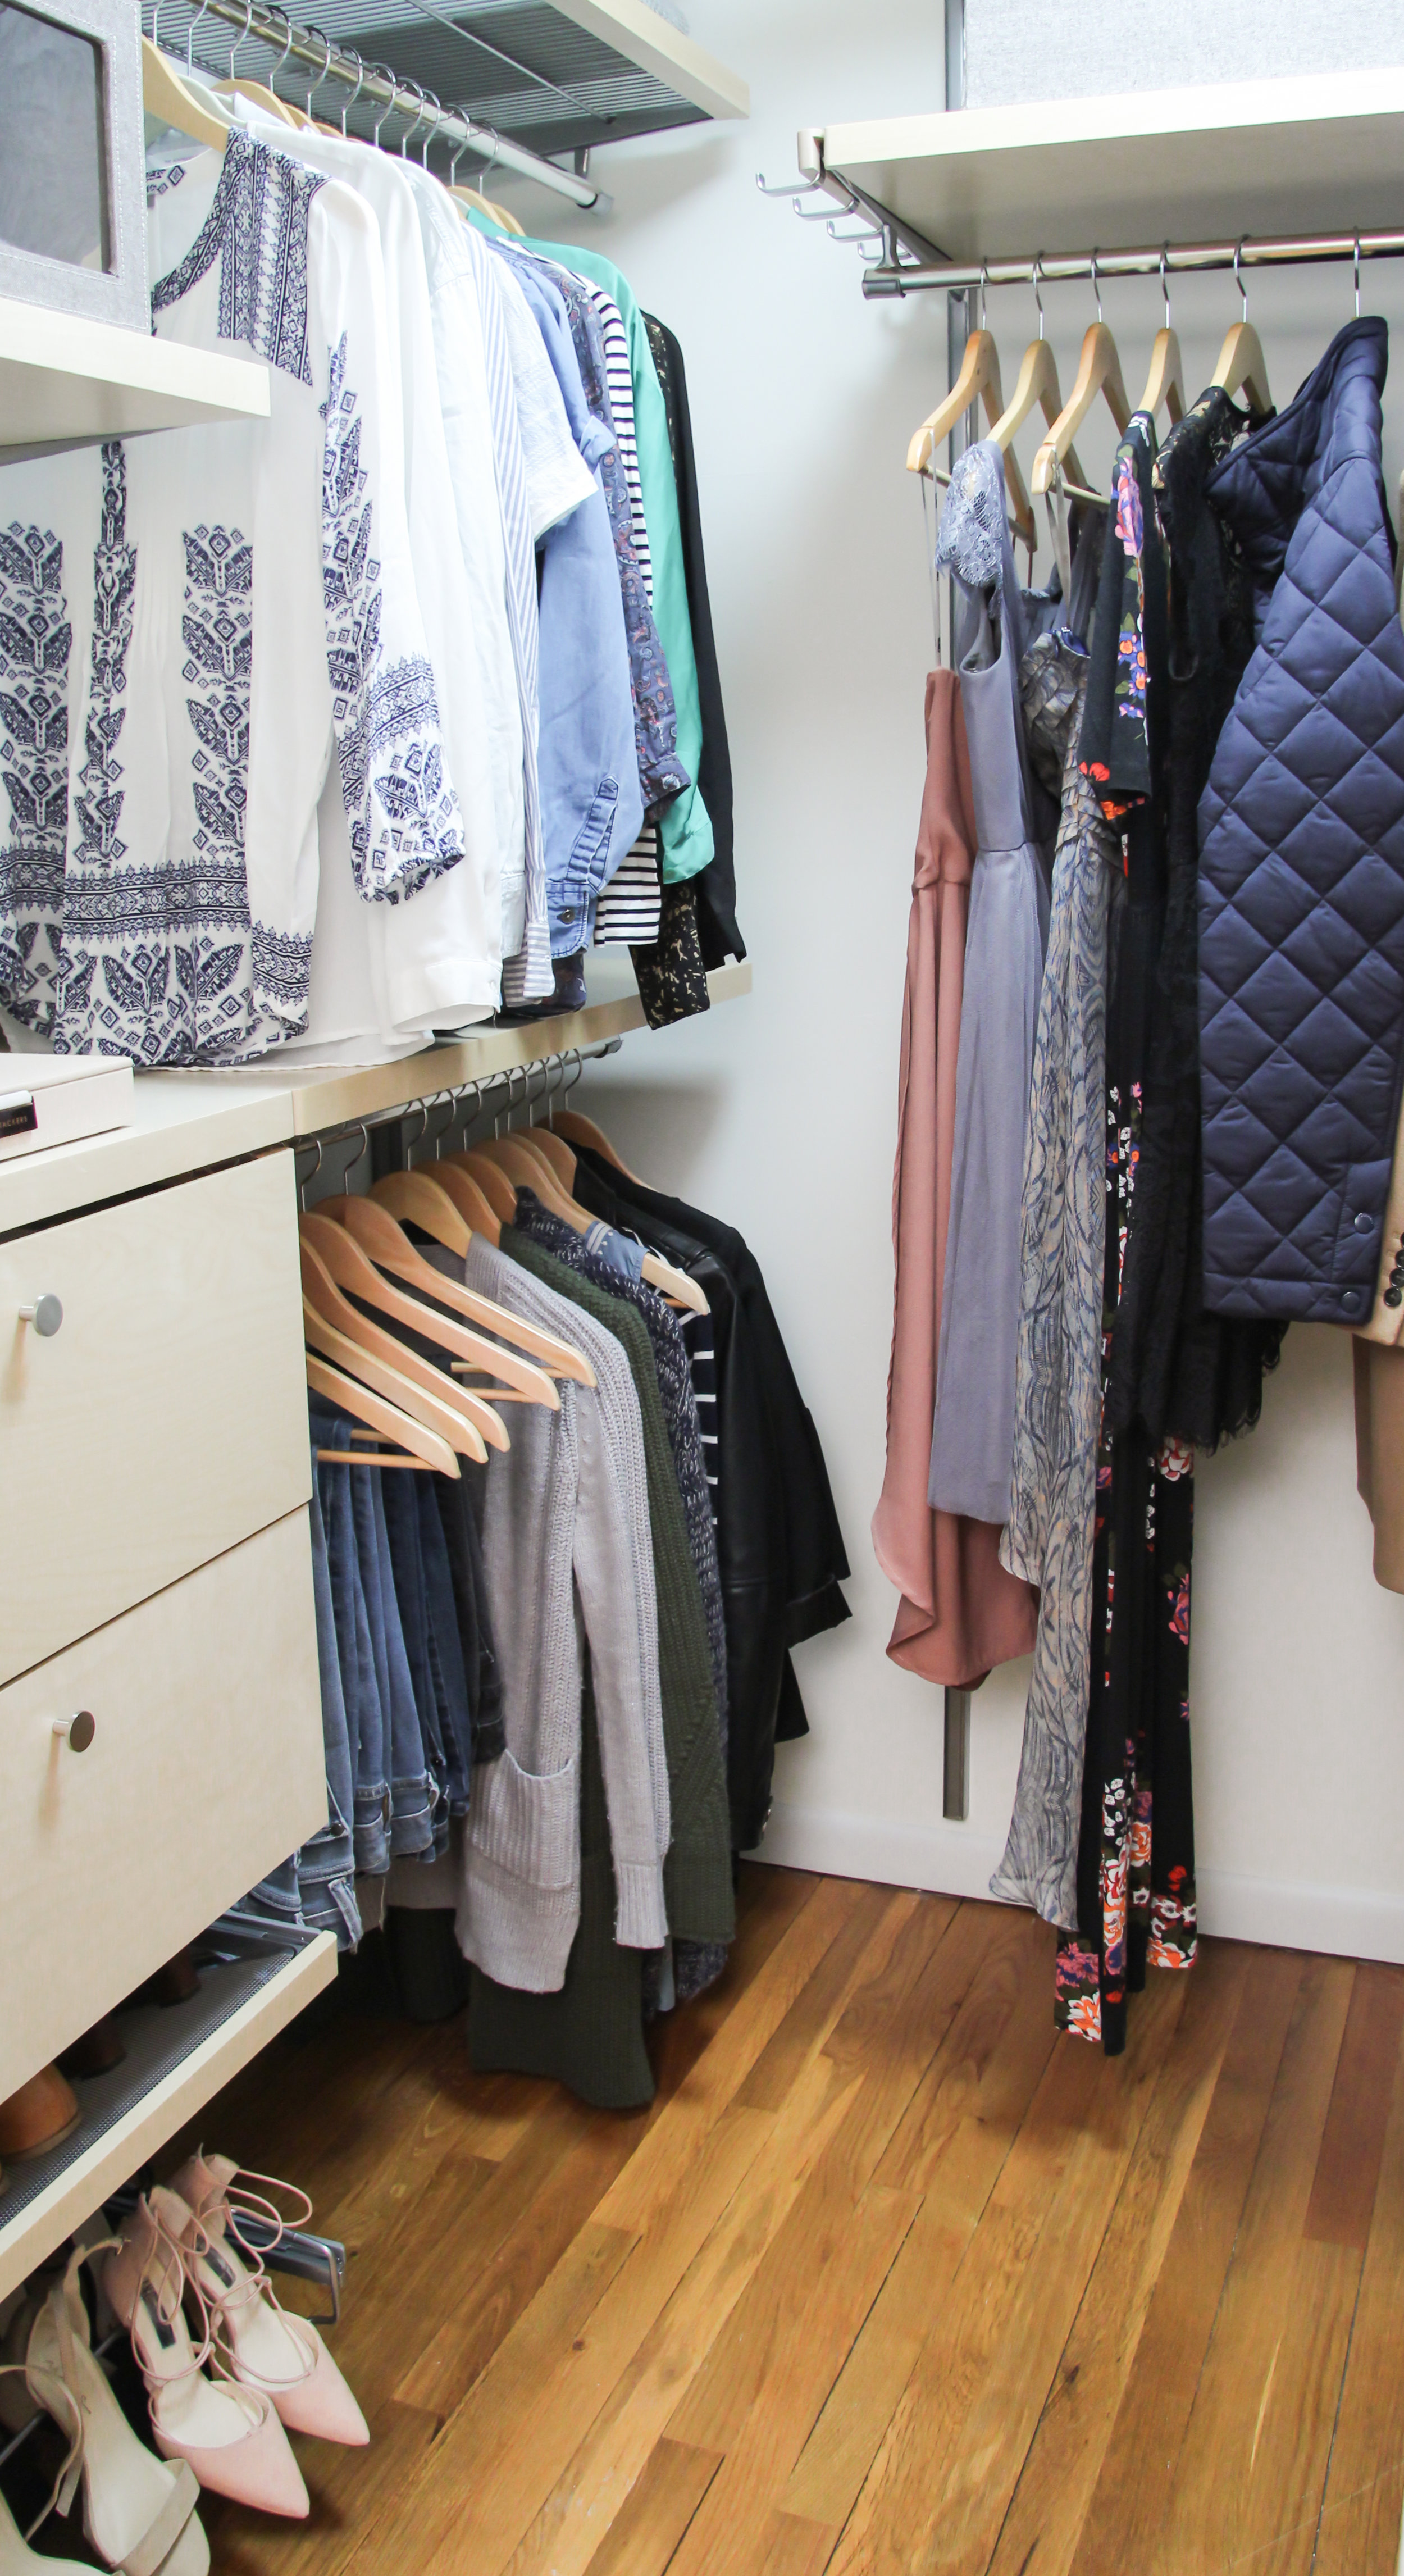
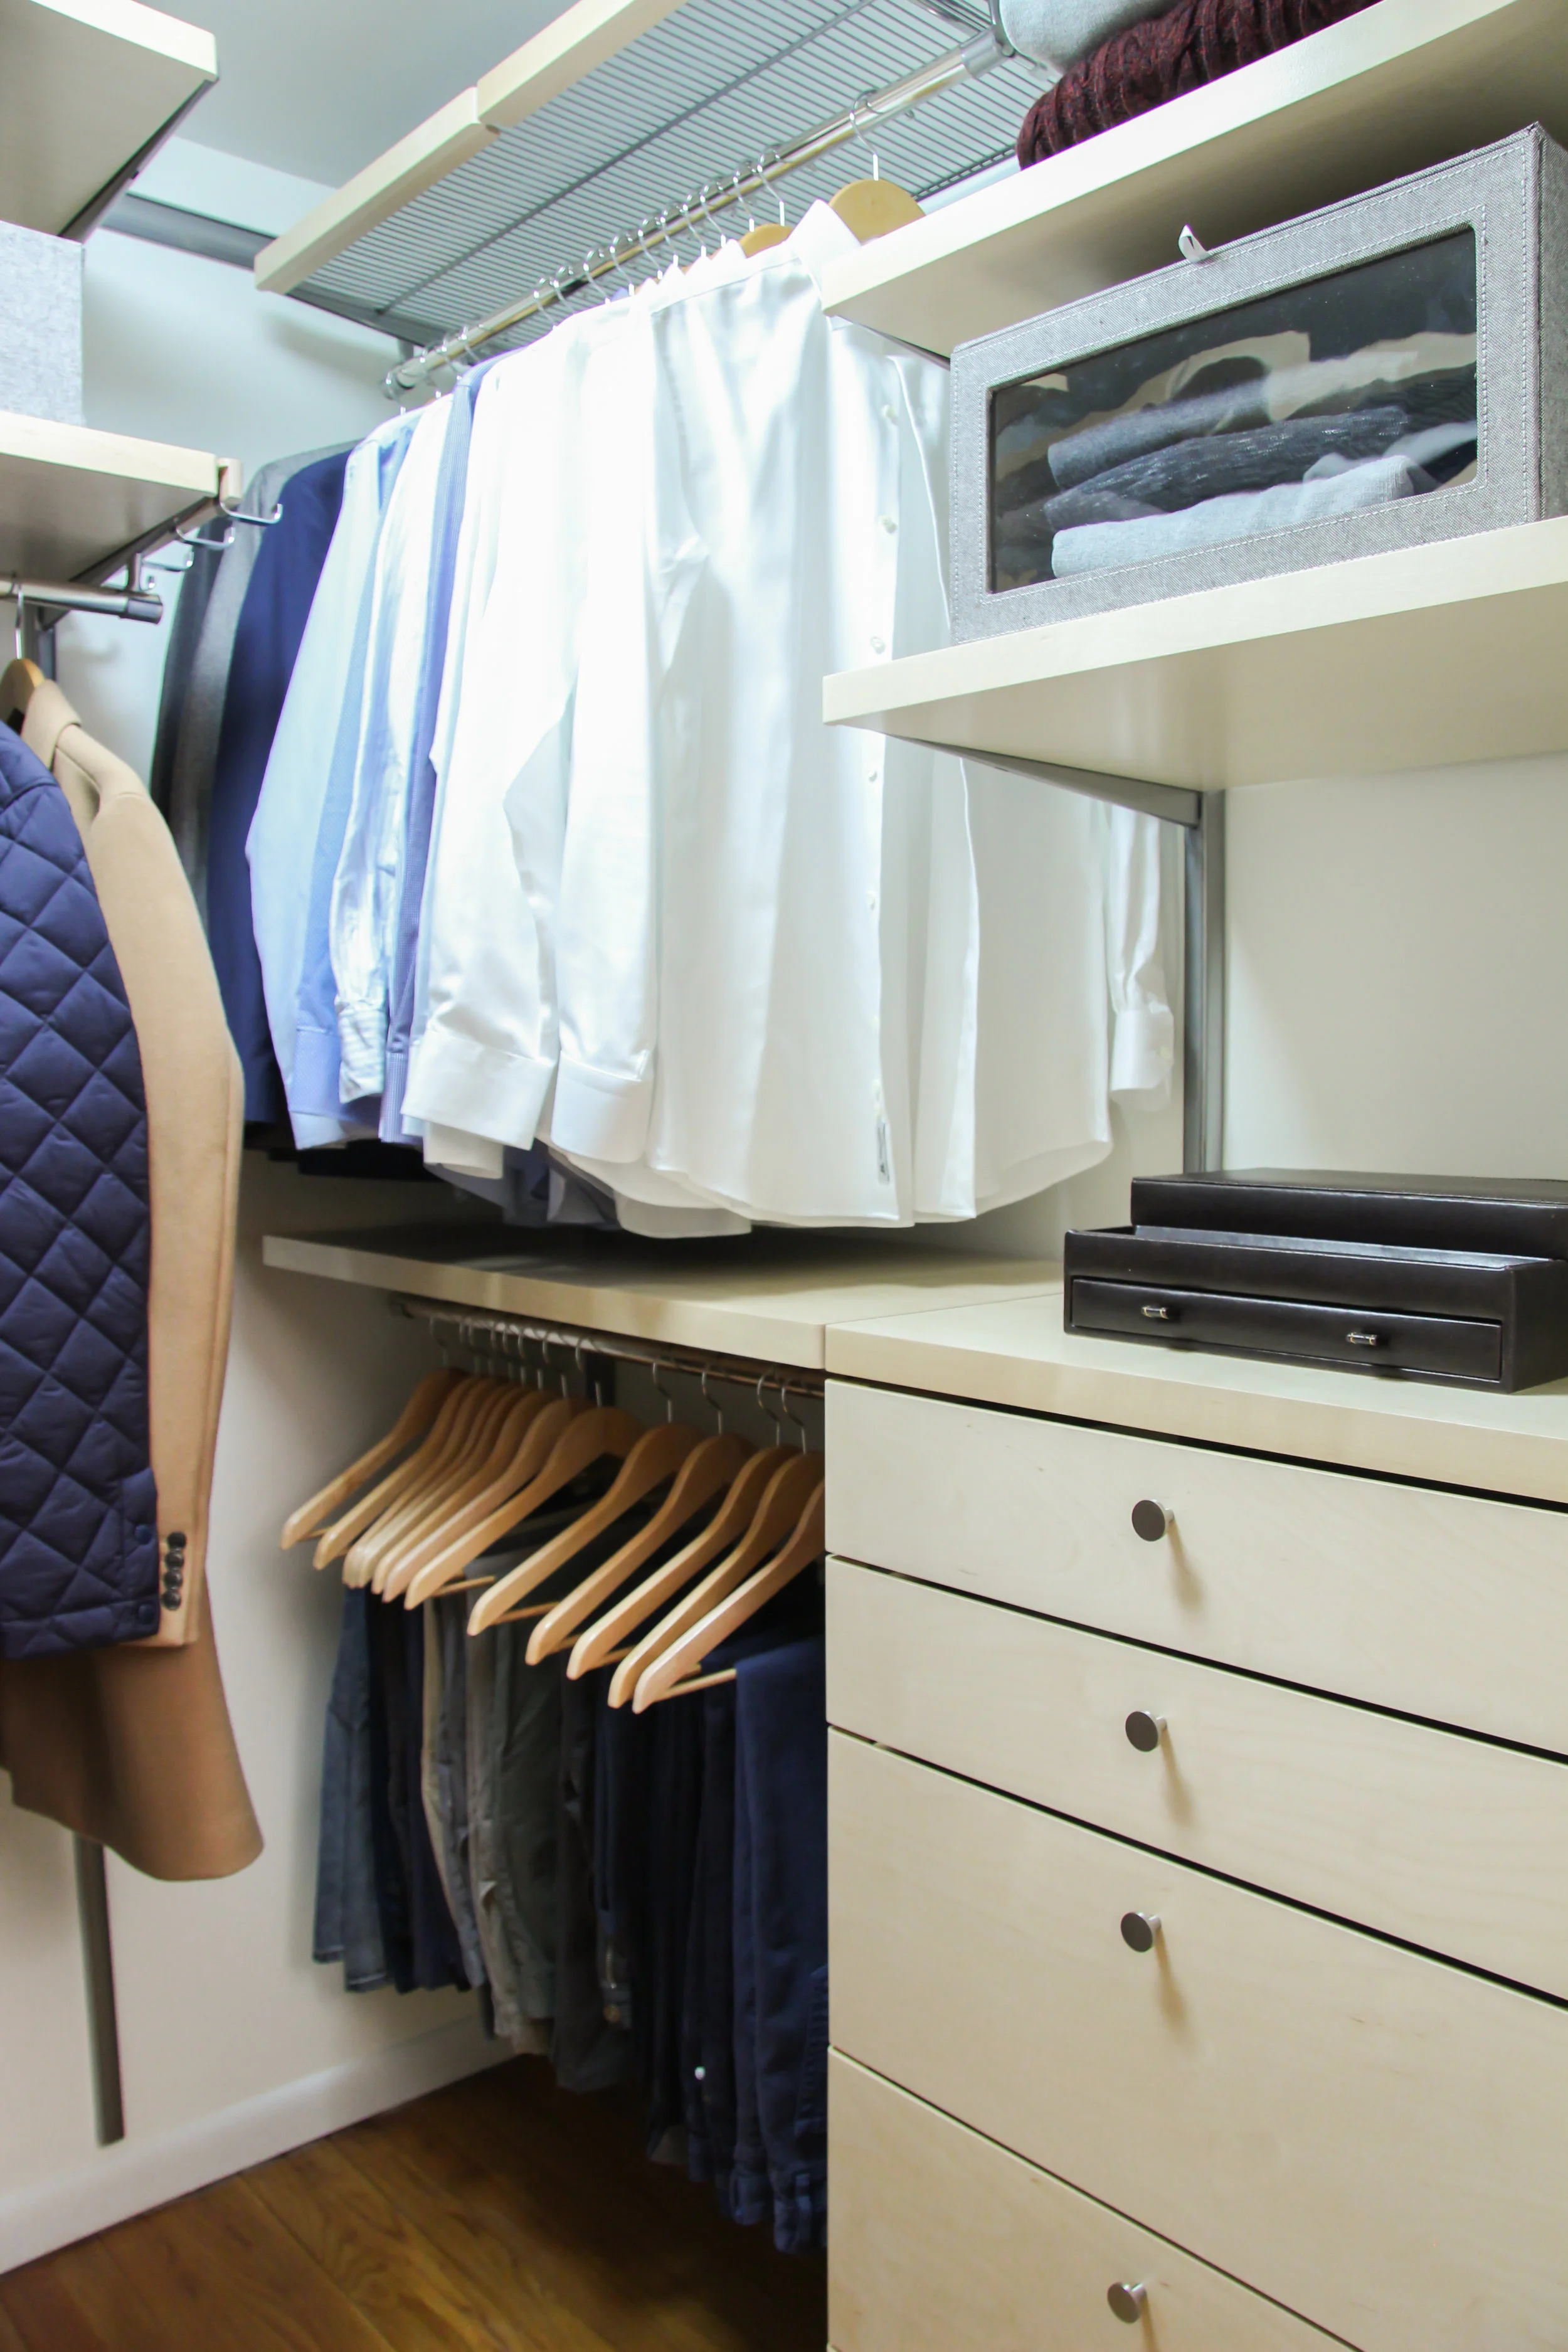

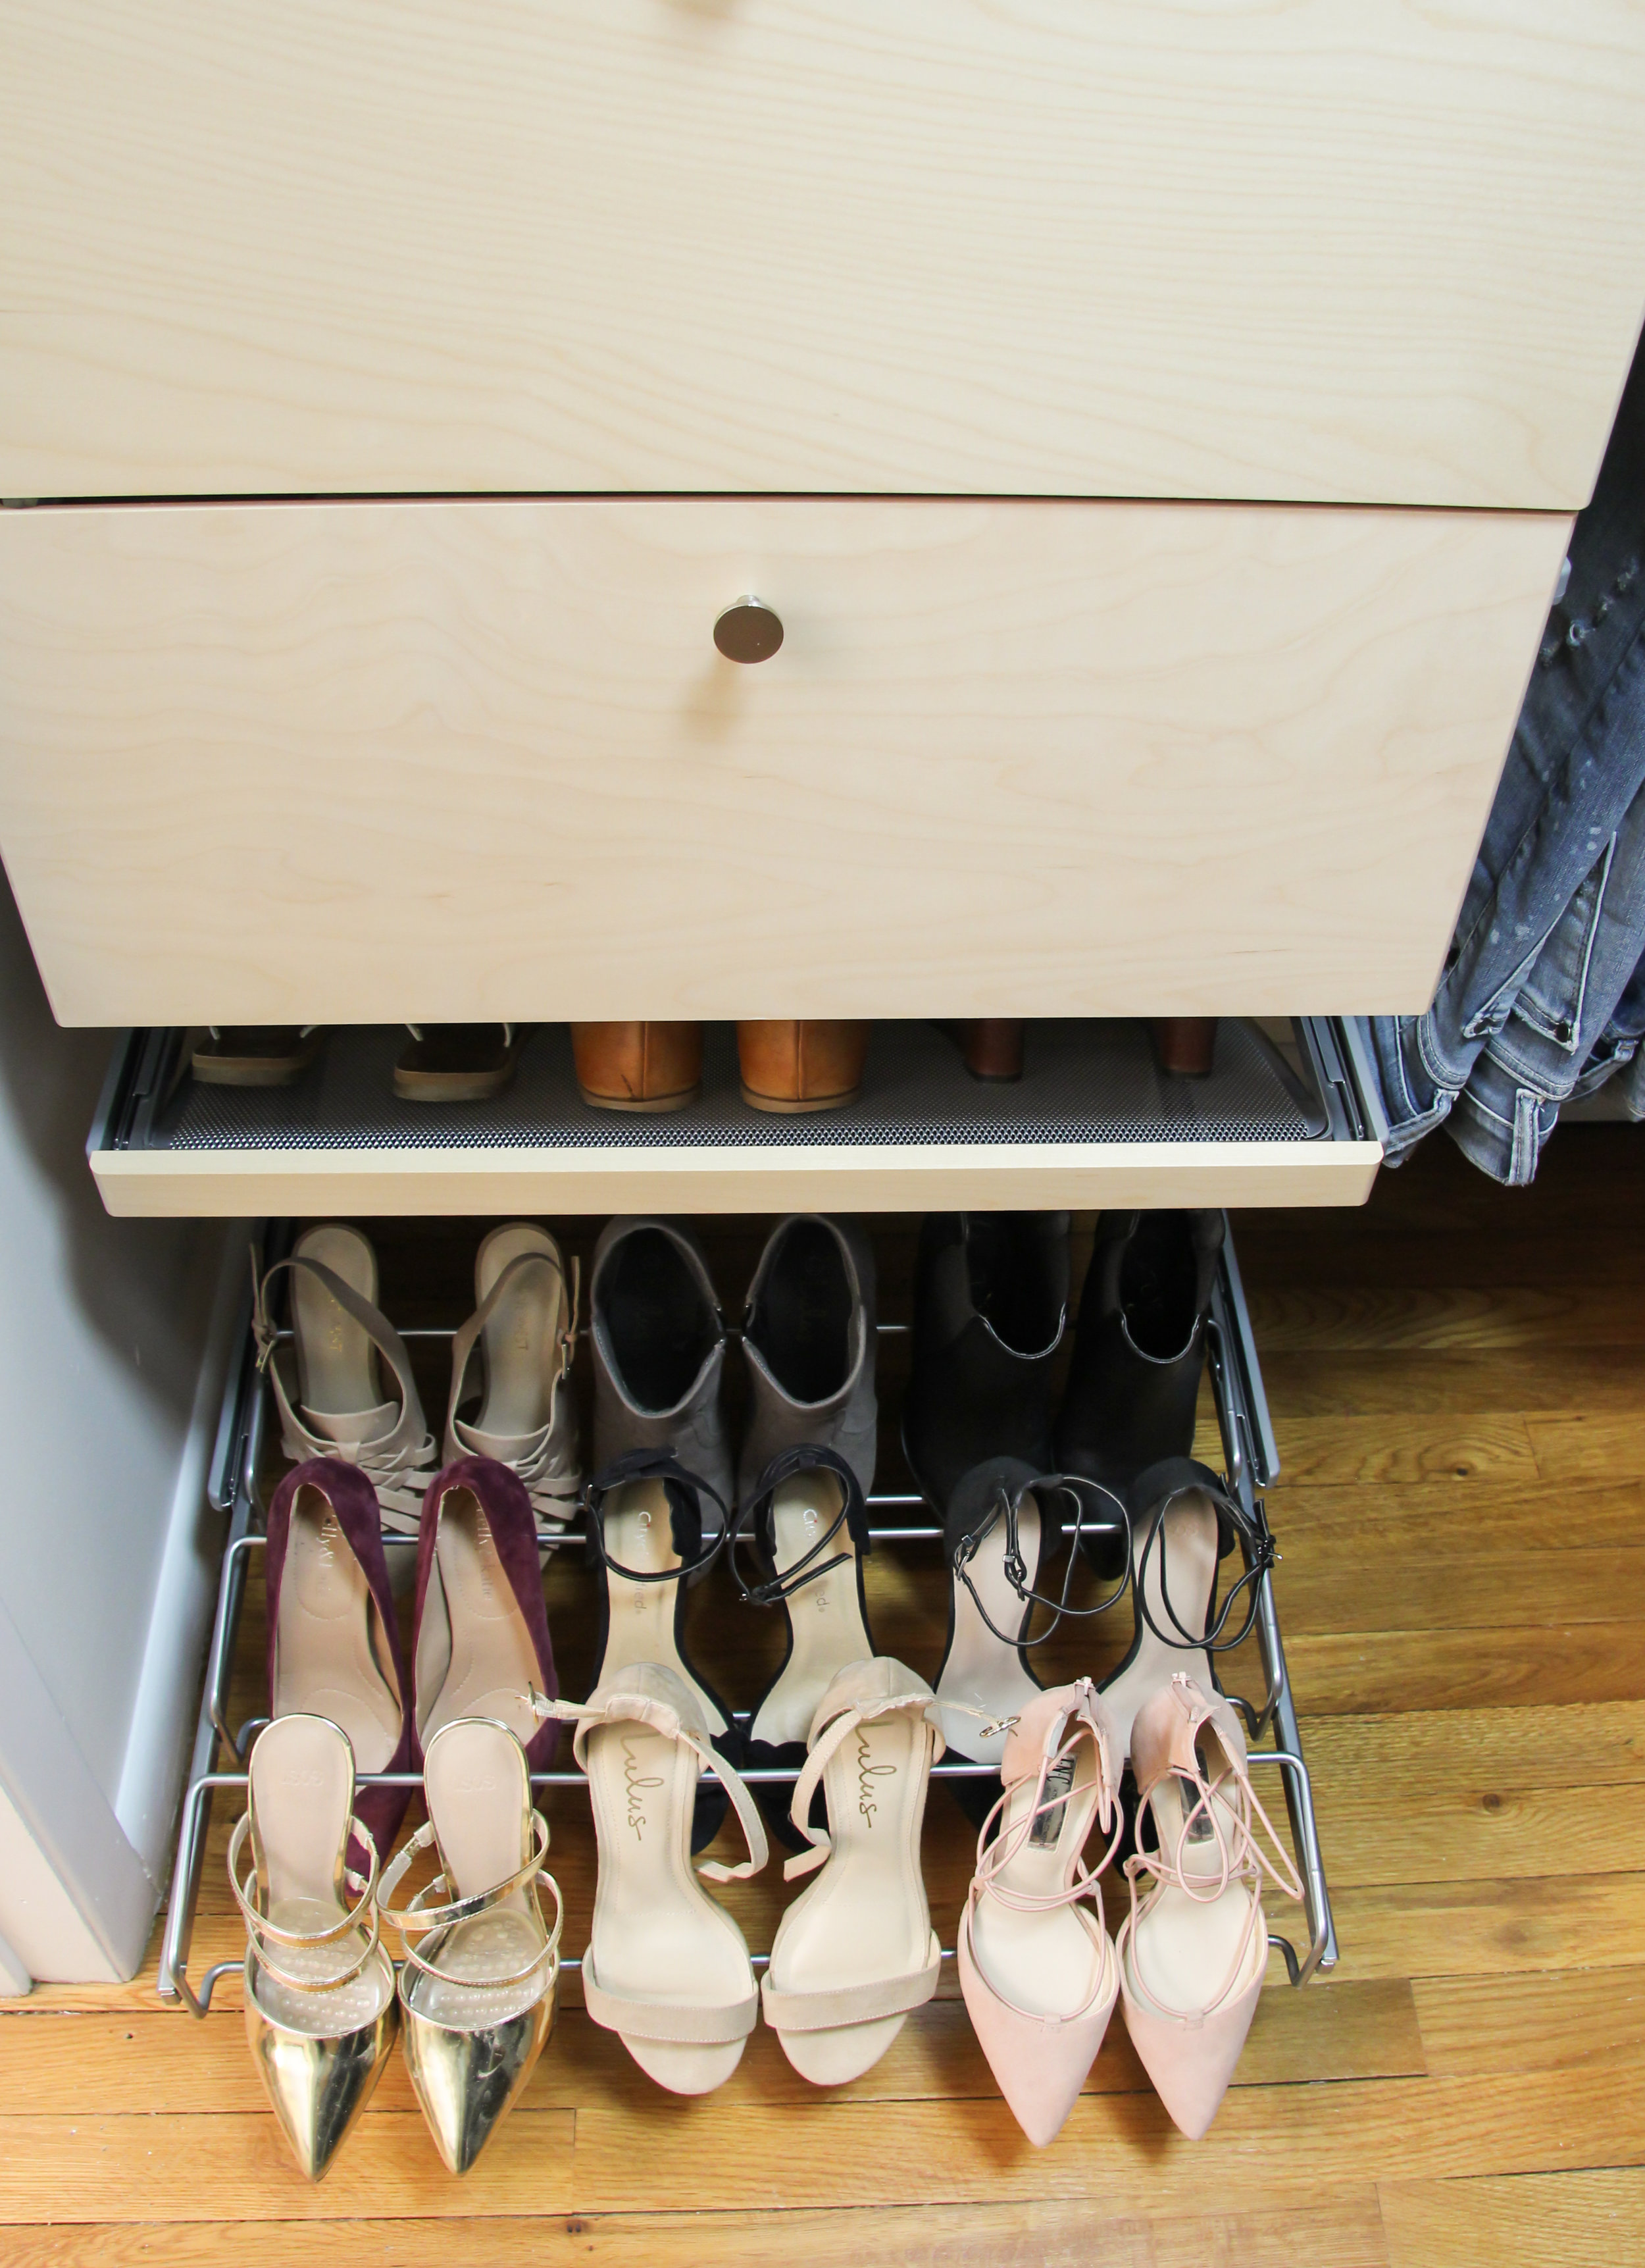
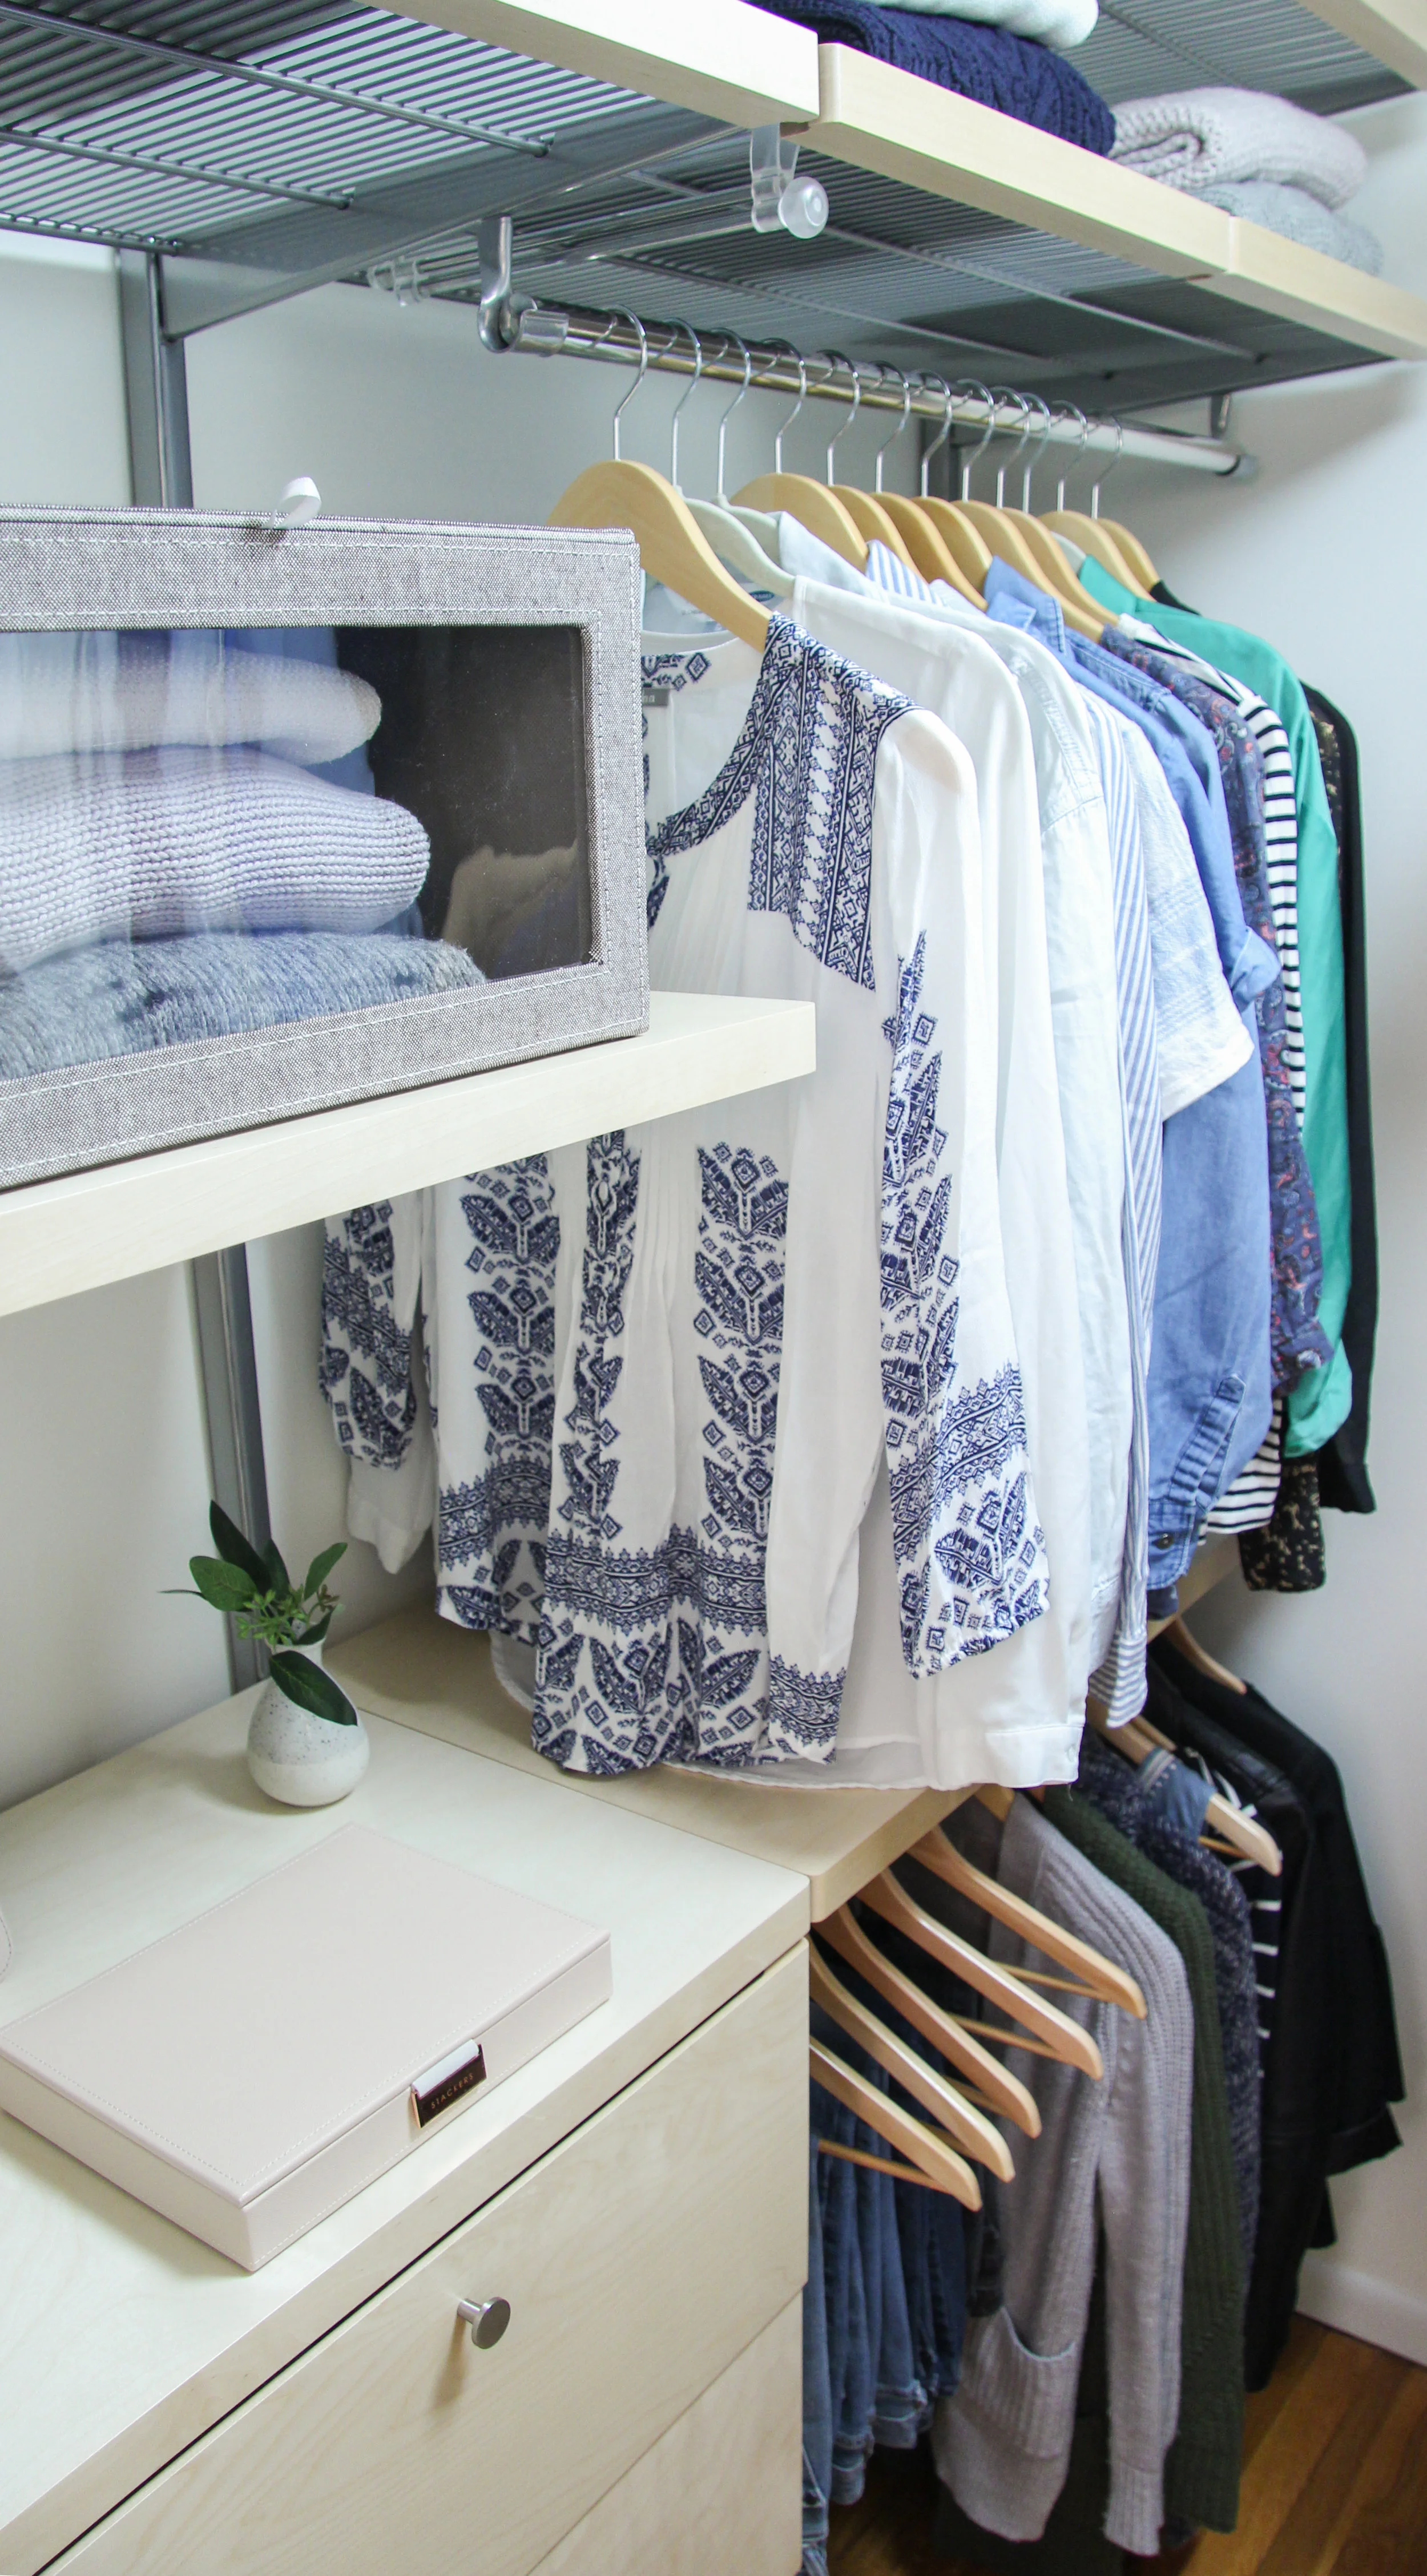
I am beyond thrilled with the finished product! Having two levels of gliding shoe storage, tons of shelving up top, drawer space, and an area to hang my long dresses is a dream come true. We are so happy with this new space. It looks so high end, but I love that we could install it ourselves. Everything is so much more organized and that is the best way to start off this new year.
What’s really exciting is that the annual Elfa sale is happening right now, and everything Elfa is 30% off PLUS 30% off installation services through February 26th. This is an amazing deal and a perfect time to tackle your next project. If you’ve been wanting to renovate or makeover your closet, now is the time! You can find all of the details here.
*This post is sponsored by The Container Store but all opinions are my own.