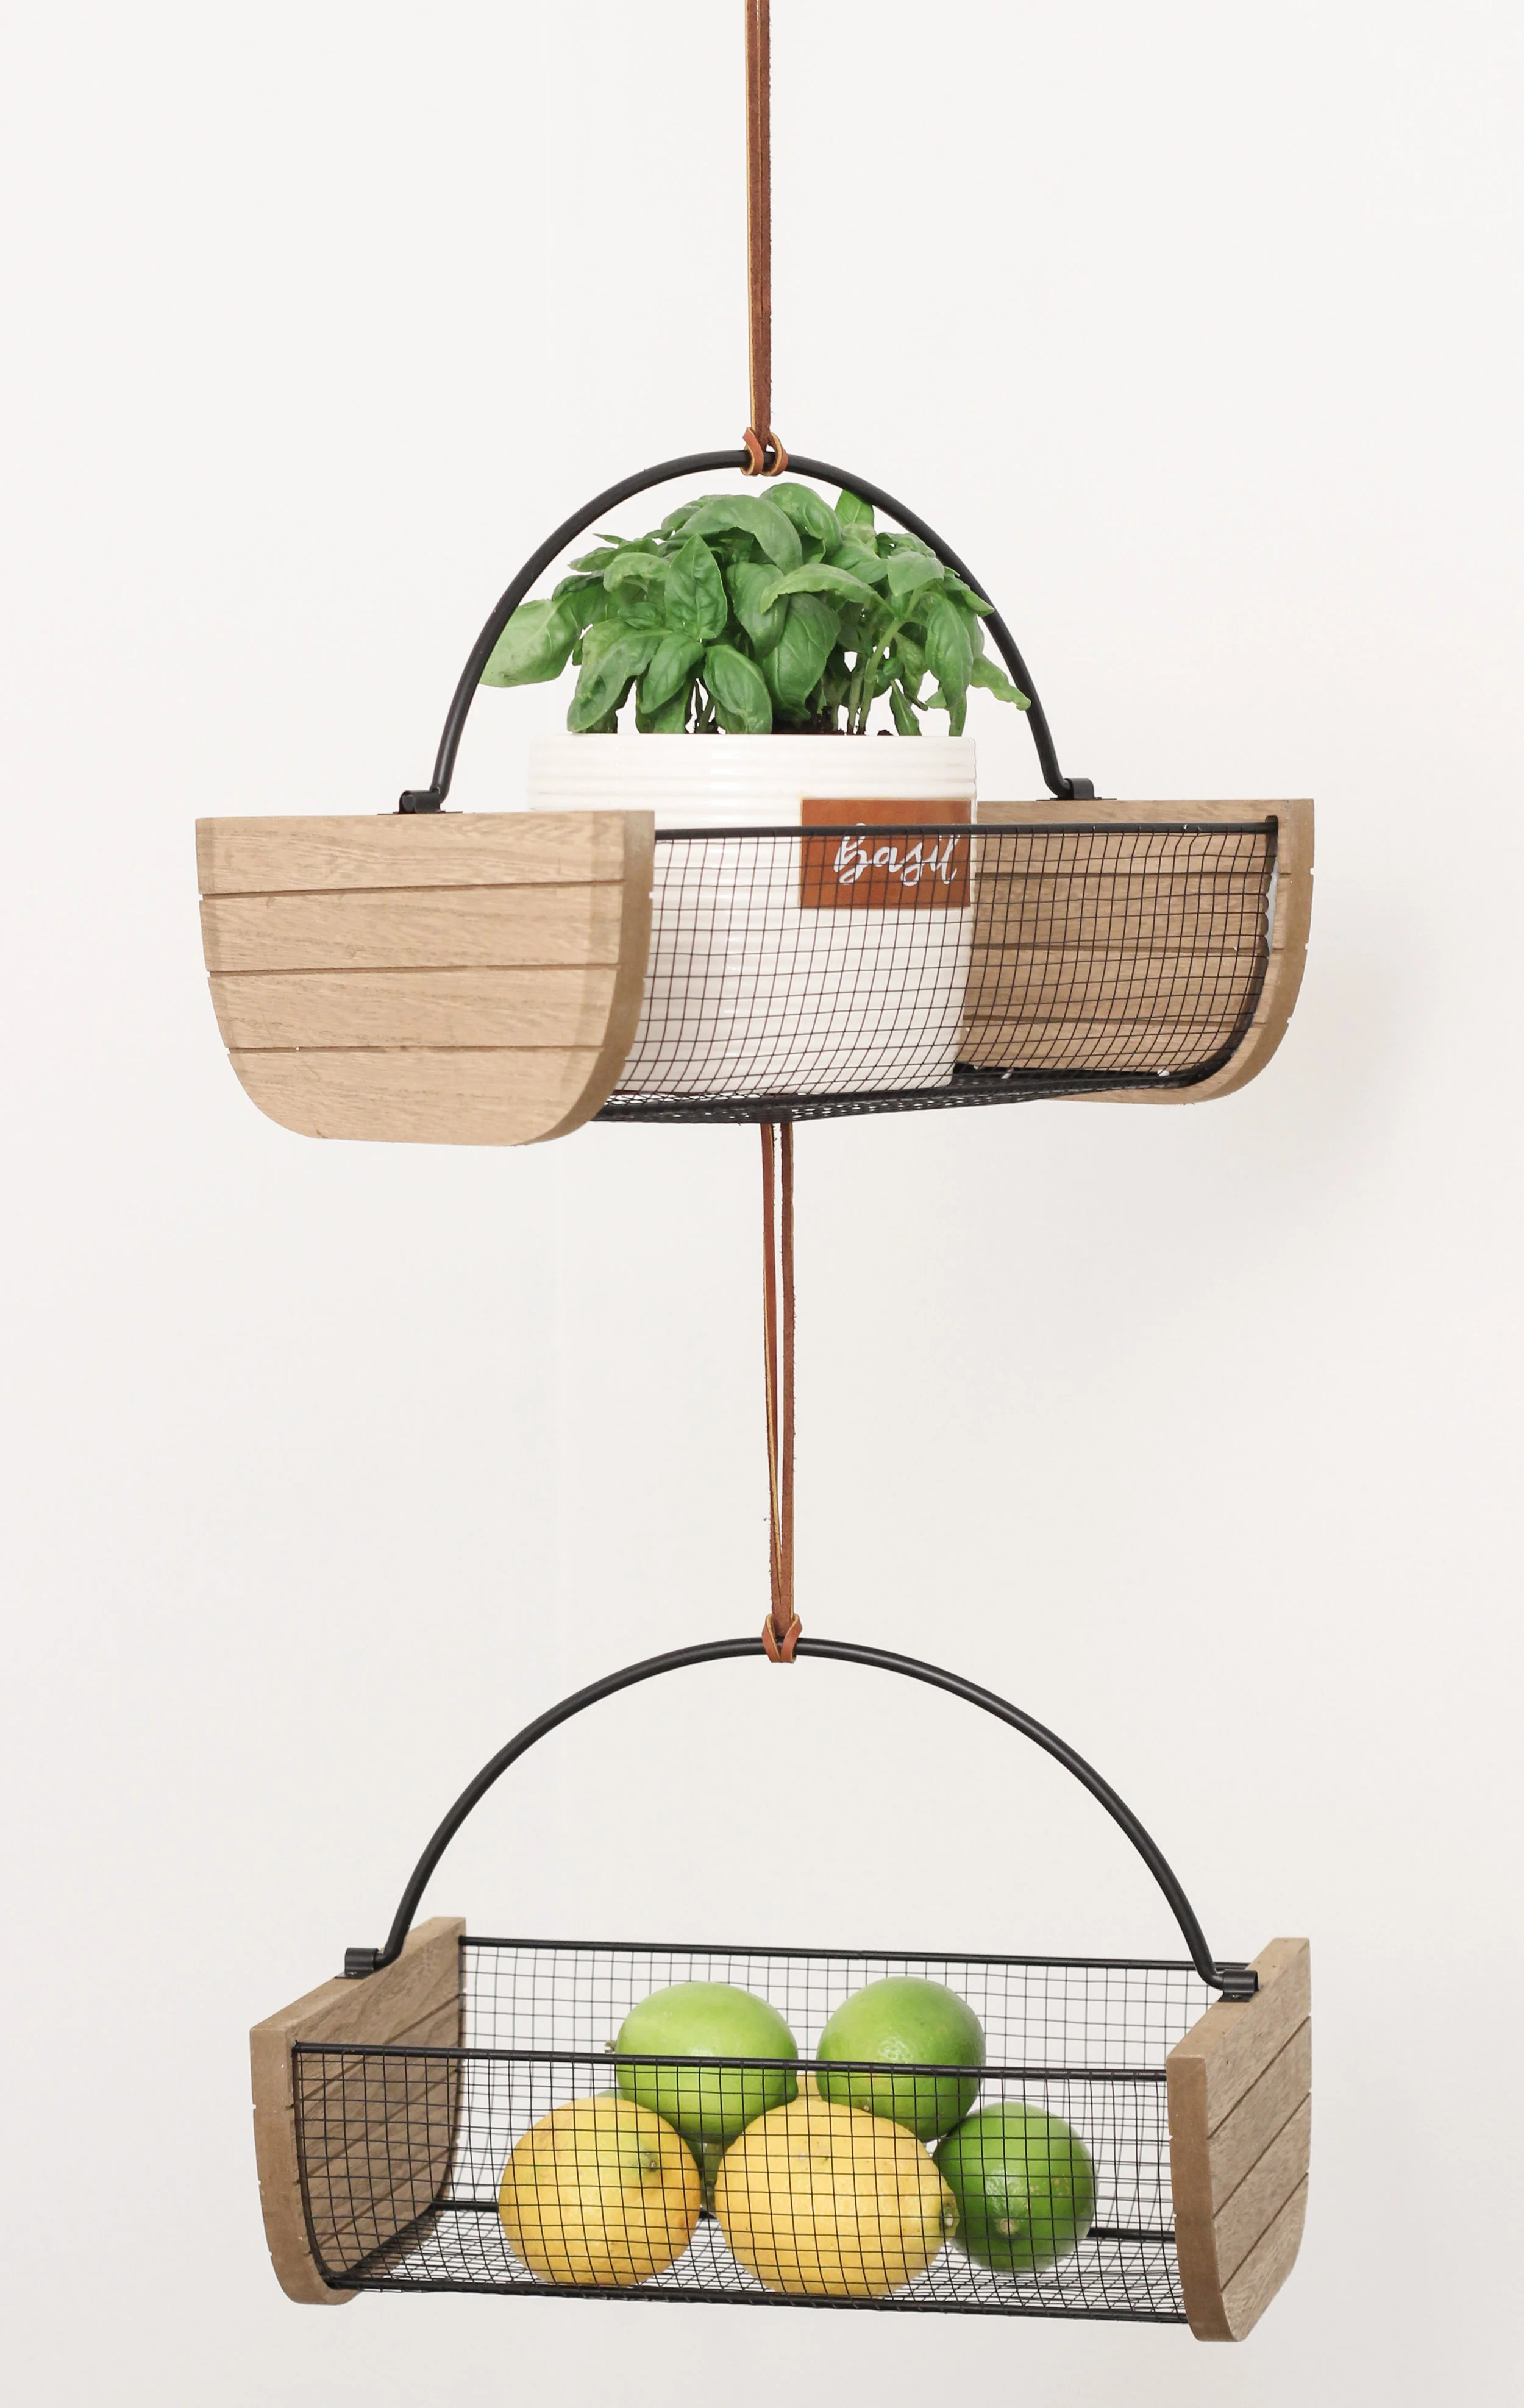
DIY TIERED HANGING FRUIT BASKET
Having a hanging fruit basket in my home was always on my list of goals (what can I say, I like to dream big), but I never had the space for it, until now! I love to keep a stockpile of fresh lemons, limes, and bananas on hand, and I finally have a kitchen that can make my fruit basket dreams a reality. I quickly discovered that all of the tiered baskets that fit my style vision were a bit too pricey for me, so I once again put my DIY skills to the test. I’m happy to report that this one is super duper easy and looks so good!
Materials:
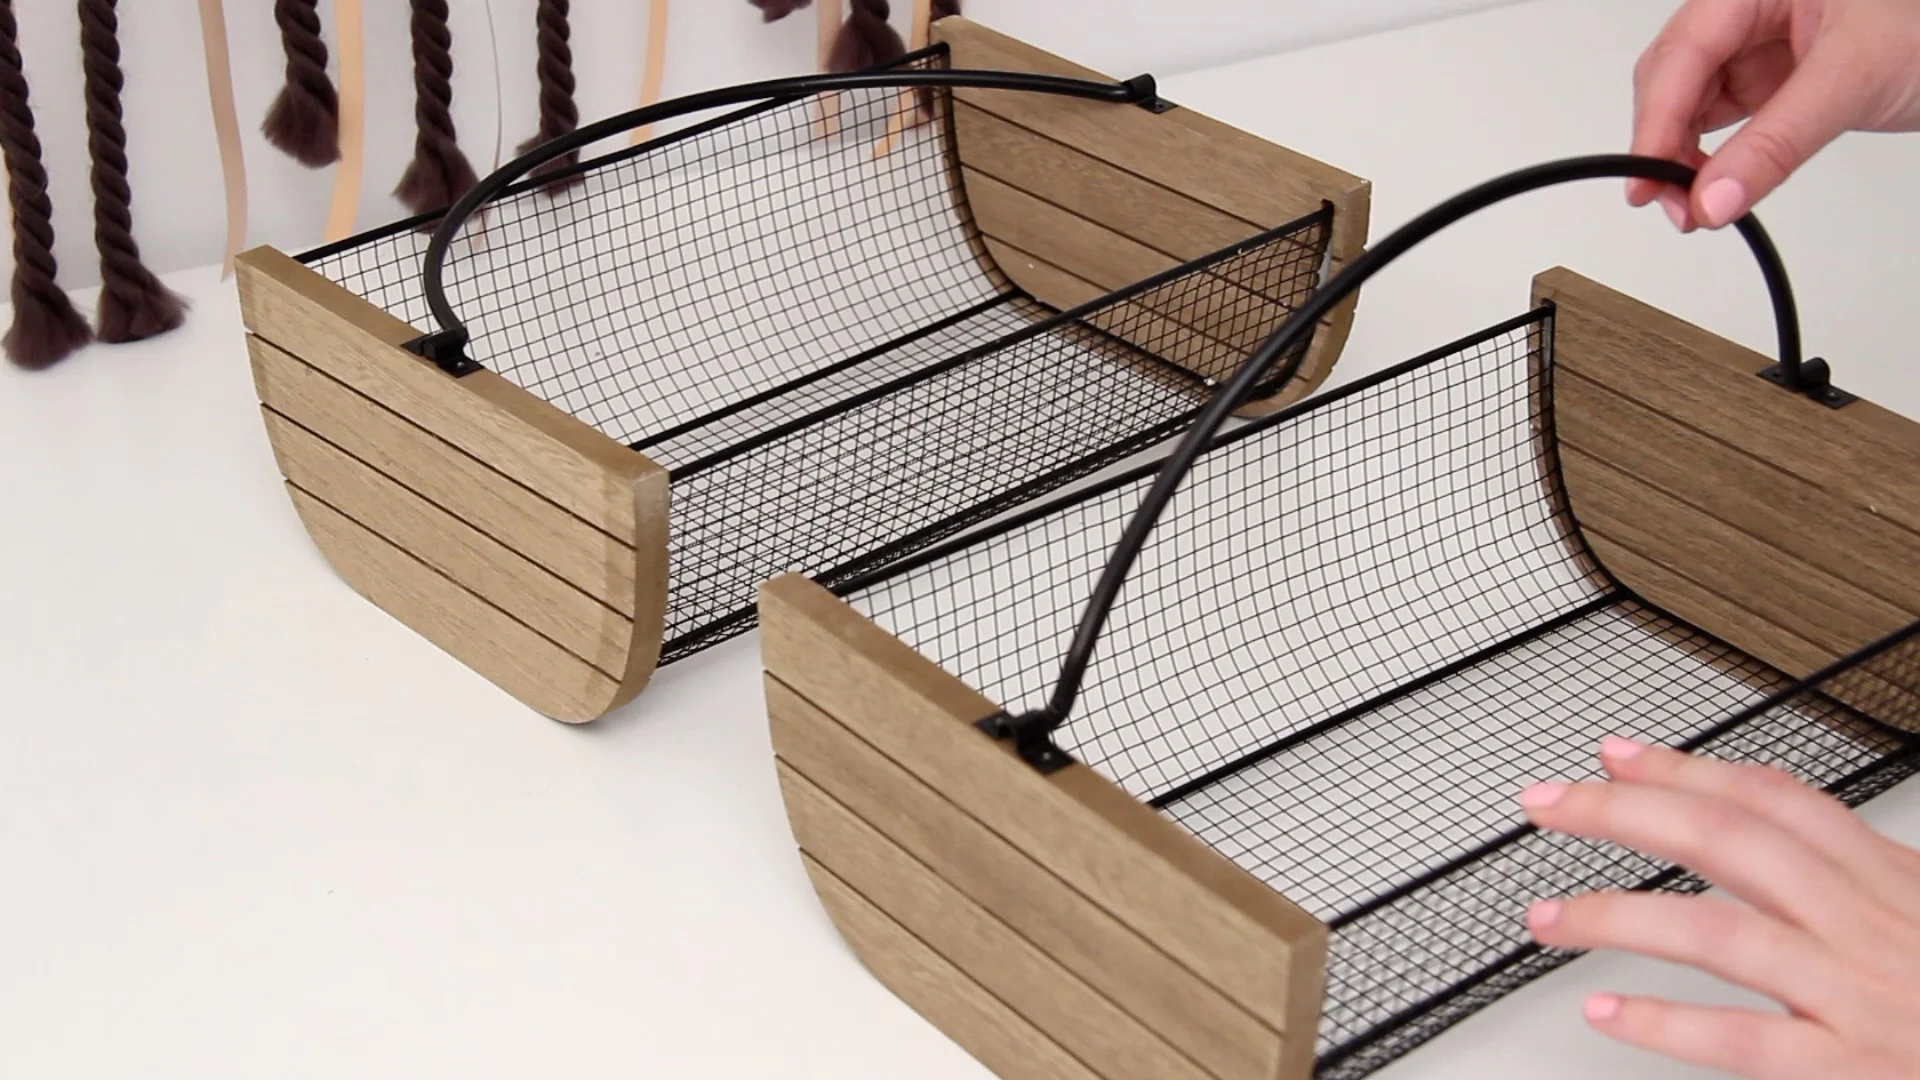
2 WIRE BASKETS WITH HANDLES - SIMILAR BASKETS LINKED HERE
LEATHER CORD OR ROPE - THIS IS SIMILAR TO WHAT I USED AND LESS EXPENSIVE
I found these great baskets in the Target dollar spot, but you can easily find baskets like this at craft stores, dollar stores, or online.
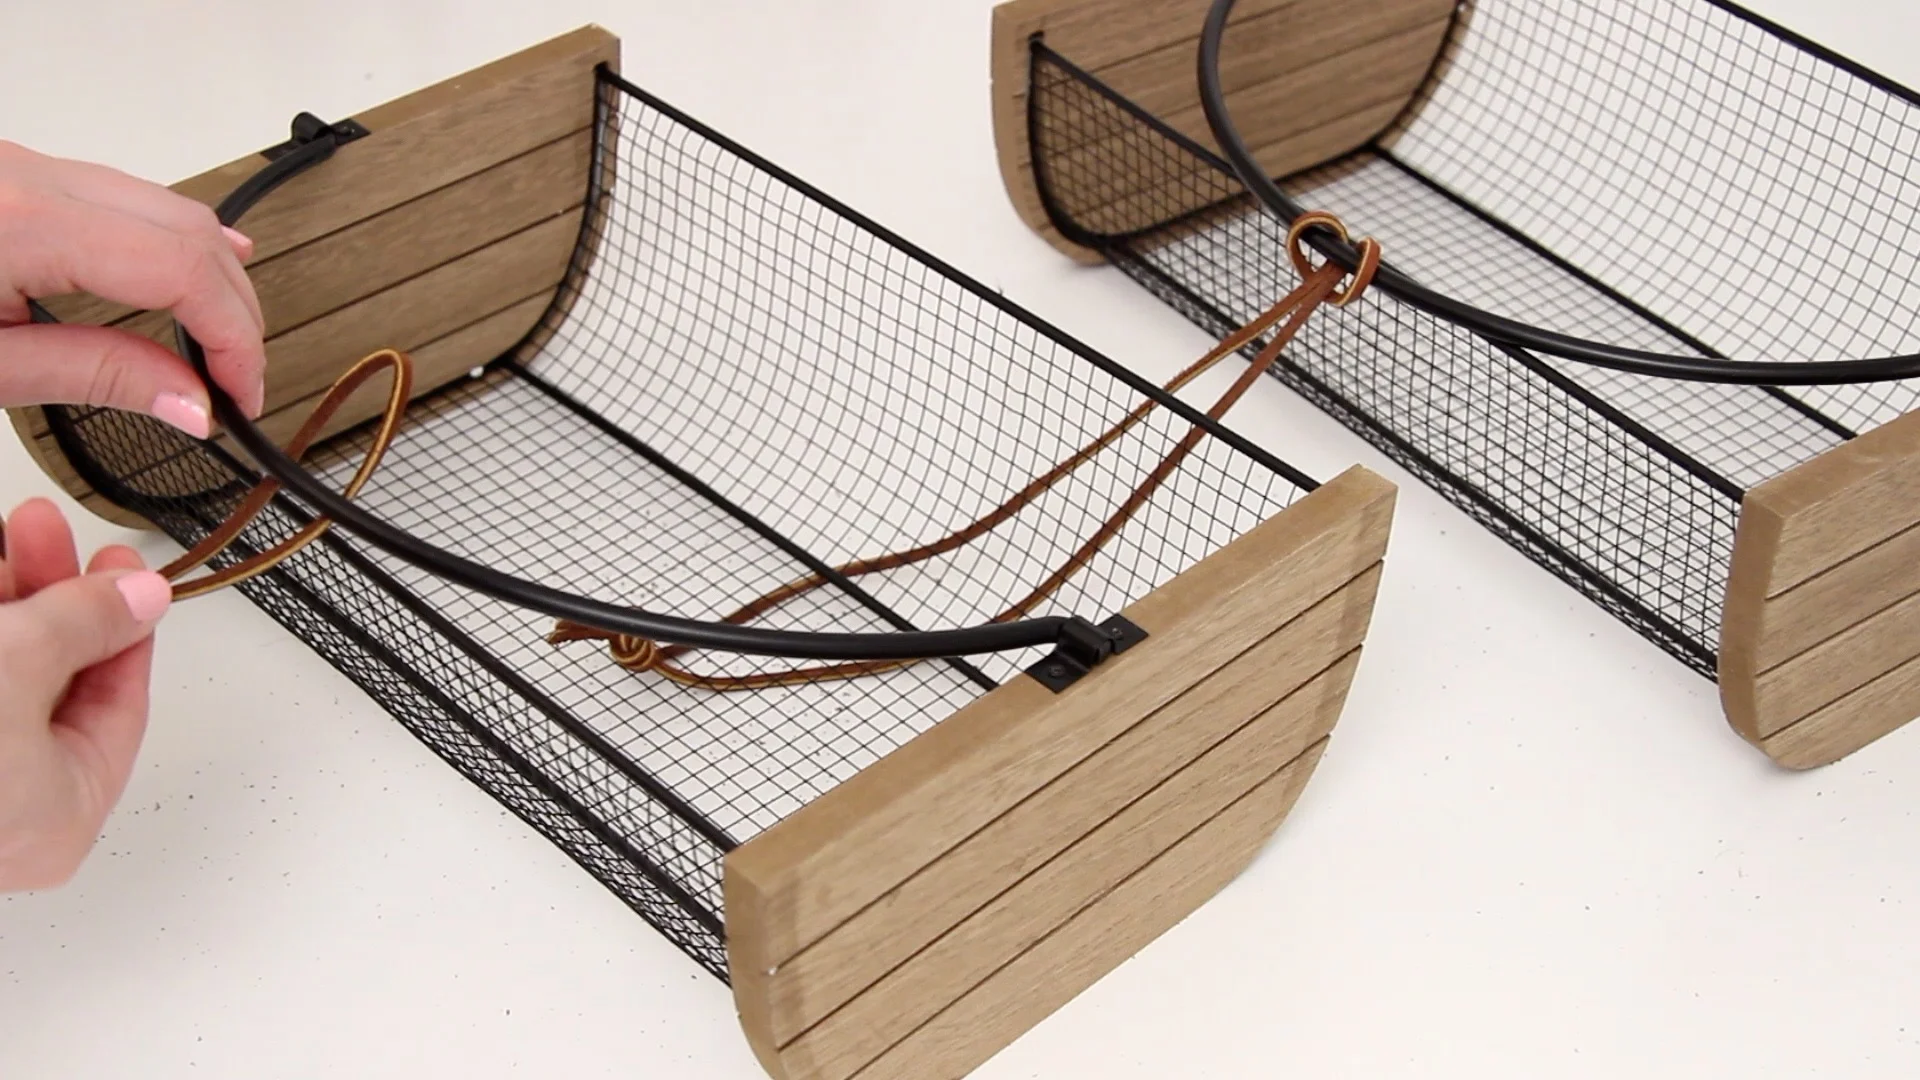
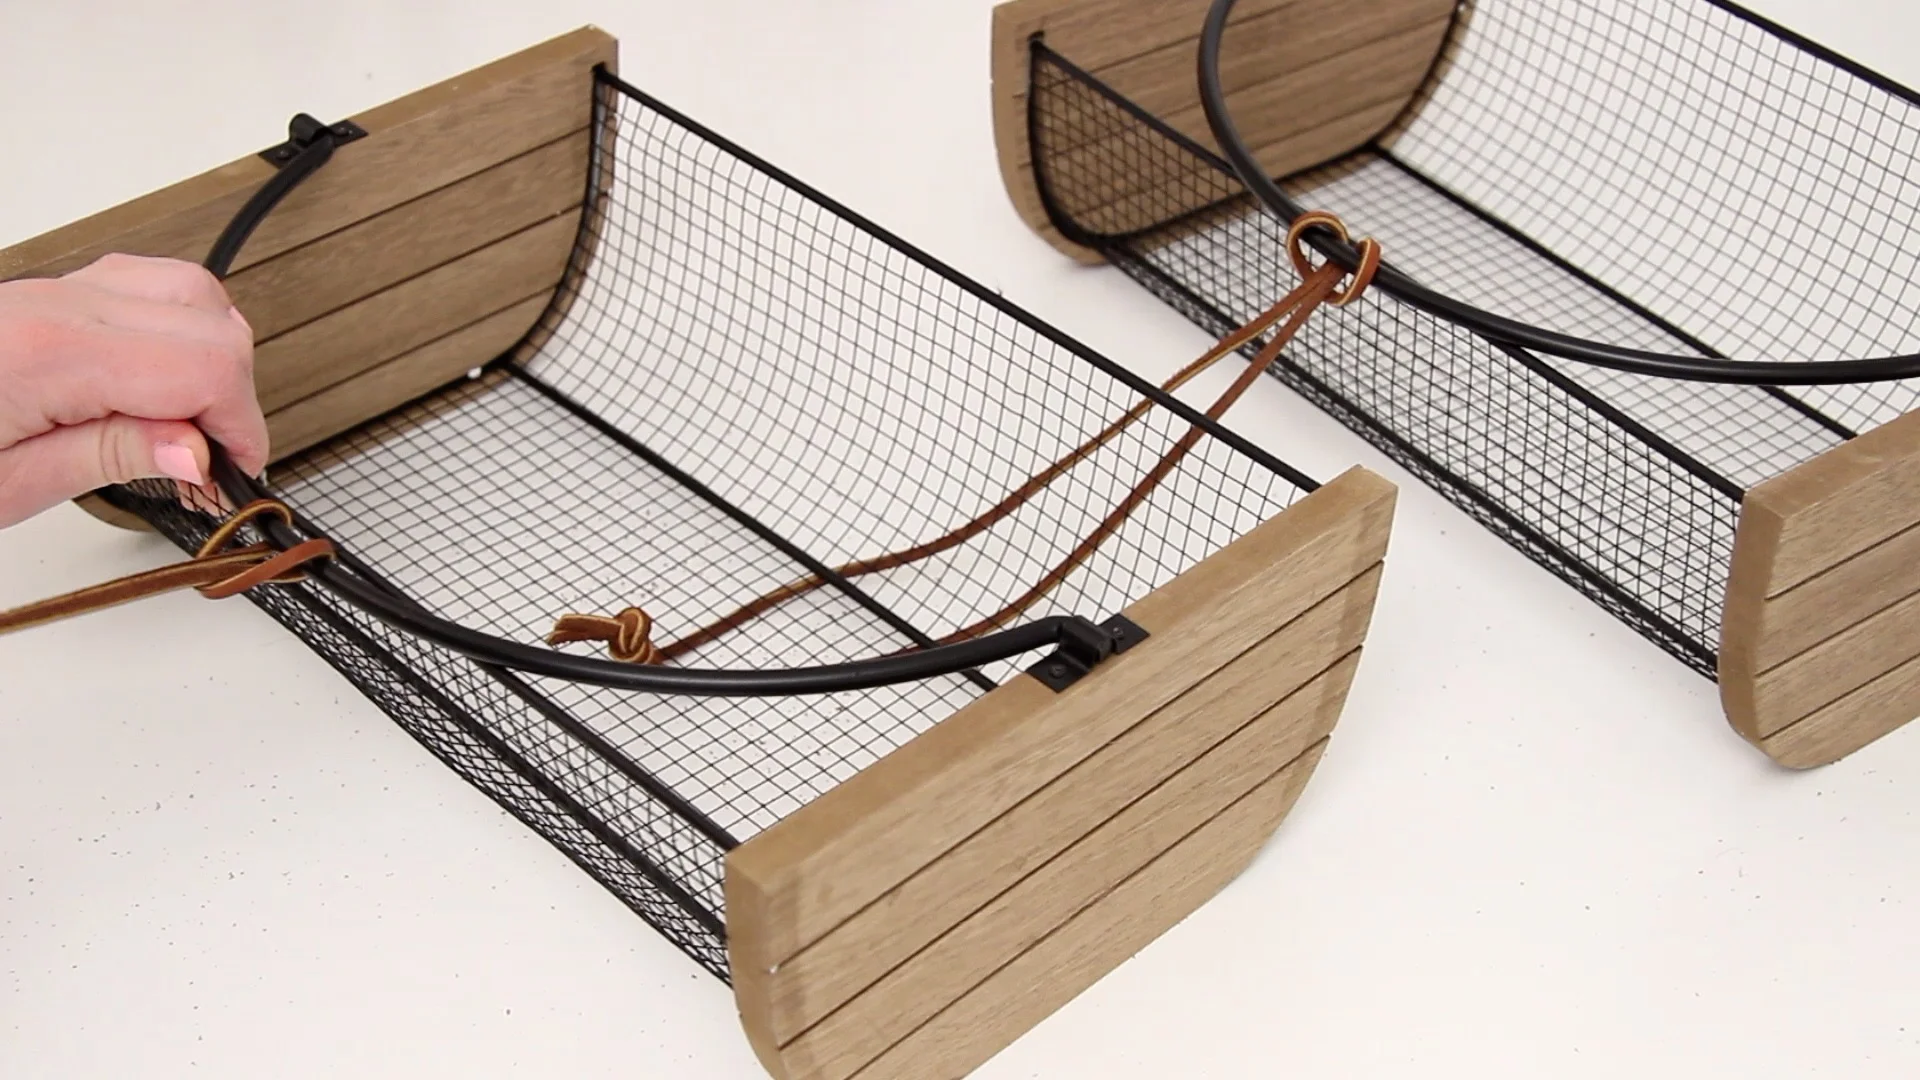
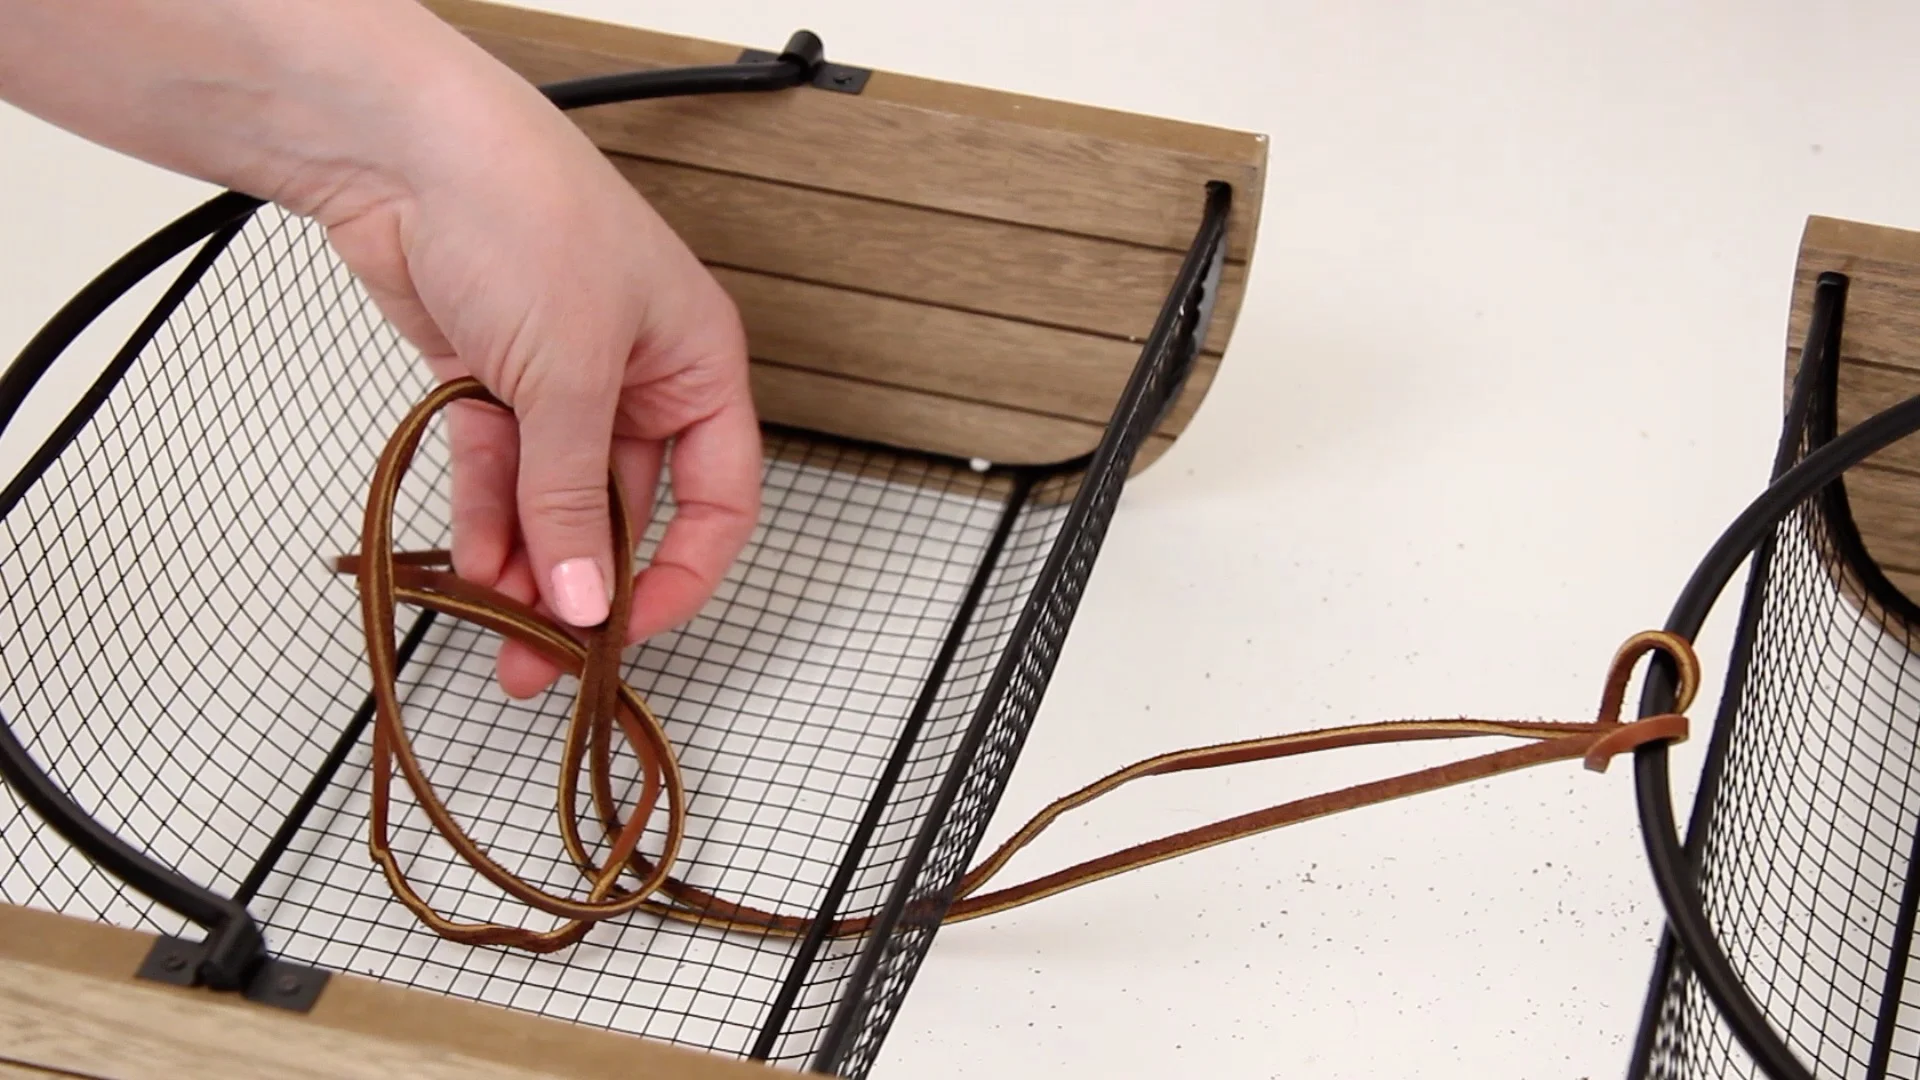
Cut a piece of cord or rope, and fold it in half. Slide the loop at the top under one of the basket handles, bring the ends of the cord through the loop and pull tight.

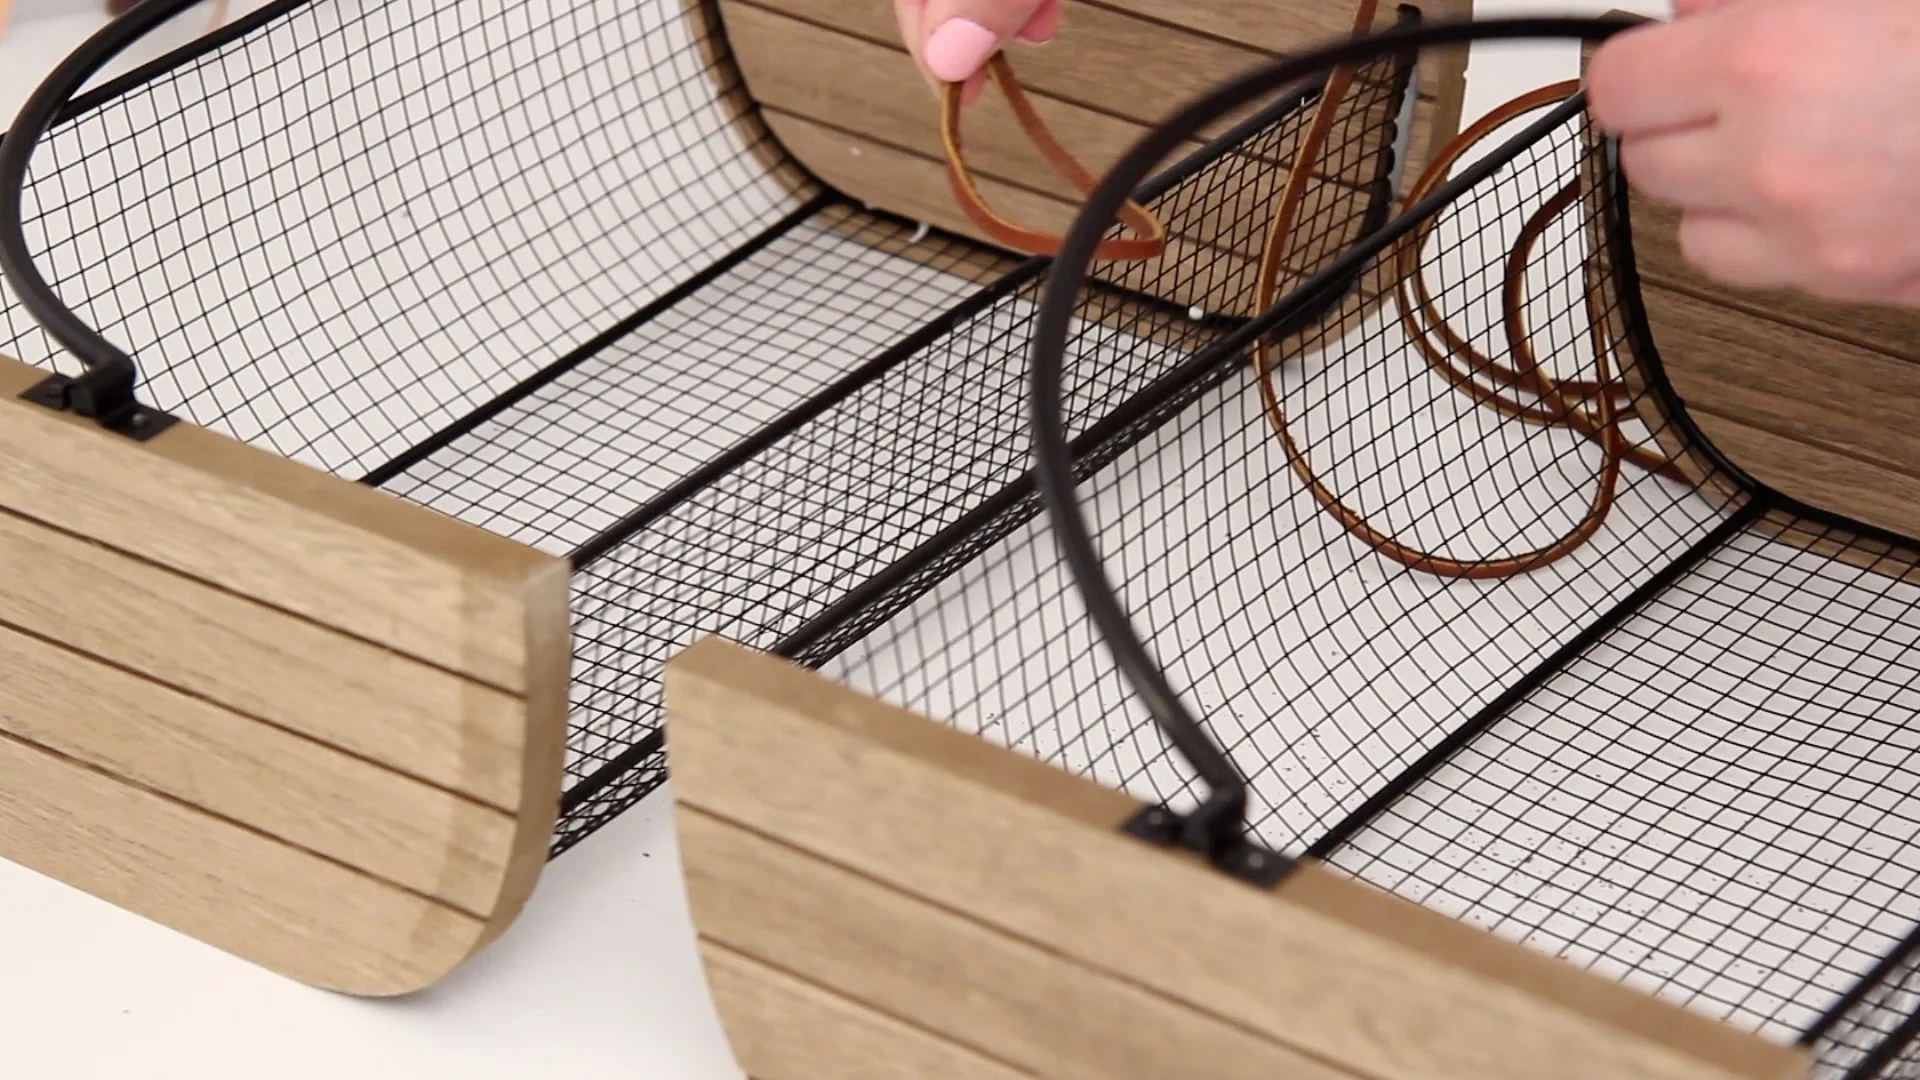

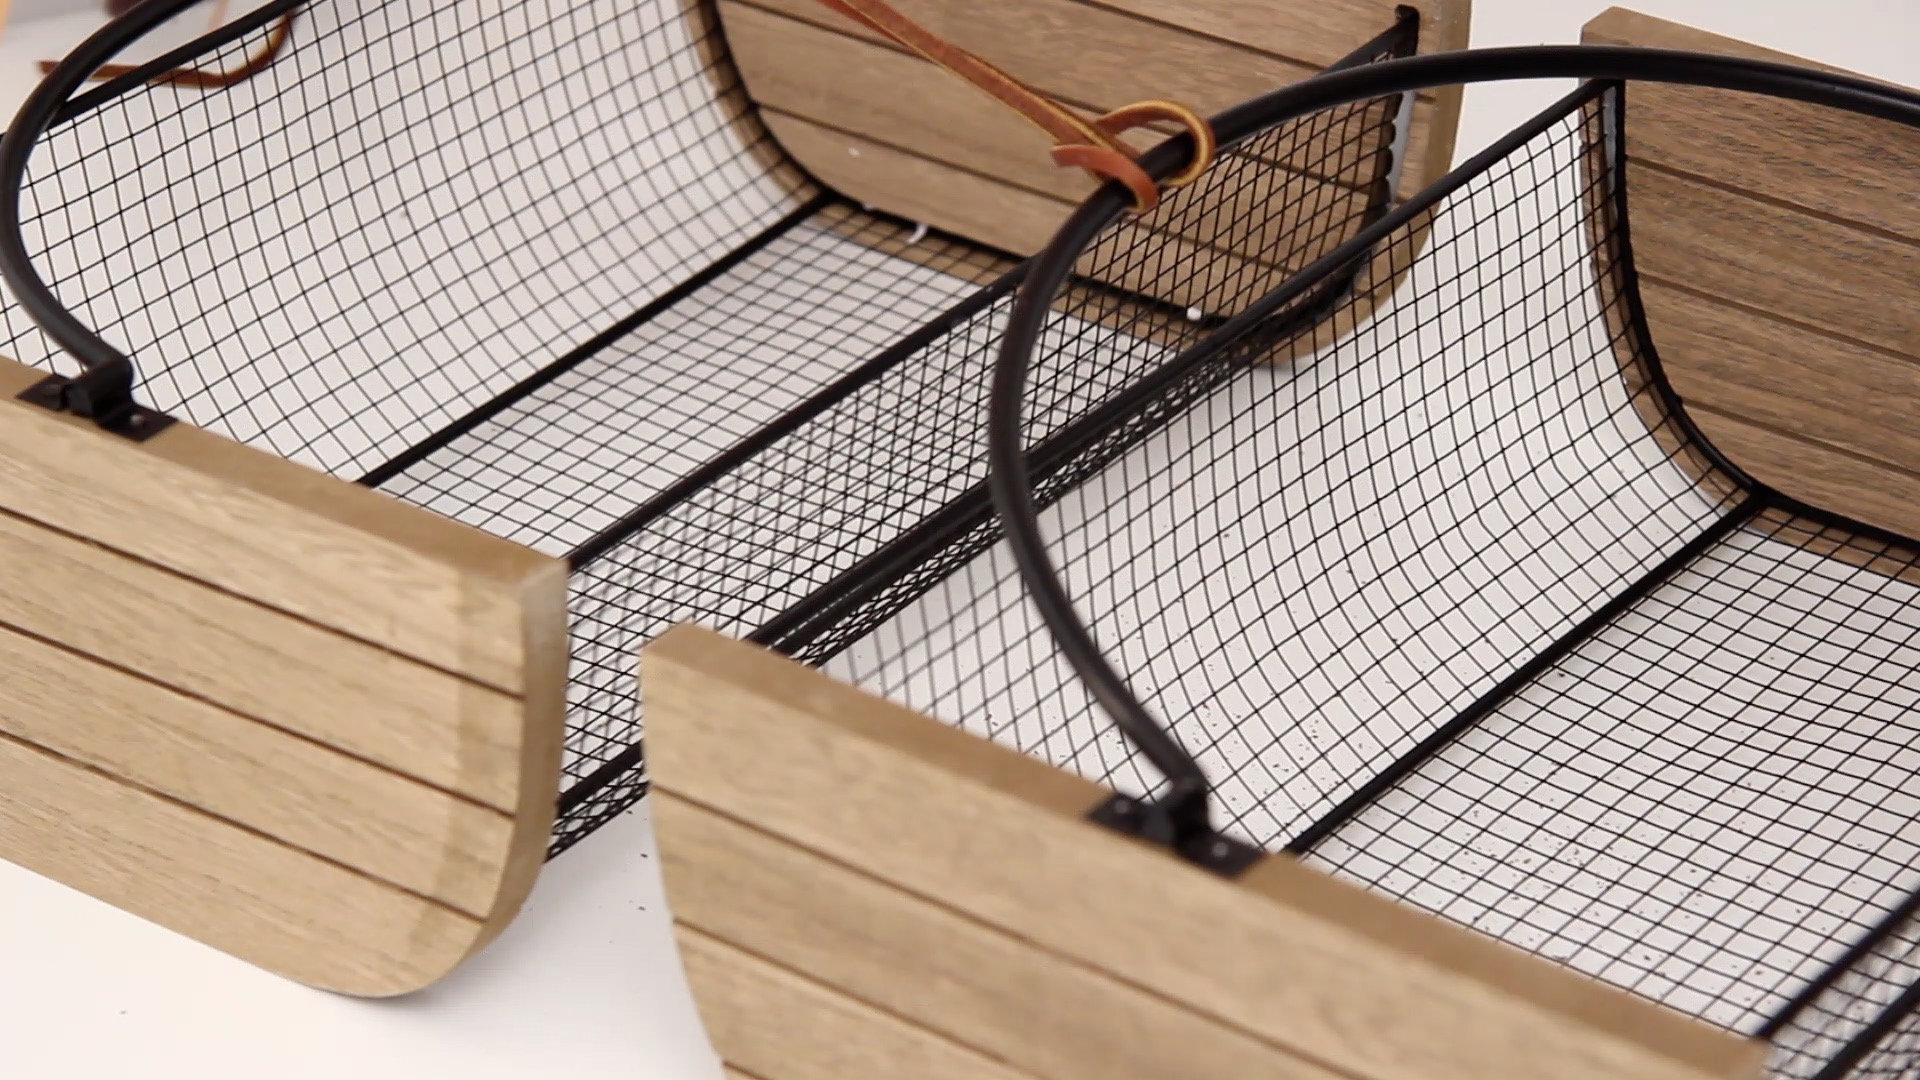
Flip the second basket over and locate the center point. Take the ends of the piece of cord from the first basket, and slide them through the bottom of the second basket. Flip it back over and pull them through. The amount of cord that you leave between the two baskets will be how far apart they hang from each other.
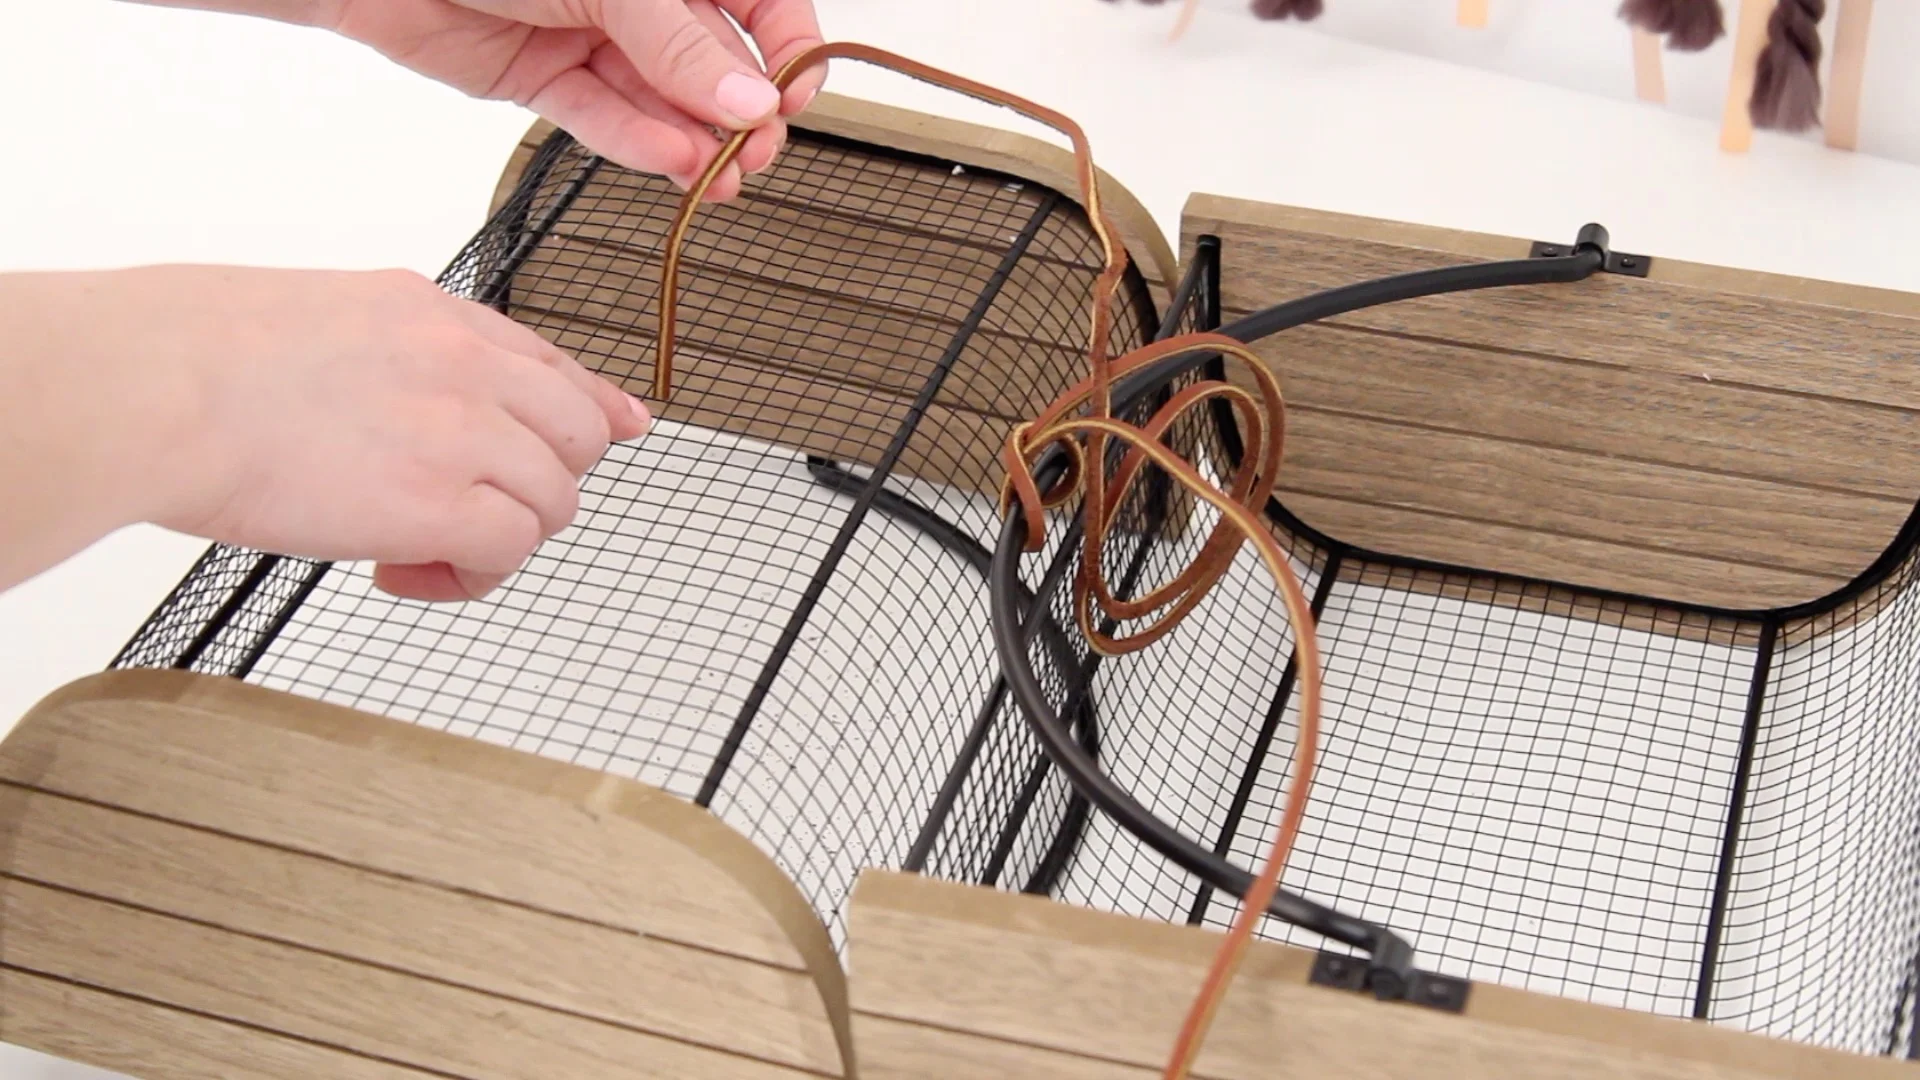

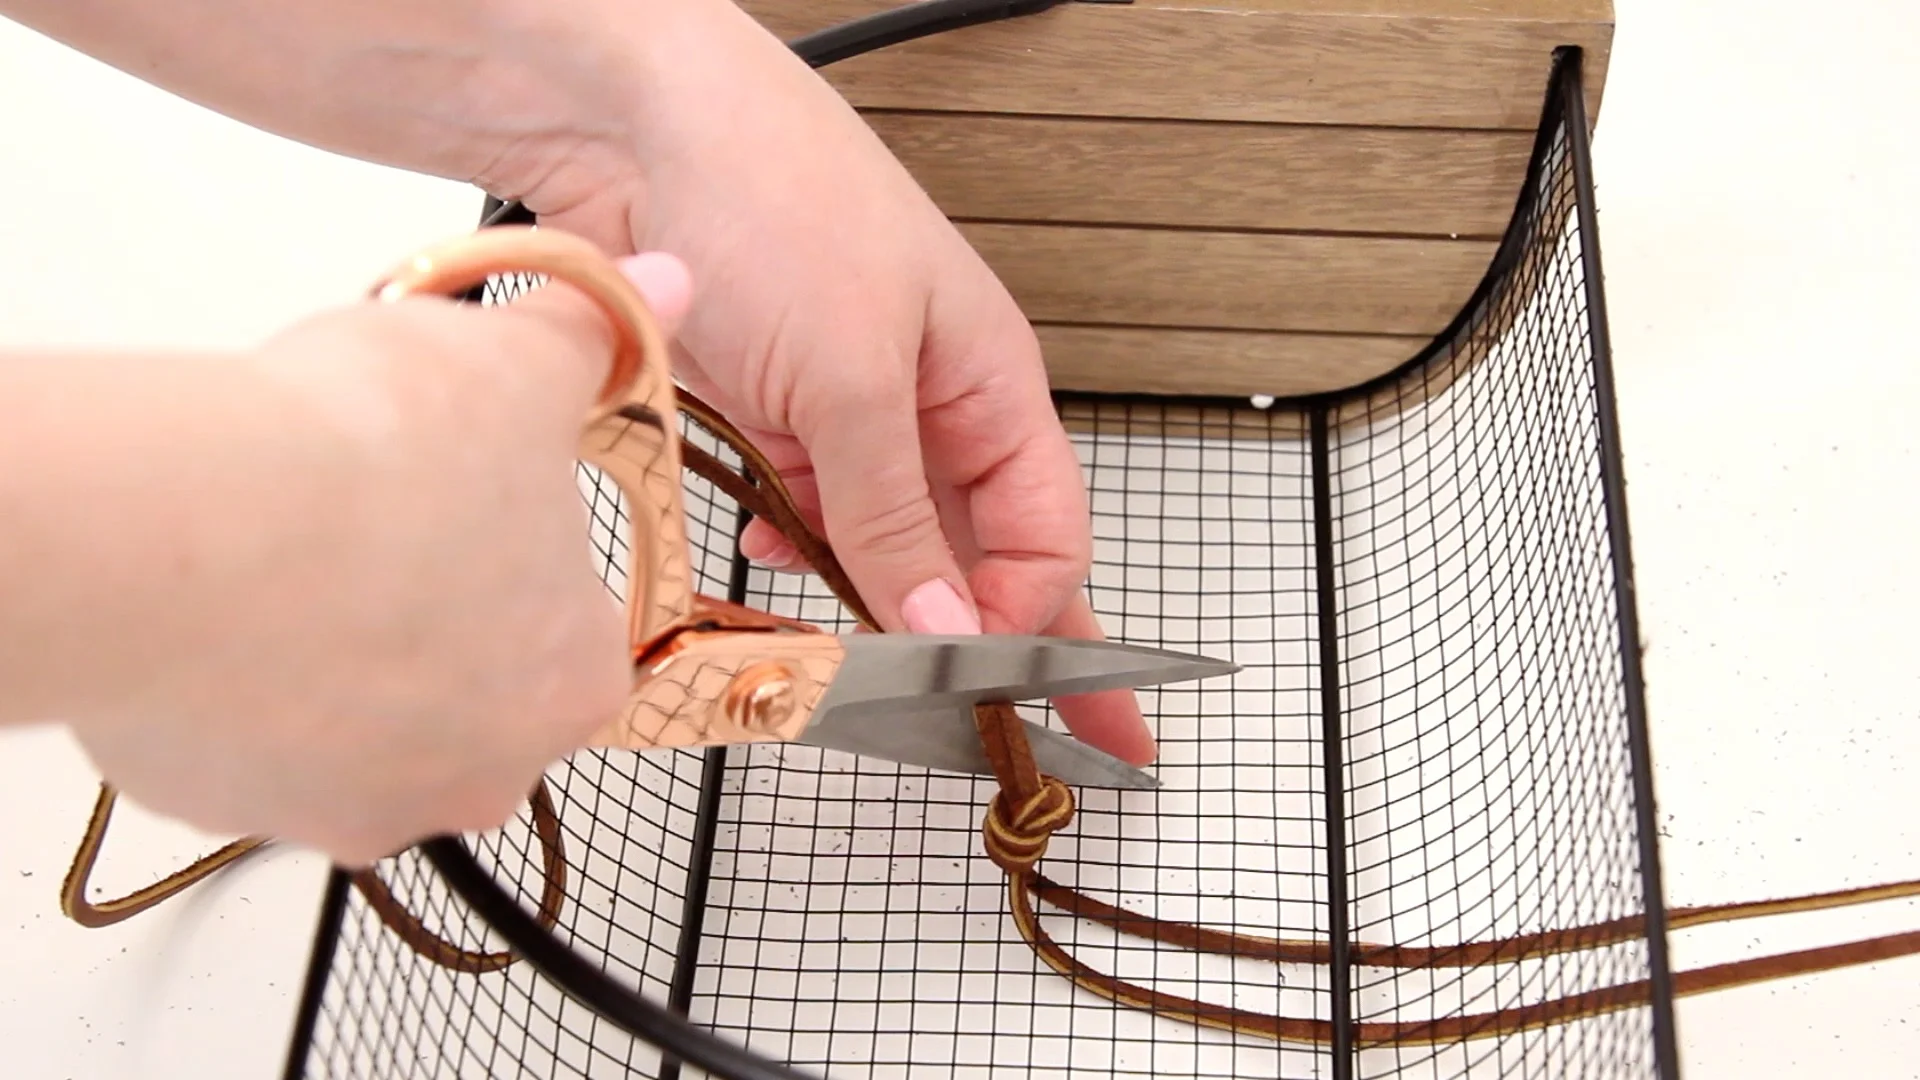
Tie a knot with the loose ends and snip the excess.

Cut one more length of cord, and repeat the same steps on the second basket as you did with the first: fold cord in half, slide under the handle, pull the ends through and pull tight. Create a knot at the top of this one at the desired length, and use it to hang the entire thing up.