DIY ROUND ROPE AREA RUG
Welcome to my first DIY post of the new year! I am back with another DIY for less, and this time around I am tackling the task of making my own rope rug. I am definitely having a bit of a love affair with rope accents in my decorating at the moment. I just can’t get enough! I have seen similar rugs being sold for anywhere from $50-$300, but today I am going to show you how I made mine for just $16!
Materials:
SISAL ROPE (SOMETHING LIKE THIS OR THIS)
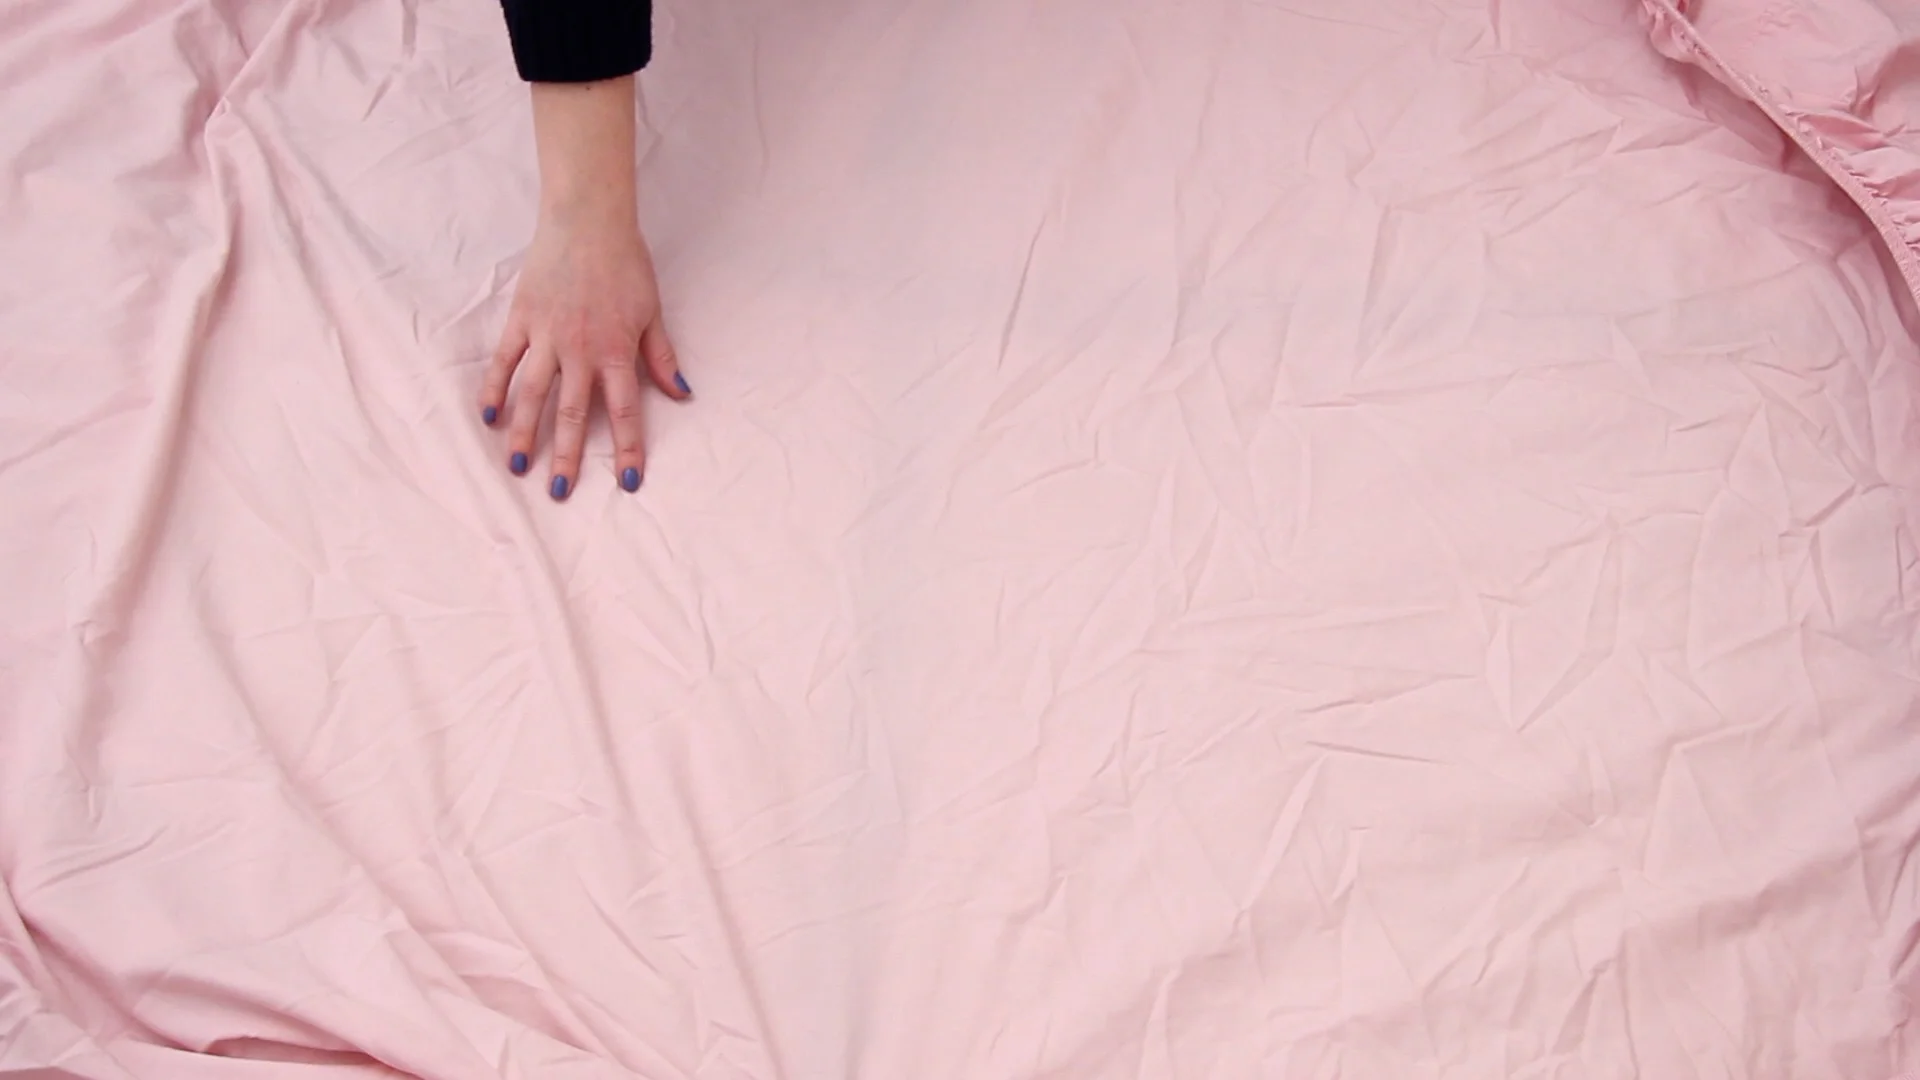
FABRIC, AN OLD SHEET, OR RUBBER BACKING
GLUE (HOT GLUE, E6000, OR LIQUID NAILS)
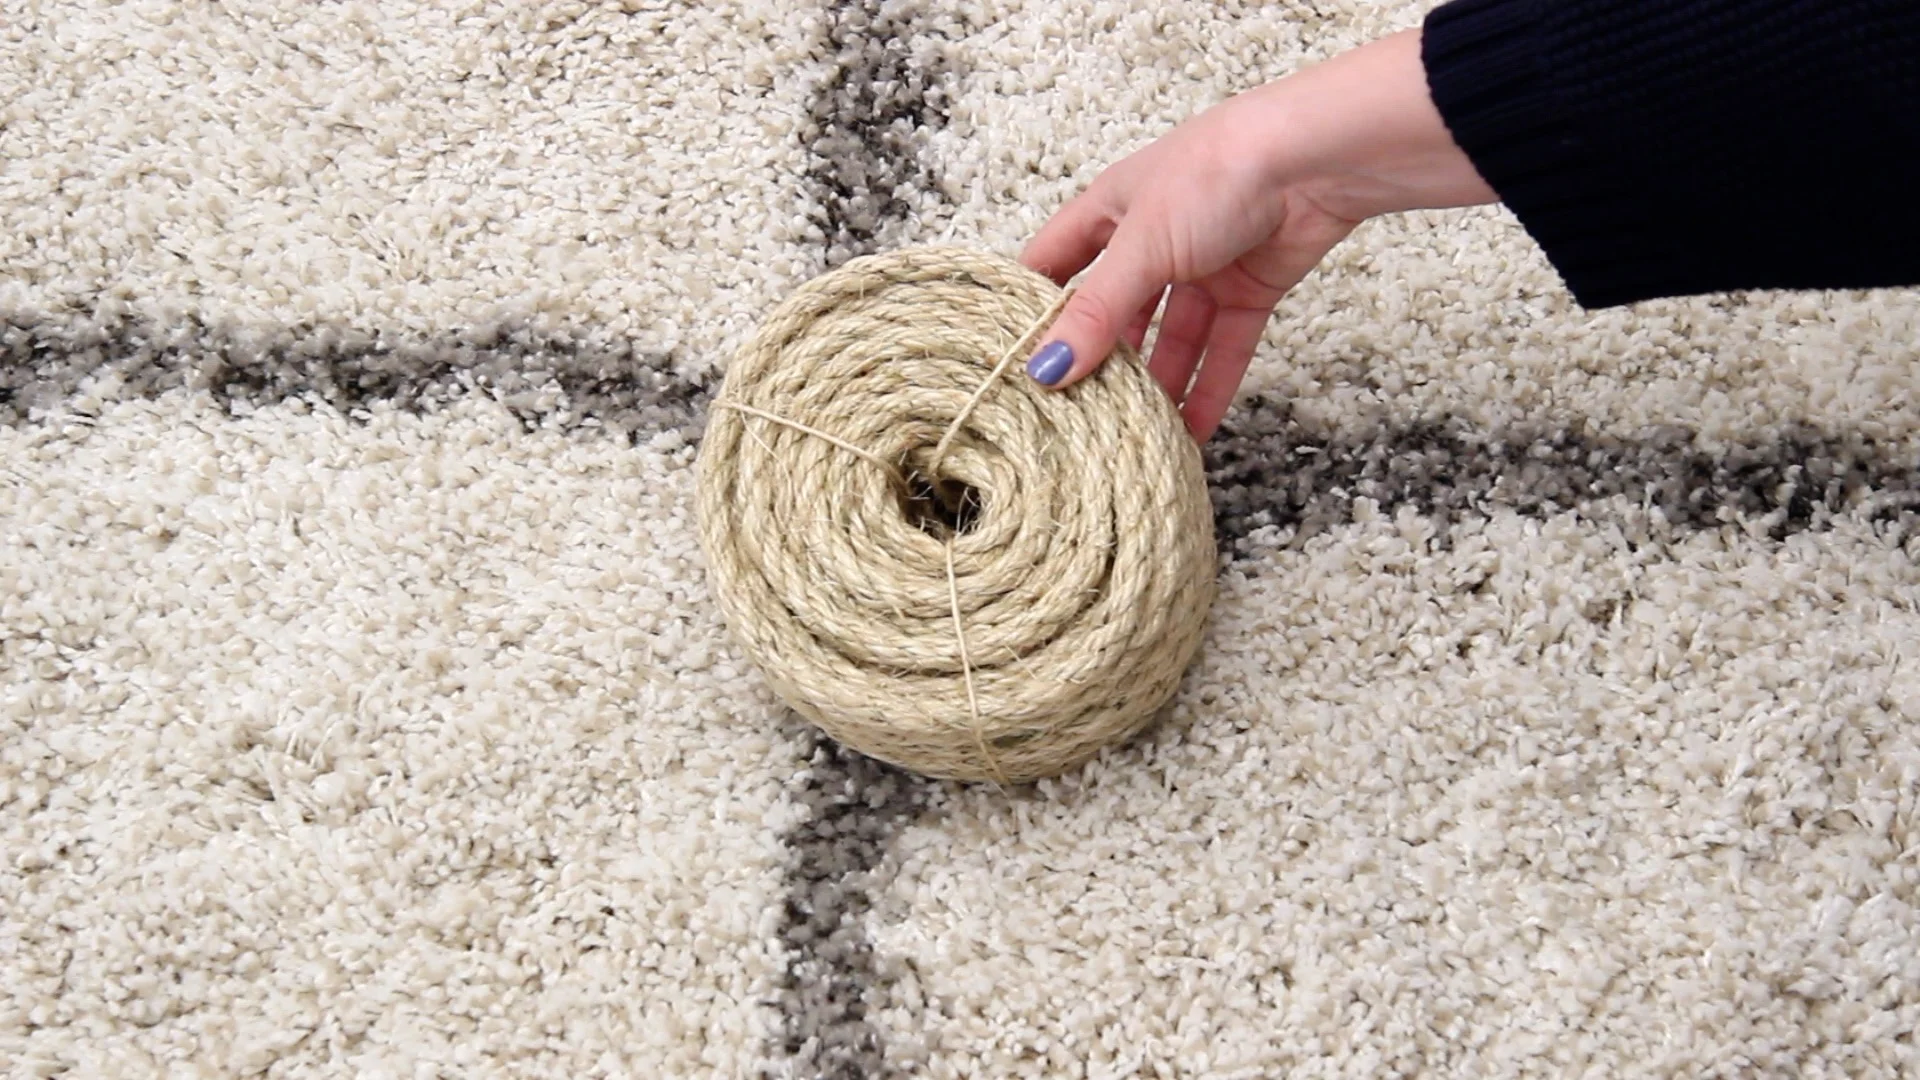
For the rope, I used 2 rolls of sisal rope that I picked up at Home Depot, but I’ve linked a similar rope above. I also used an old fitted sheet for the bottom of the rug, but you can use any type of fabric, sheet, or rubber backing to make it non-slip.
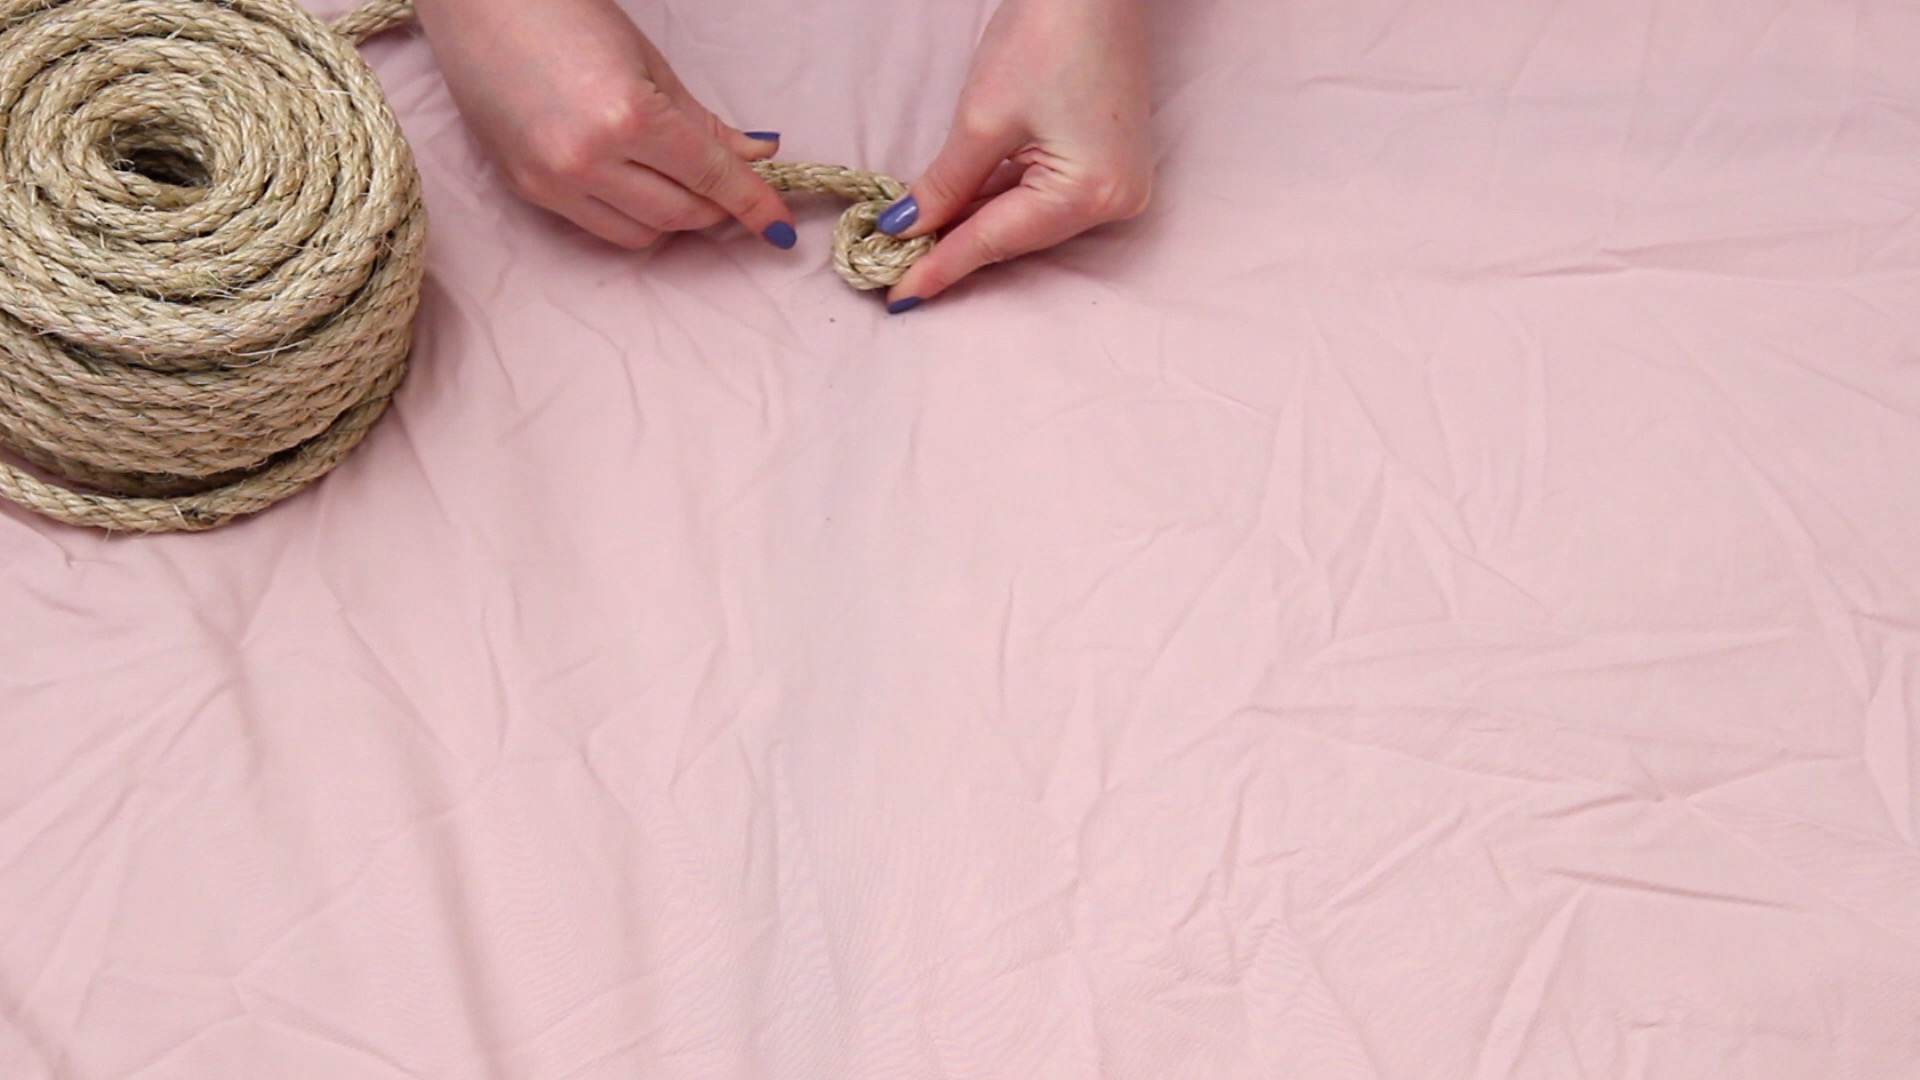
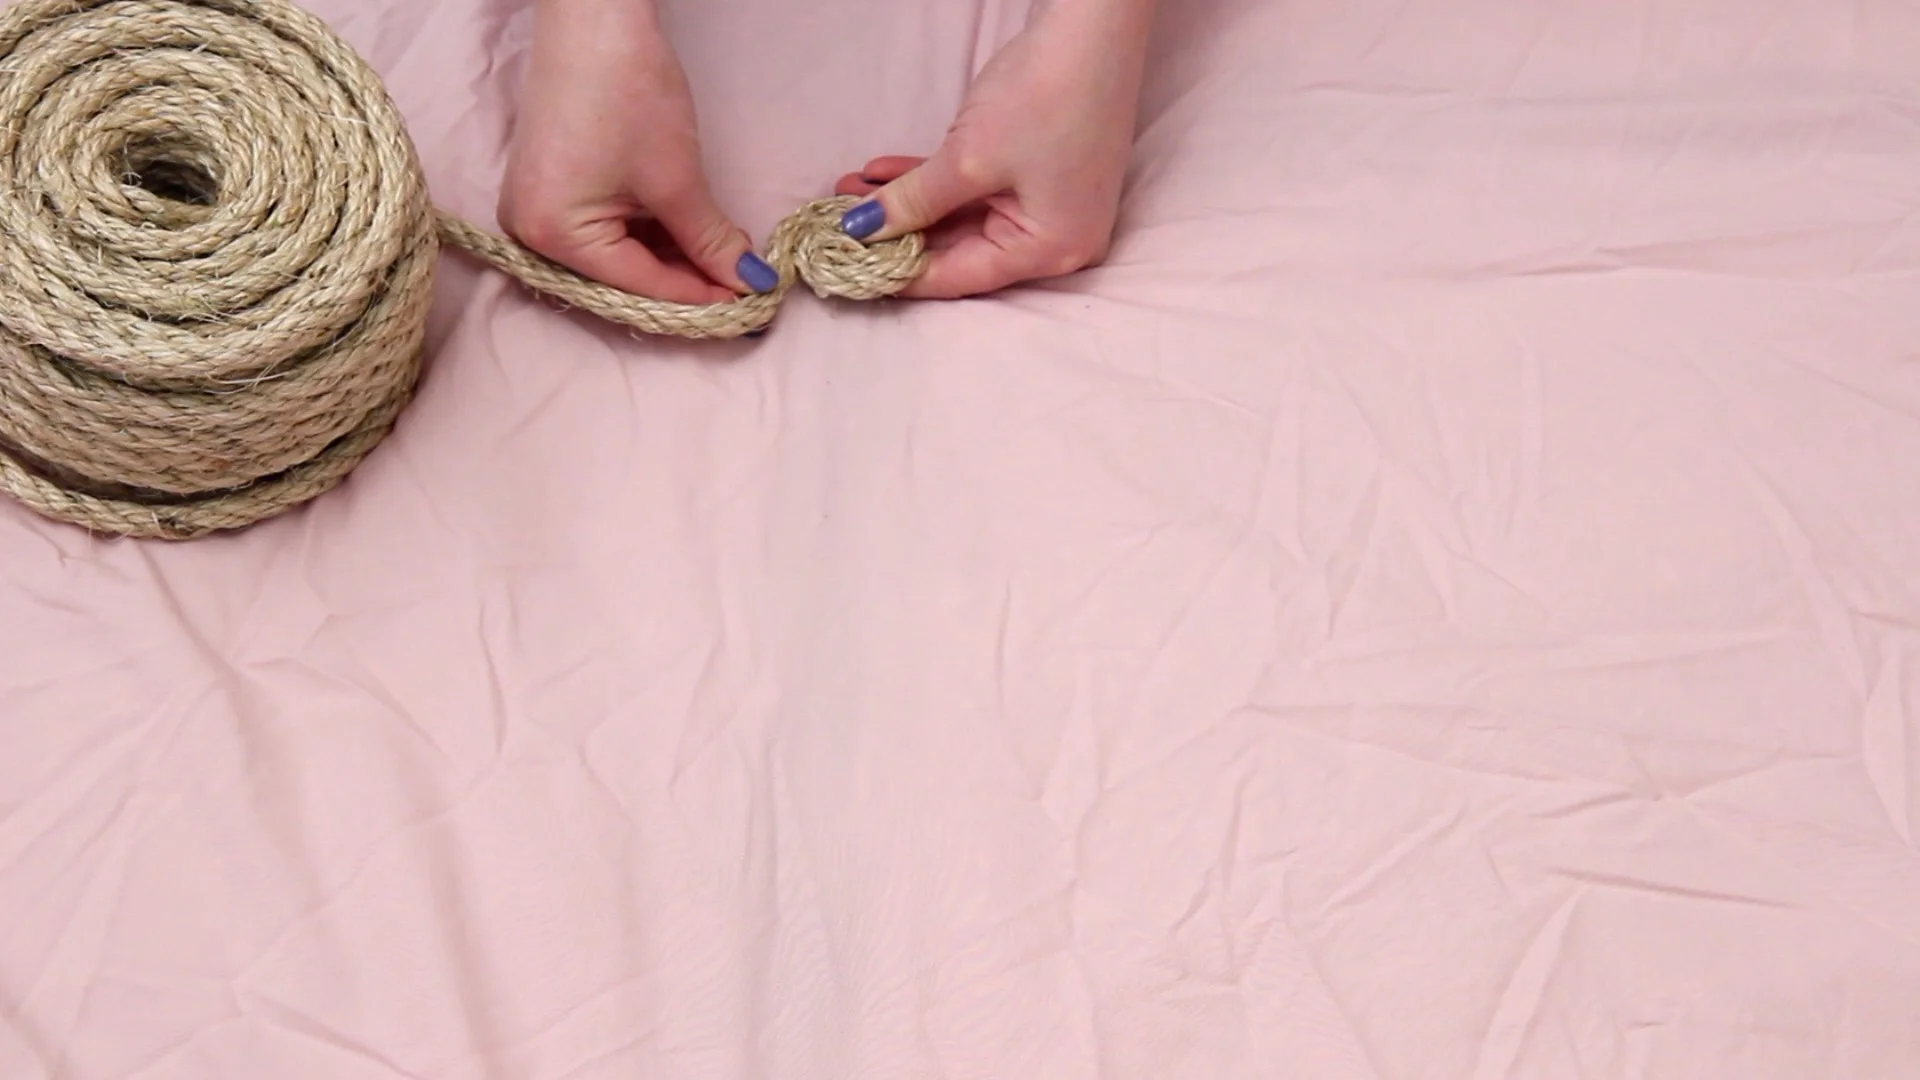
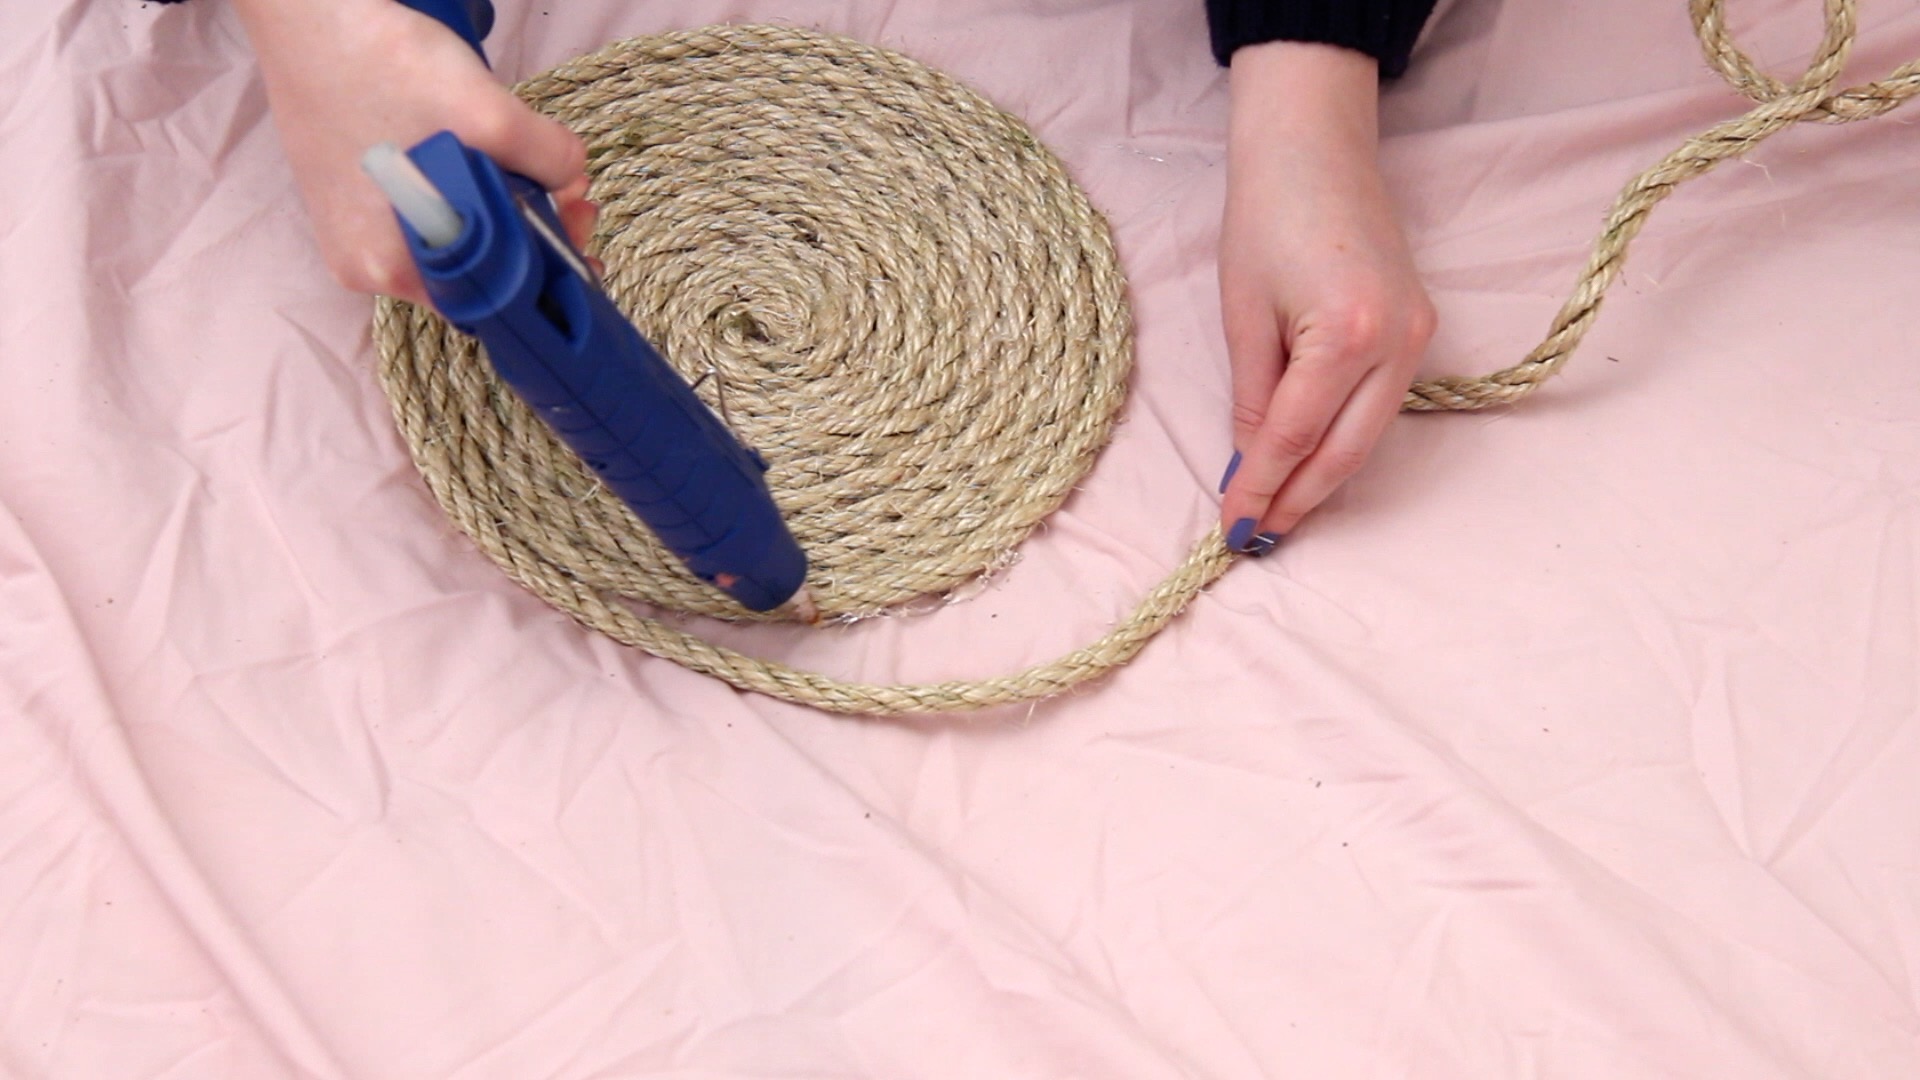
Starting with one end of the rope, roll it around itself a couple of times. Add some hot glue, continue rolling, and press it against itself until the glue dries. I won’t be using my rug in a high traffic area, but if you are, I would recommend using a stronger glue.

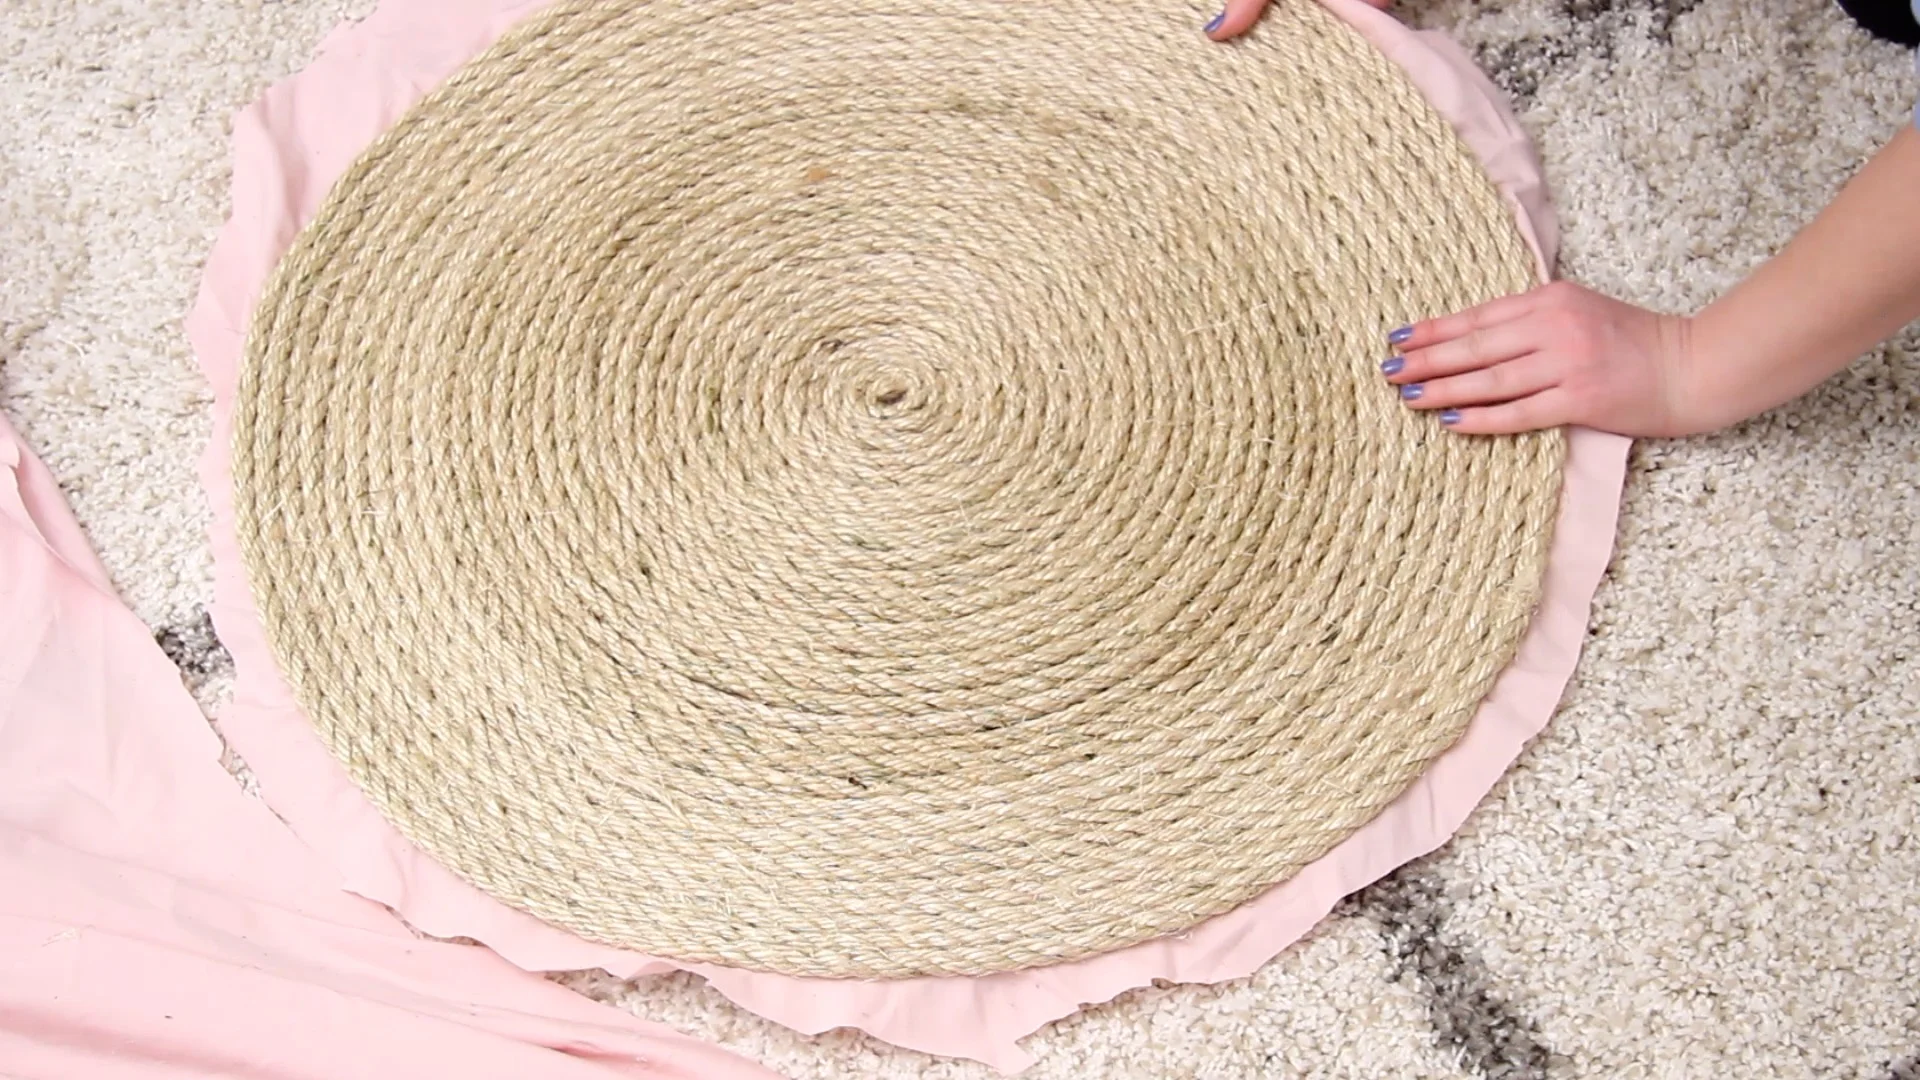
As you continue gluing, add the glue as close to the sheet as possible. You will start gluing each section of rope to the sheet or fabric so that this will end up being the bottom of the rug.
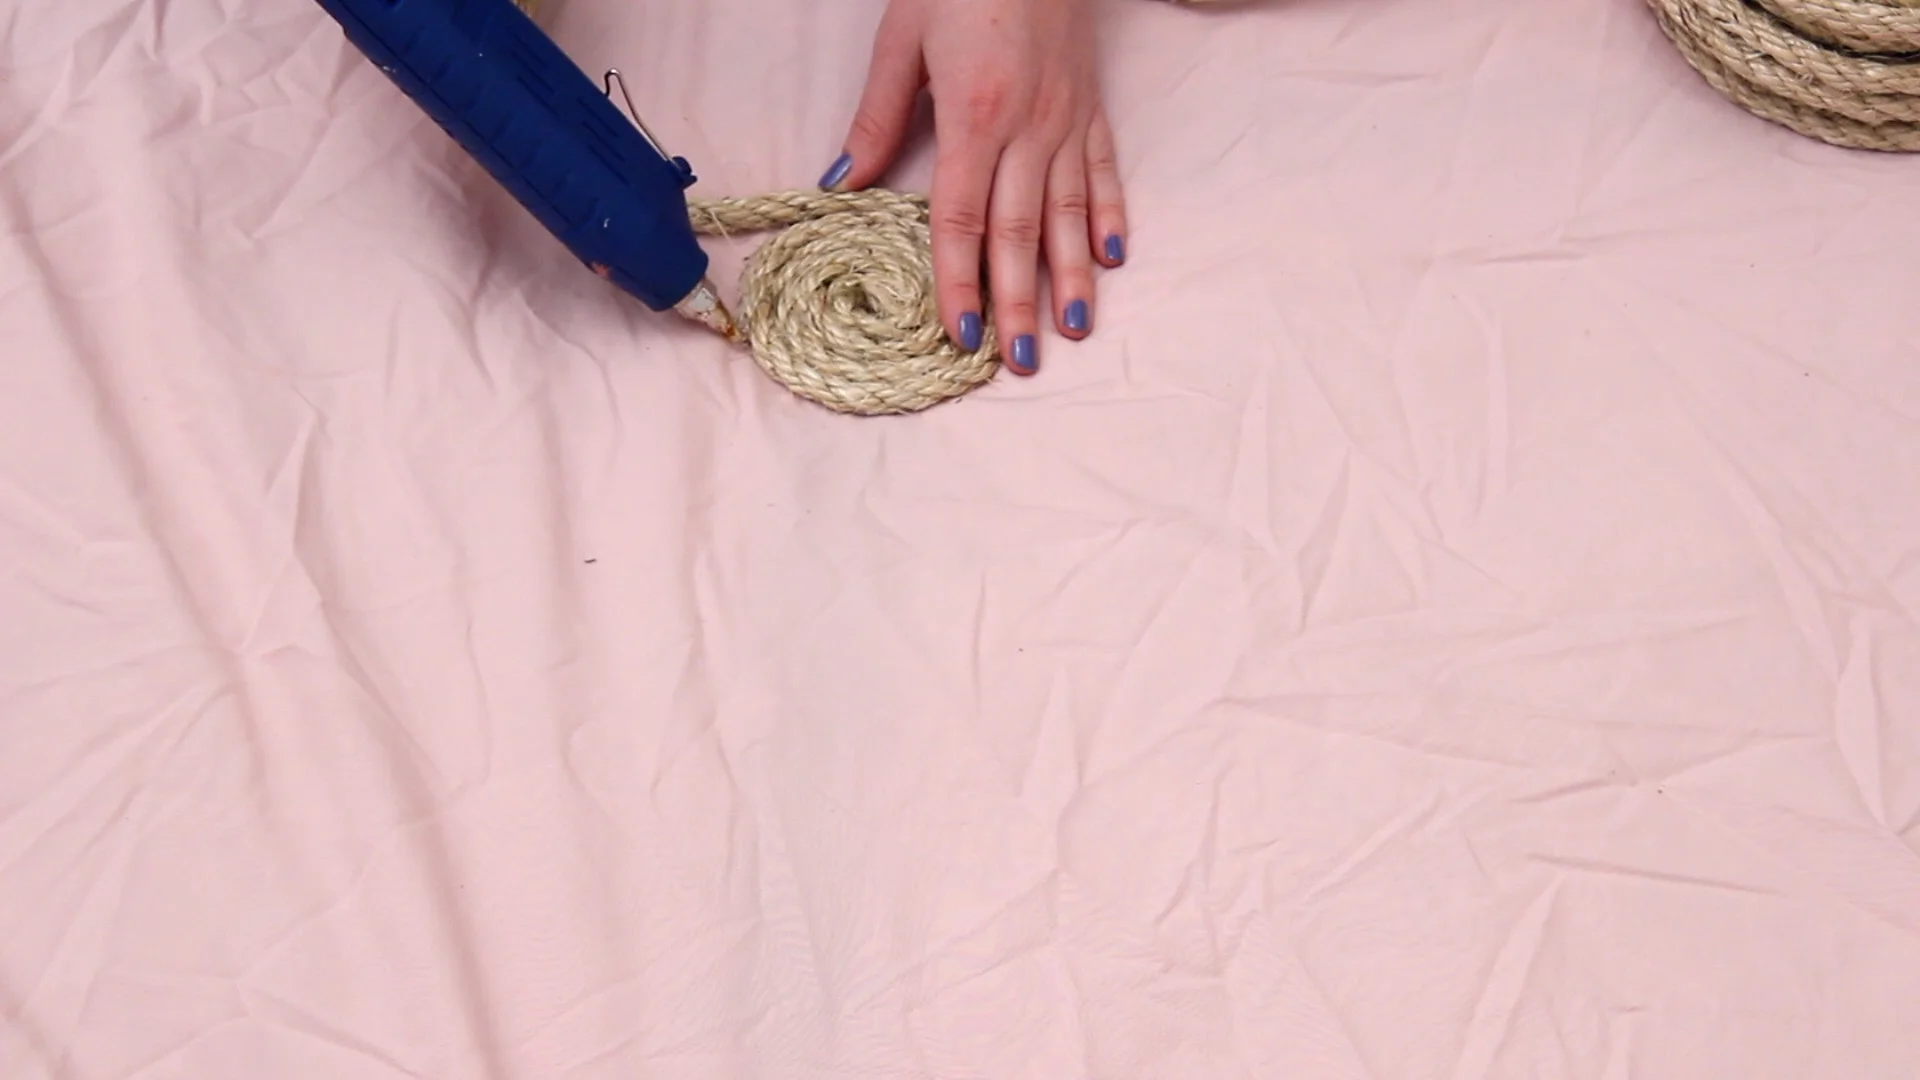
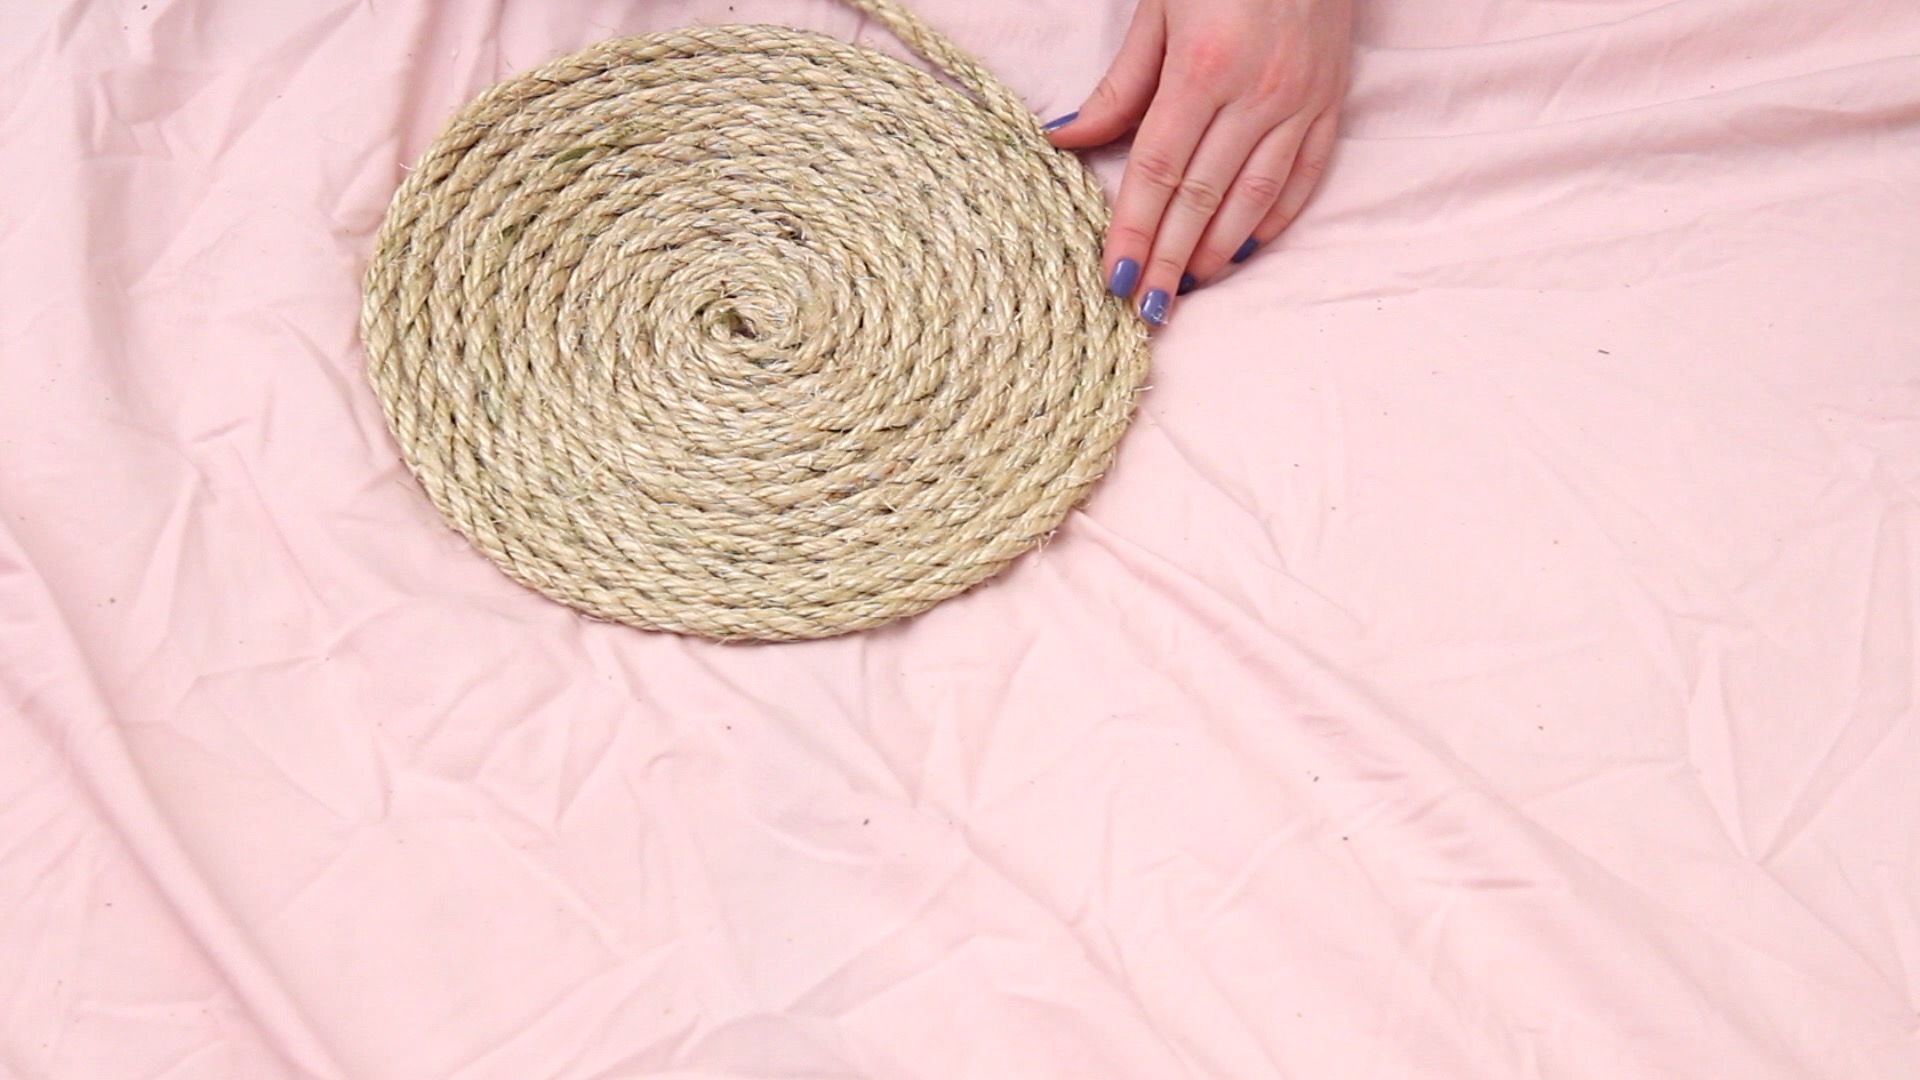
The process goes more quickly as the rug gets bigger, because you can glue larger sections at a time.
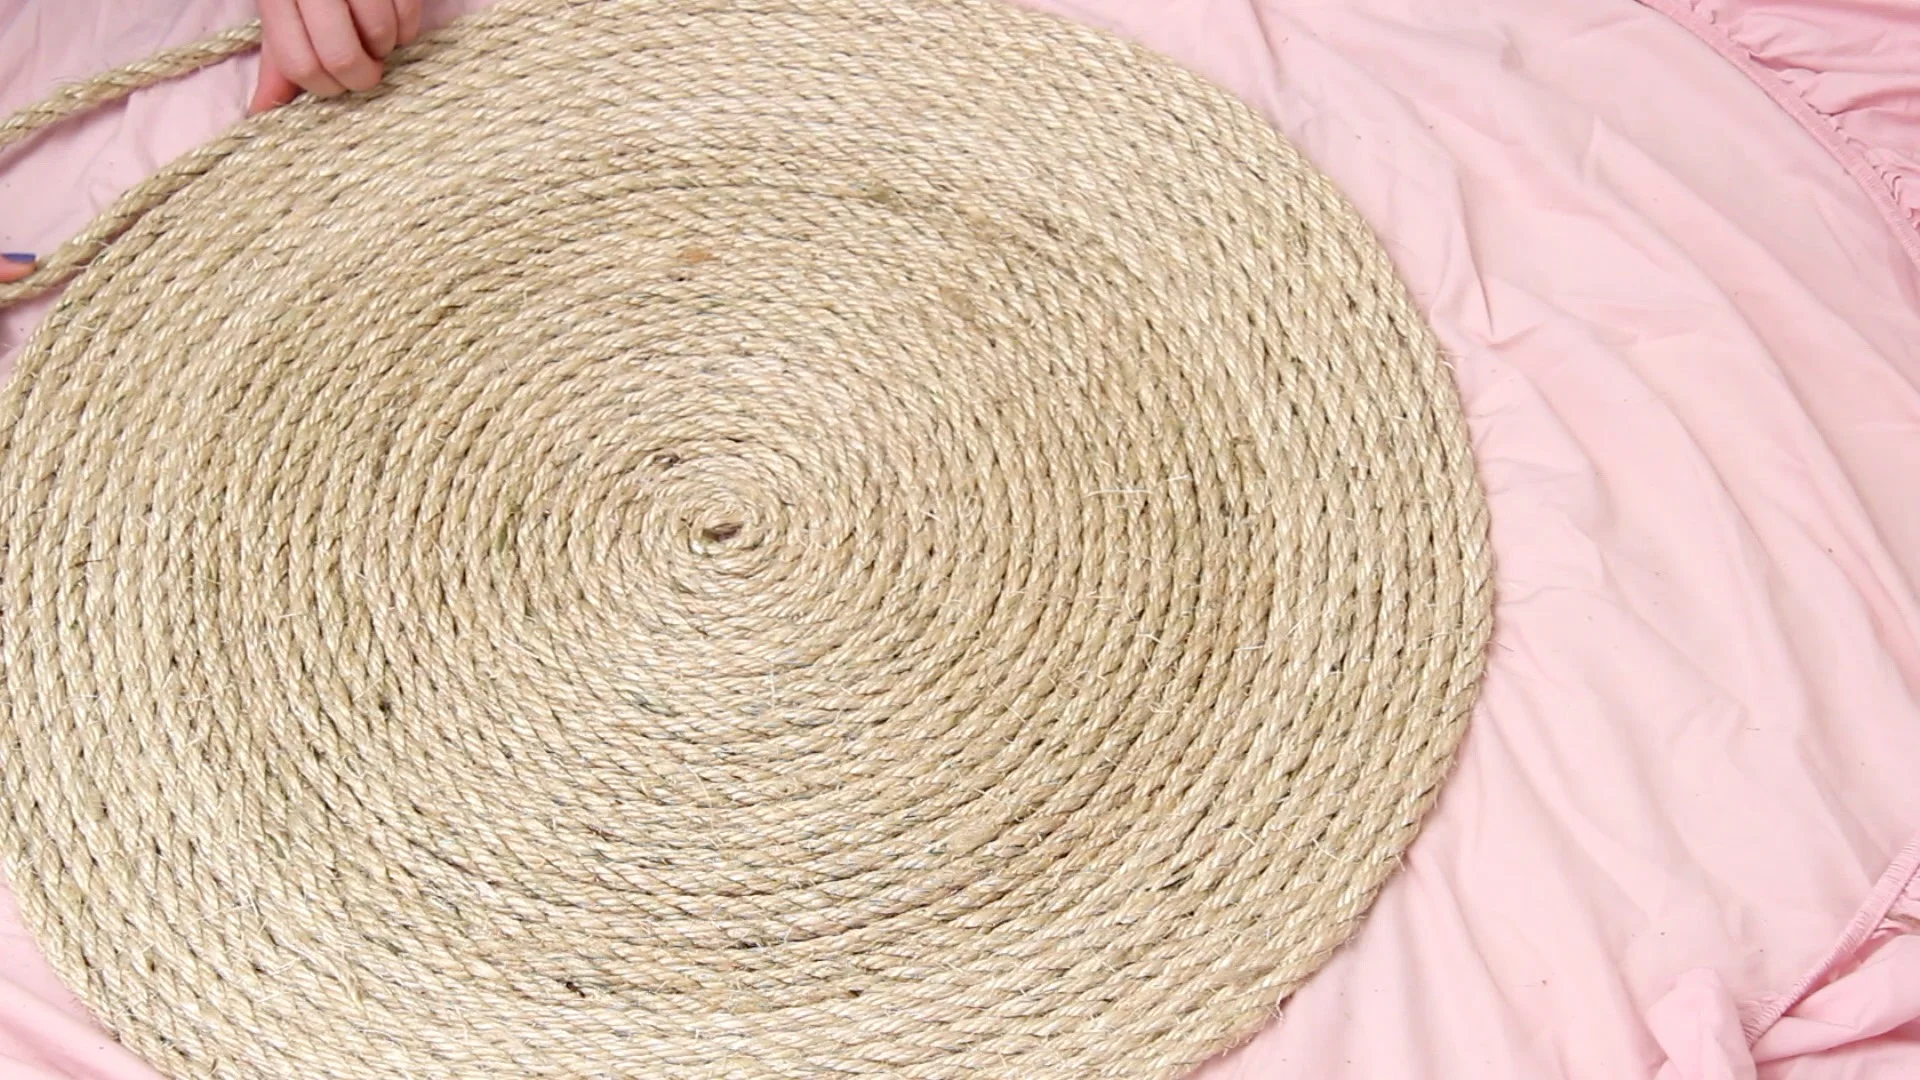
I used 2 rolls of rope for this rug, but you can customize the size to whatever you’d like it to be by simply adding more rope.
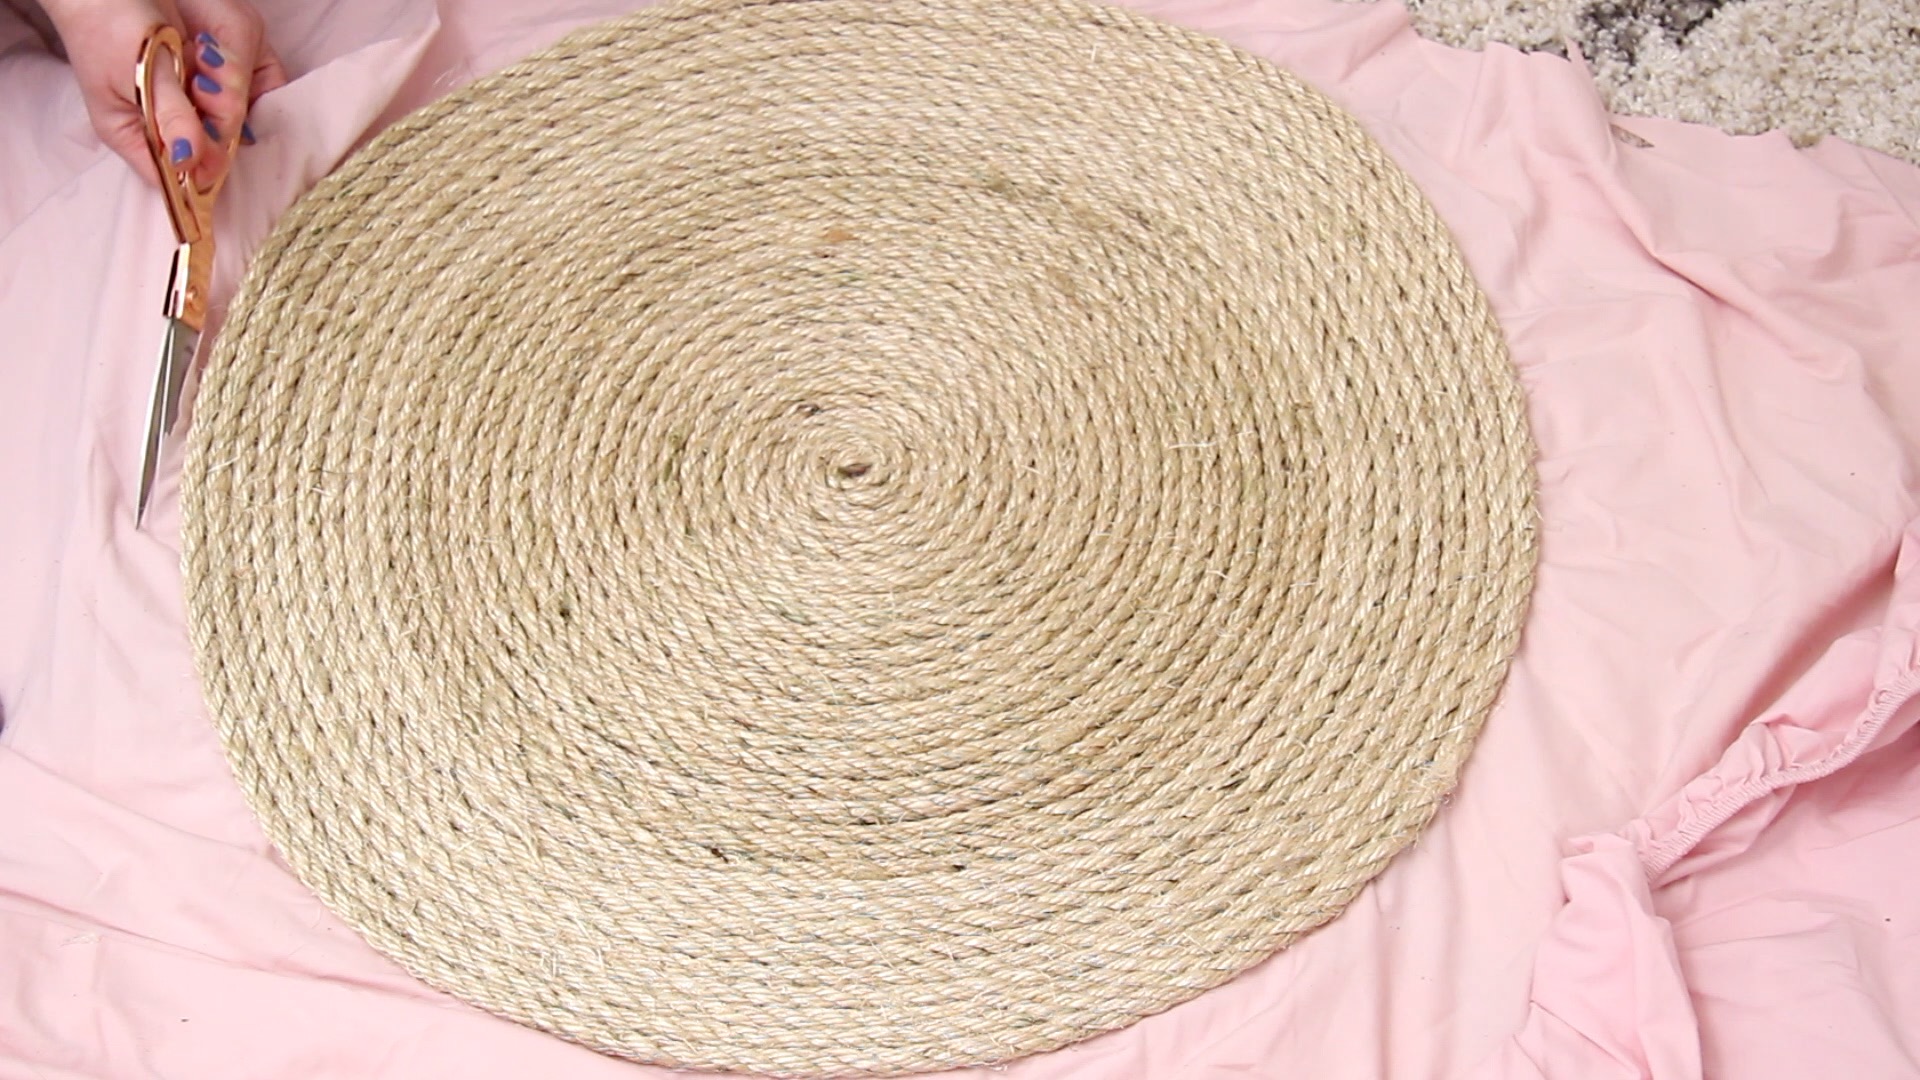
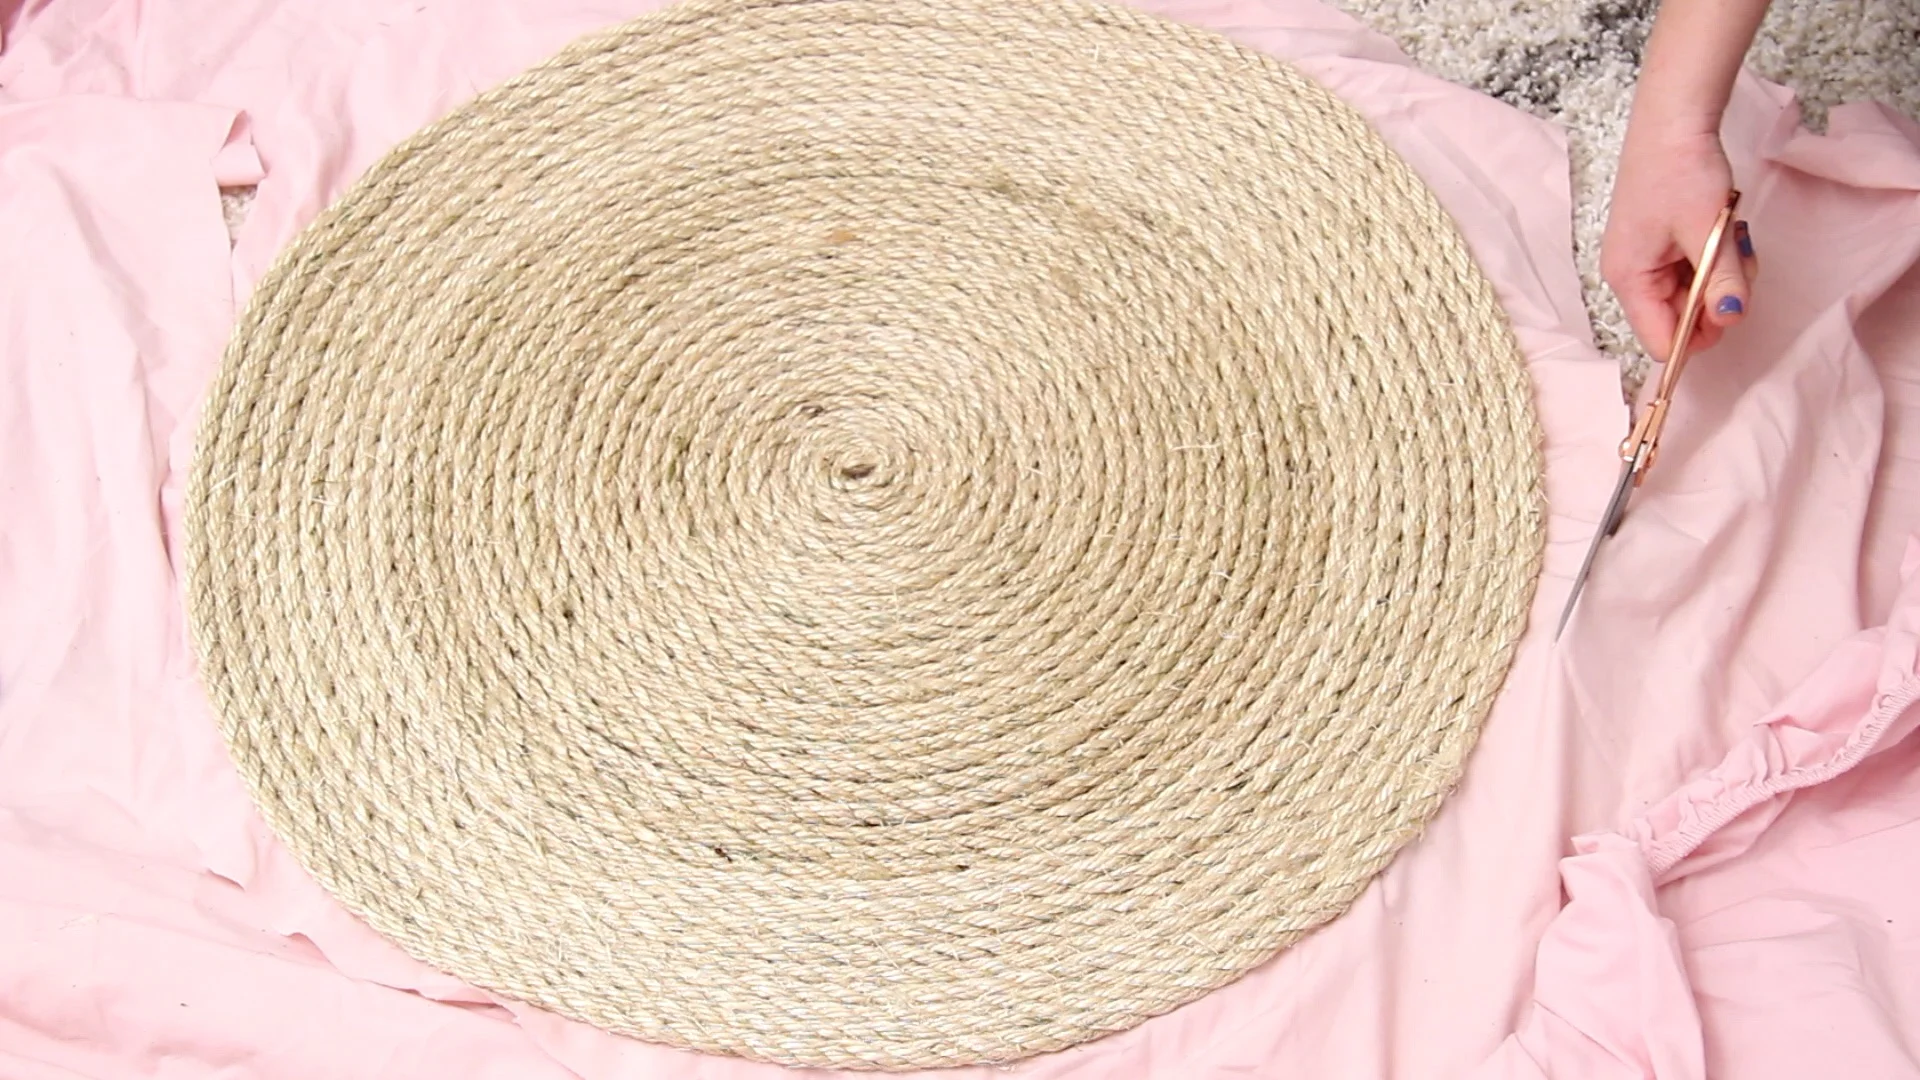
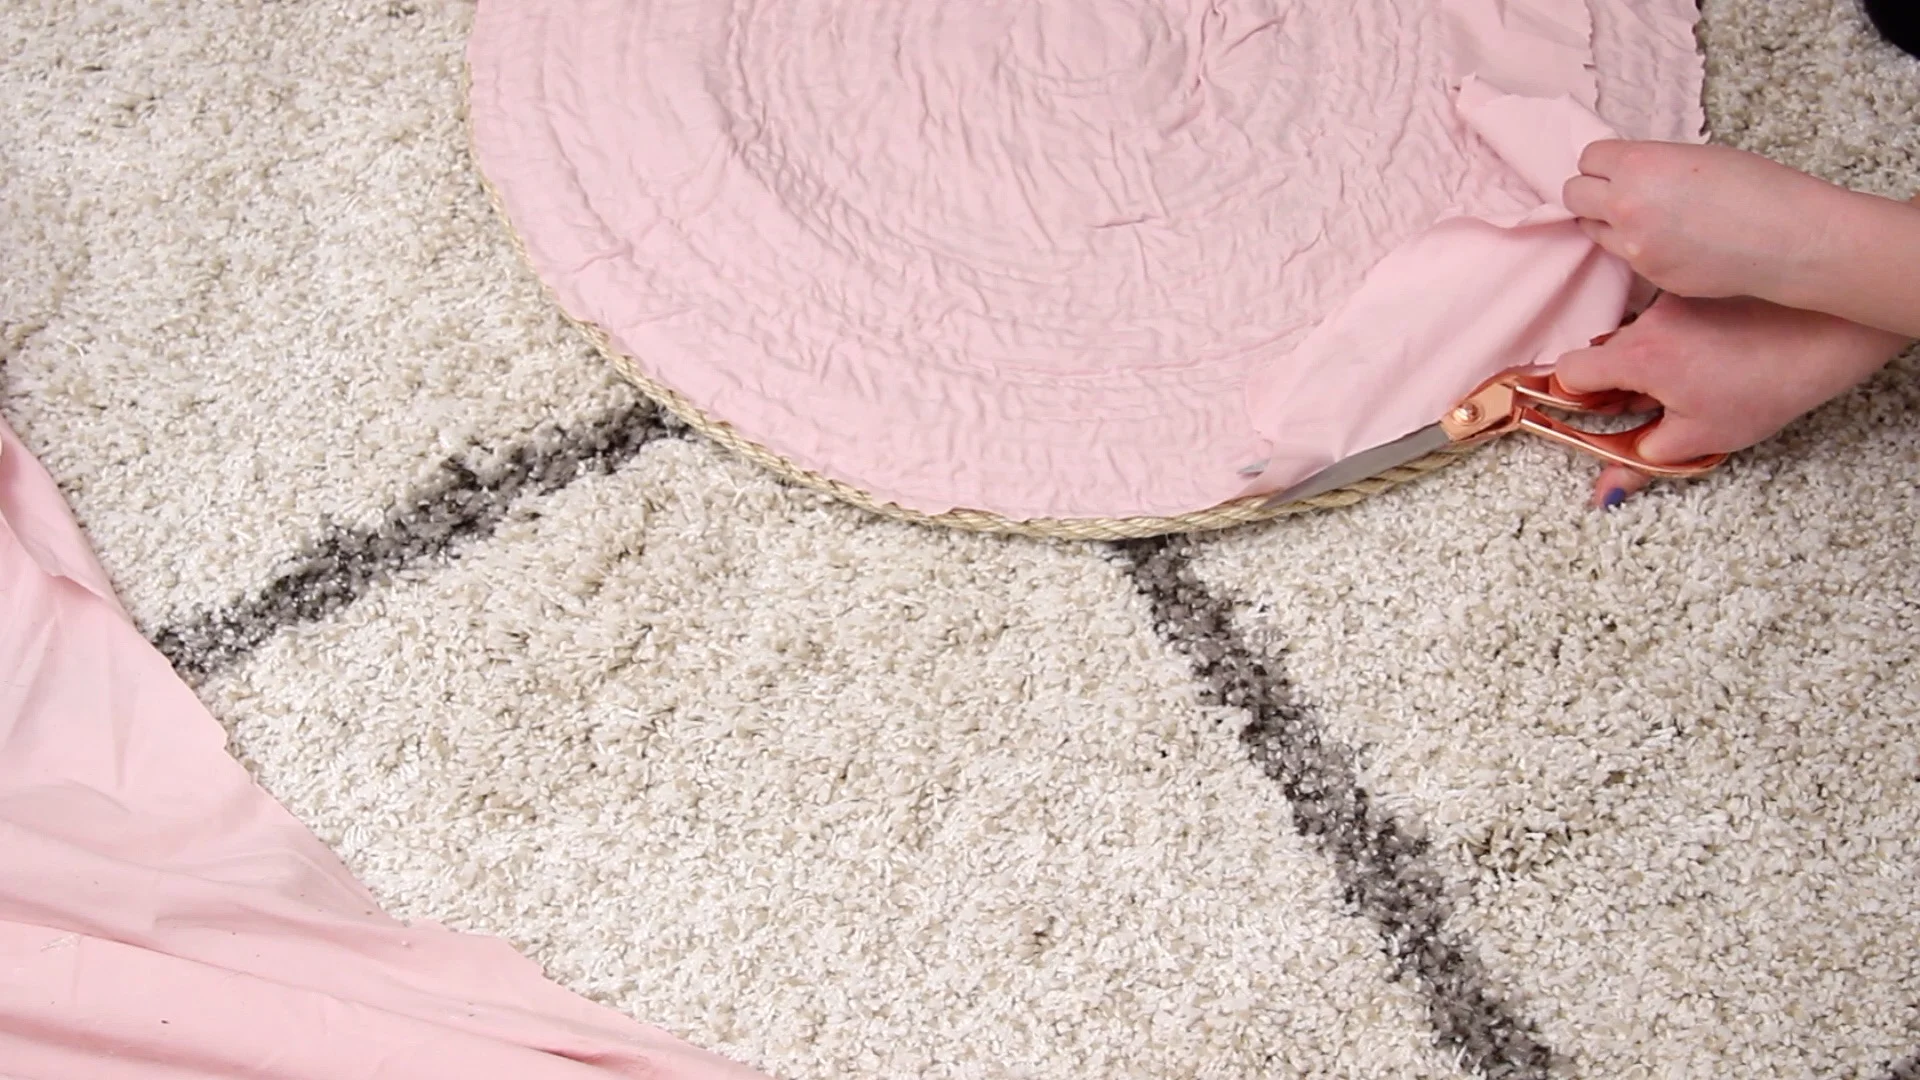
Once you are happy with the size, use scissors to start cutting the sheet about an inch or two out from the rope. This does not have to be perfect, you are just trying to cut it away from the larger part of the sheet or fabric. Next, flip it over and begin to cut in more closely. Be careful not to cut the rope, but try to cut as far in as you can so that you won’t be able to see the fabric underneath when the rug is right side up.
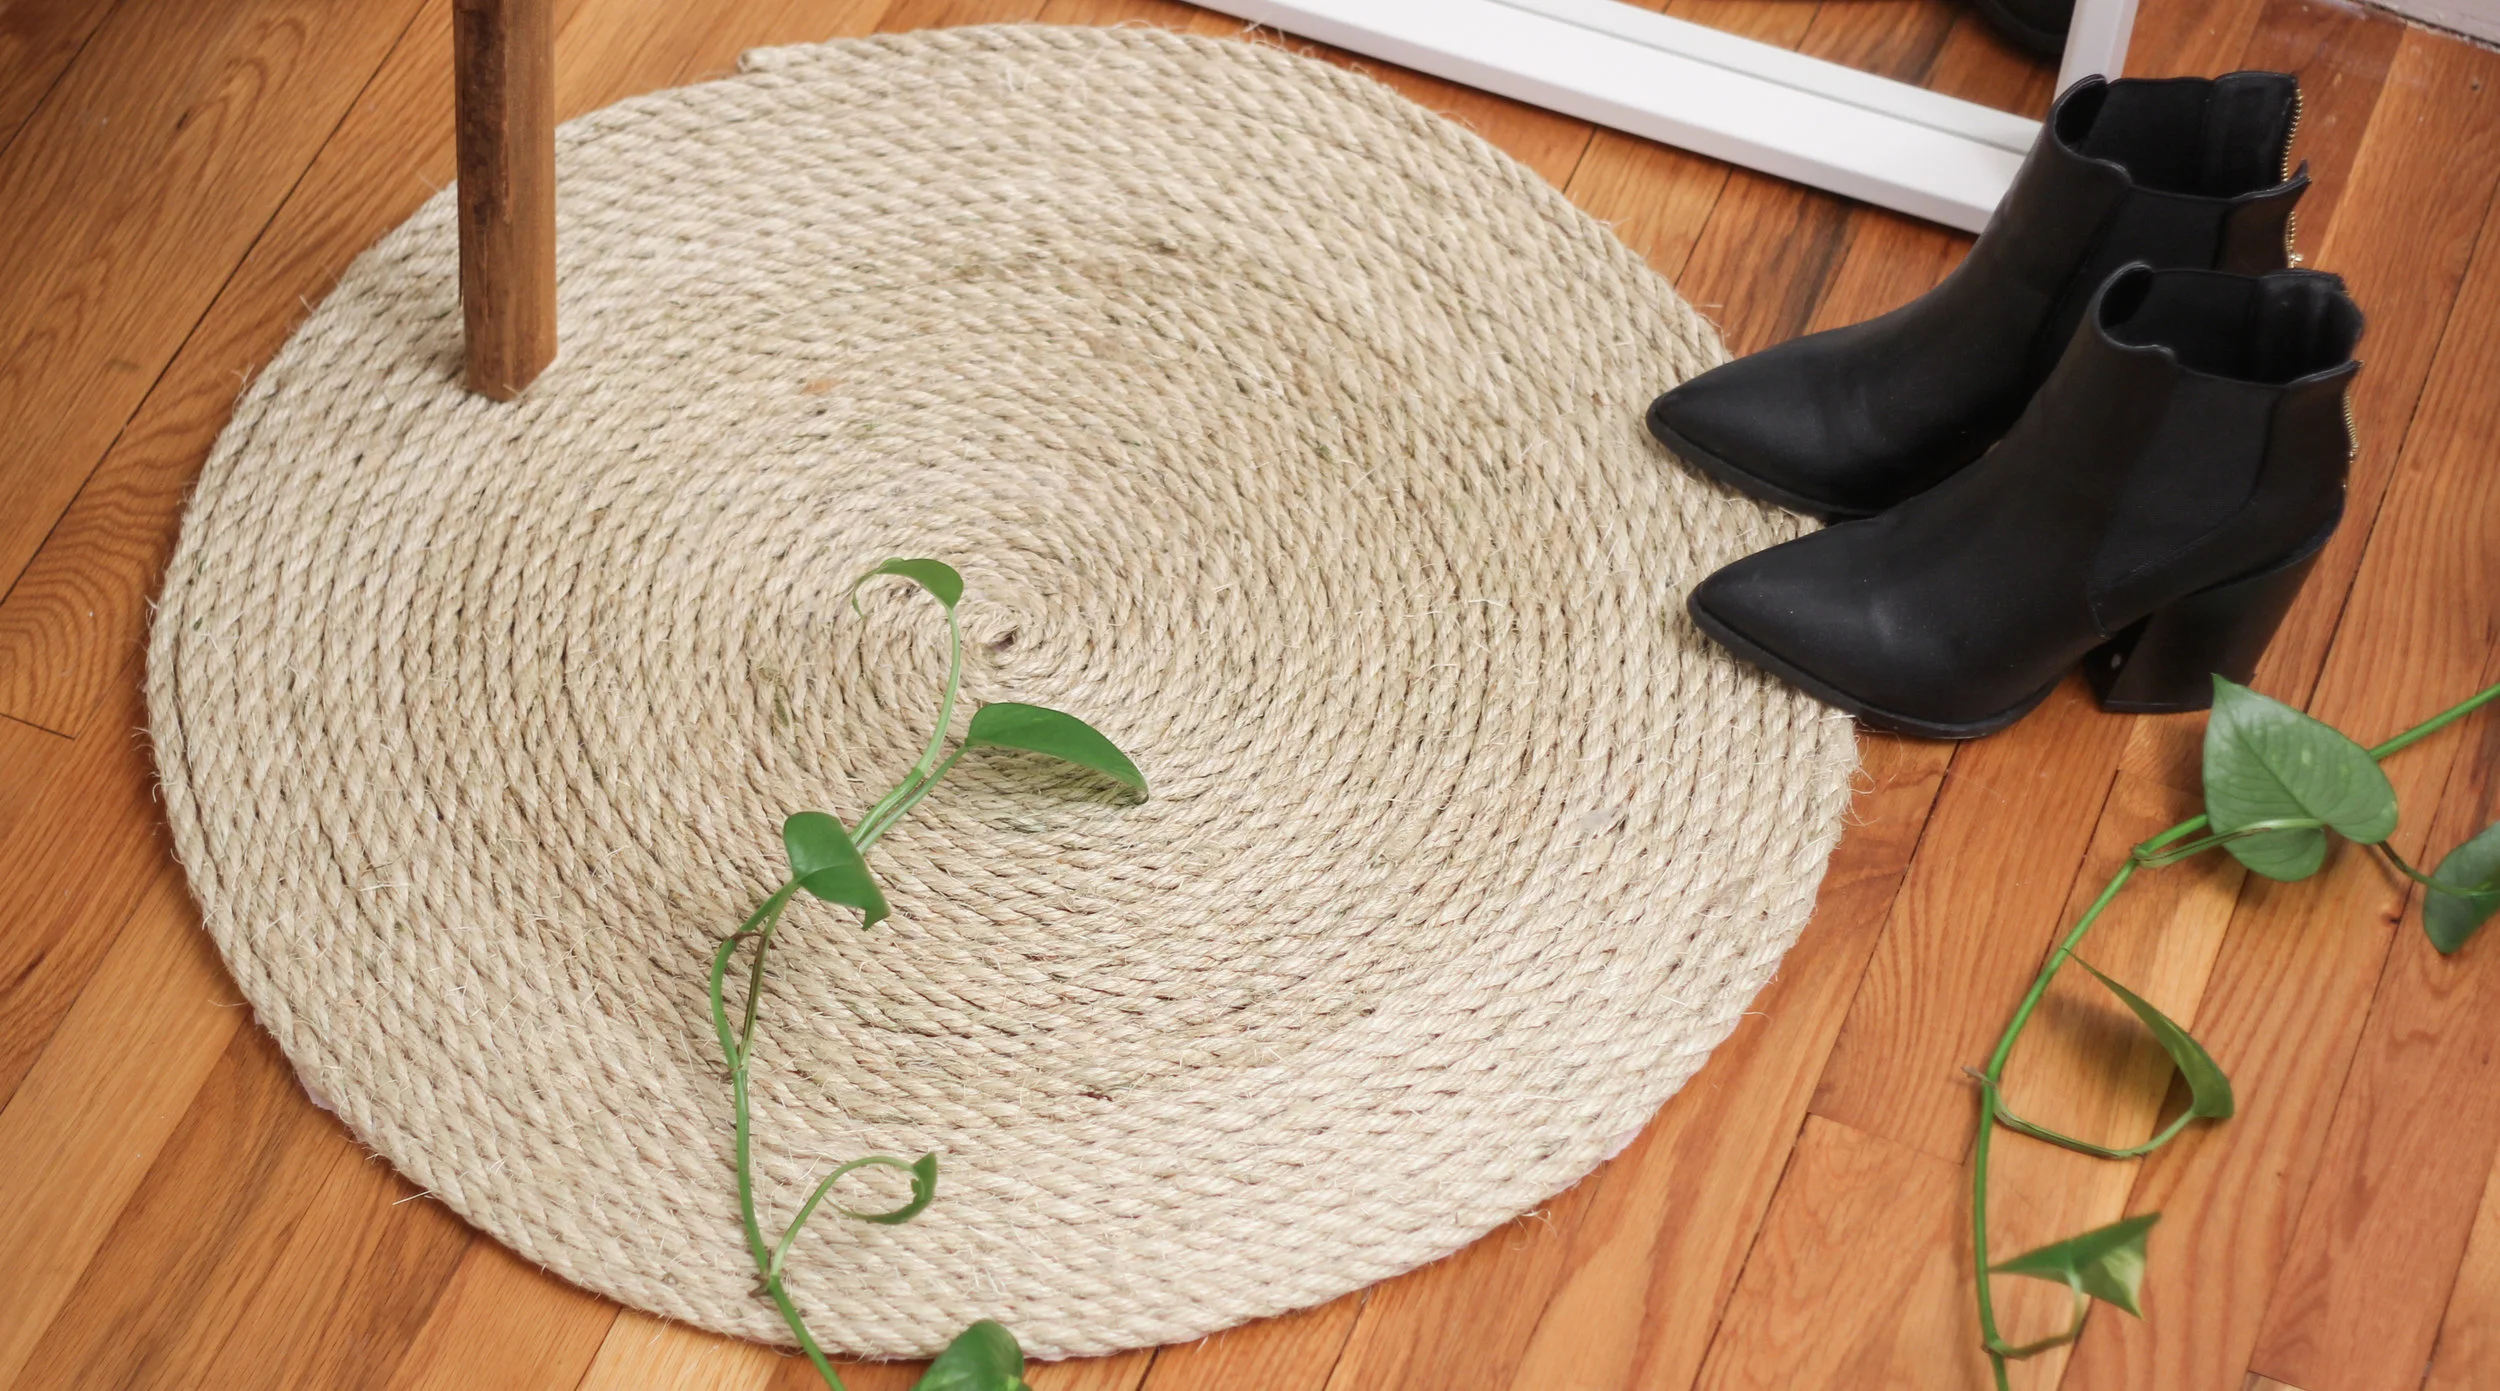
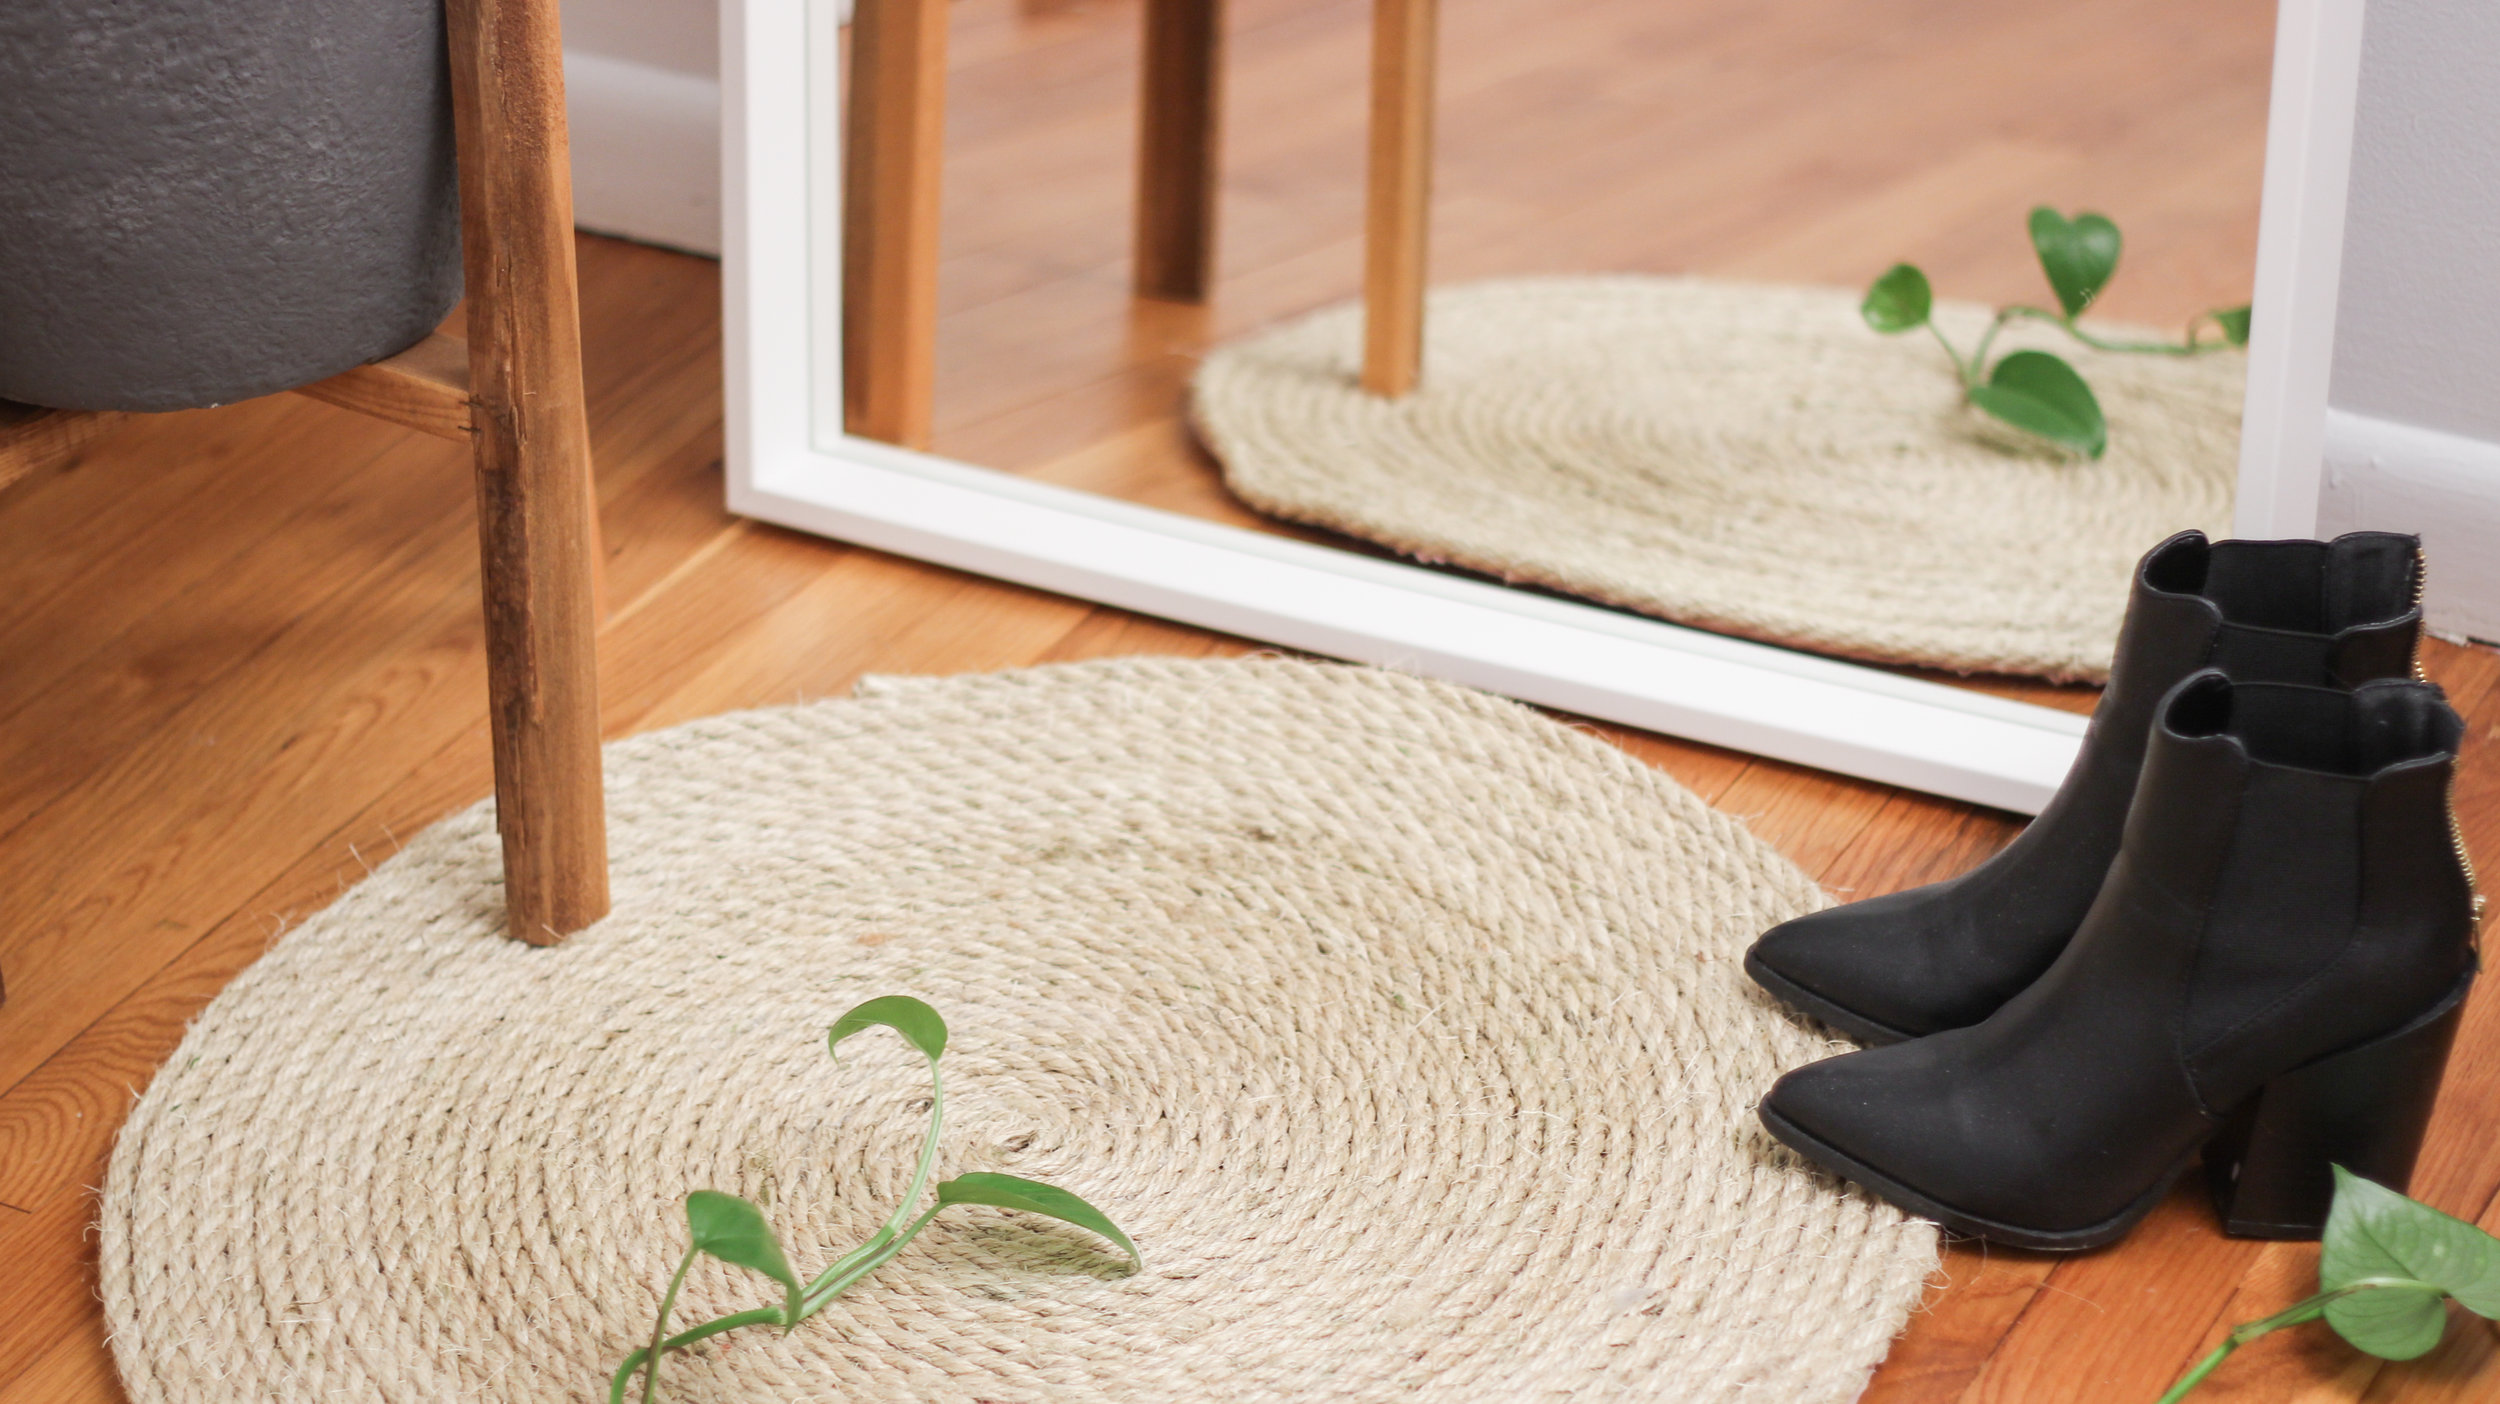
How easy is that?? I couldn’t believe how quickly I was able to get this done. It probably took about an hour from start to finish. I am so in love with the look of it and had a lot of fun styling it in my space. I hope you will give a try and let me know what you think!